Visibility Control for LearnDash Plugin
Visibility Control for LearnDash helps you hide messages and content for specific criterion anywhere on your WordPress page.
Visibility Control for LearnDash helps you hide messages and content for specific criterion anywhere on your WordPress page.
You can show/hide HTML elements, menus, and other details based on:
1. User’s access to a particular, any or all LearnDash Course, Or
2. User’s access to a particular, any or all LearnDash Group, Or
3. User is Logged In or Logged Out.
4. User’s role.
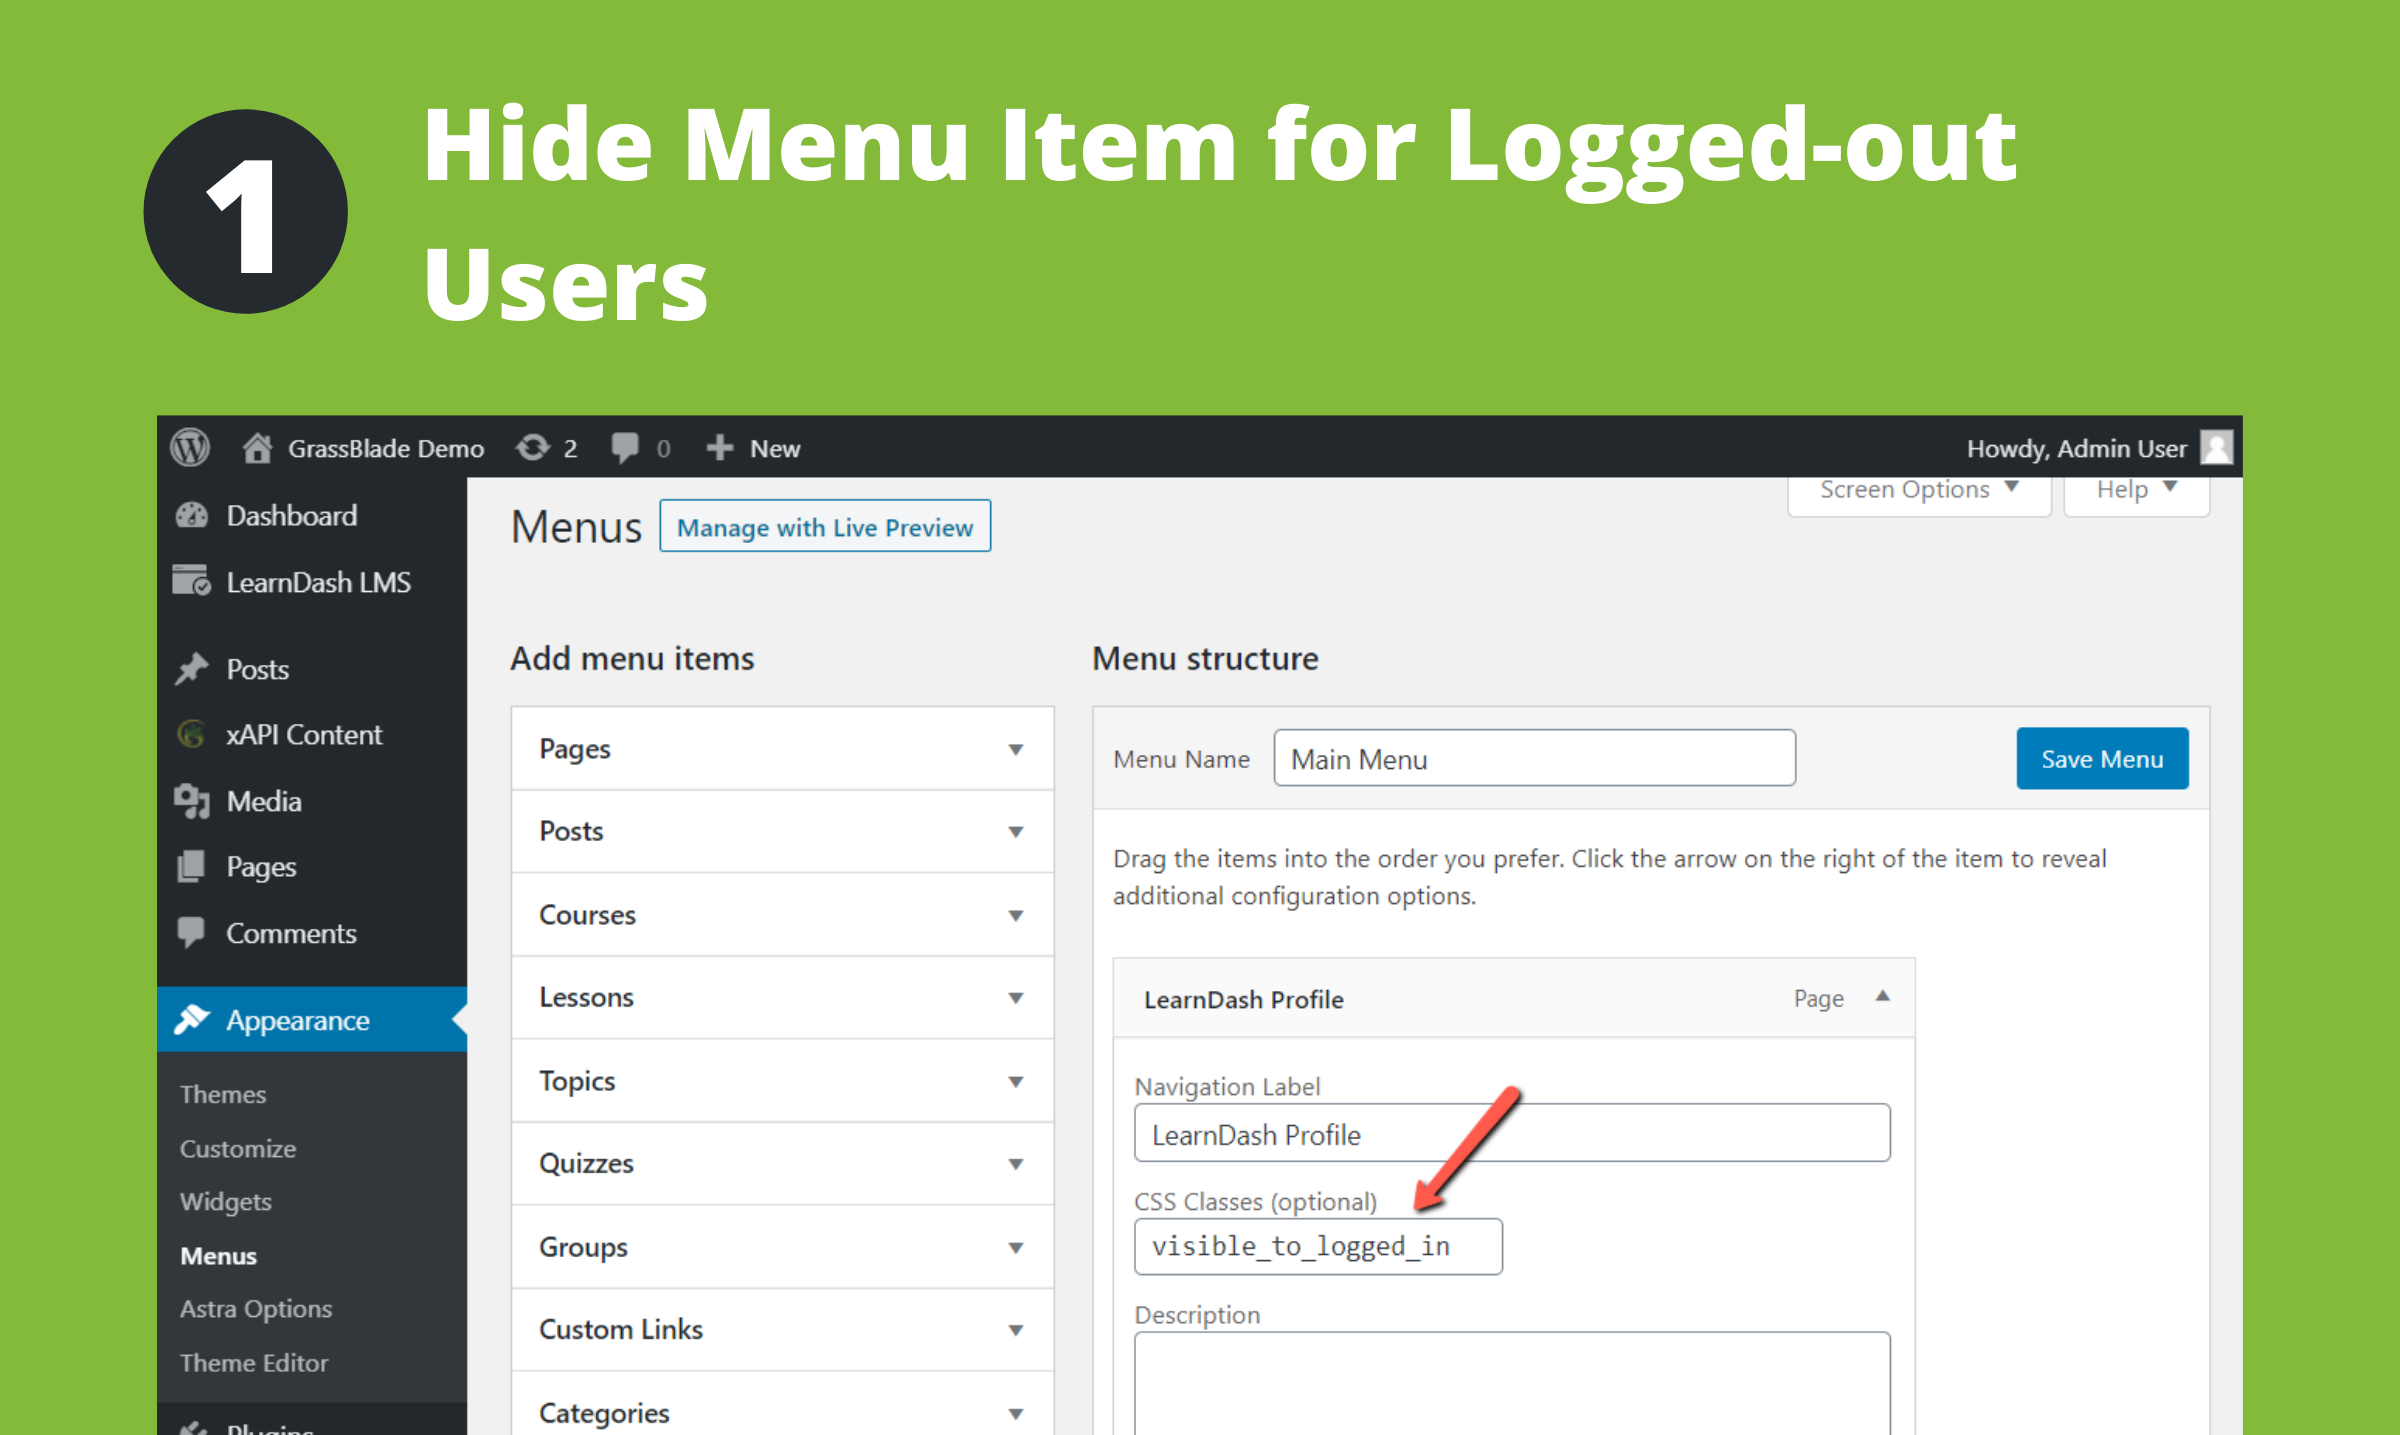
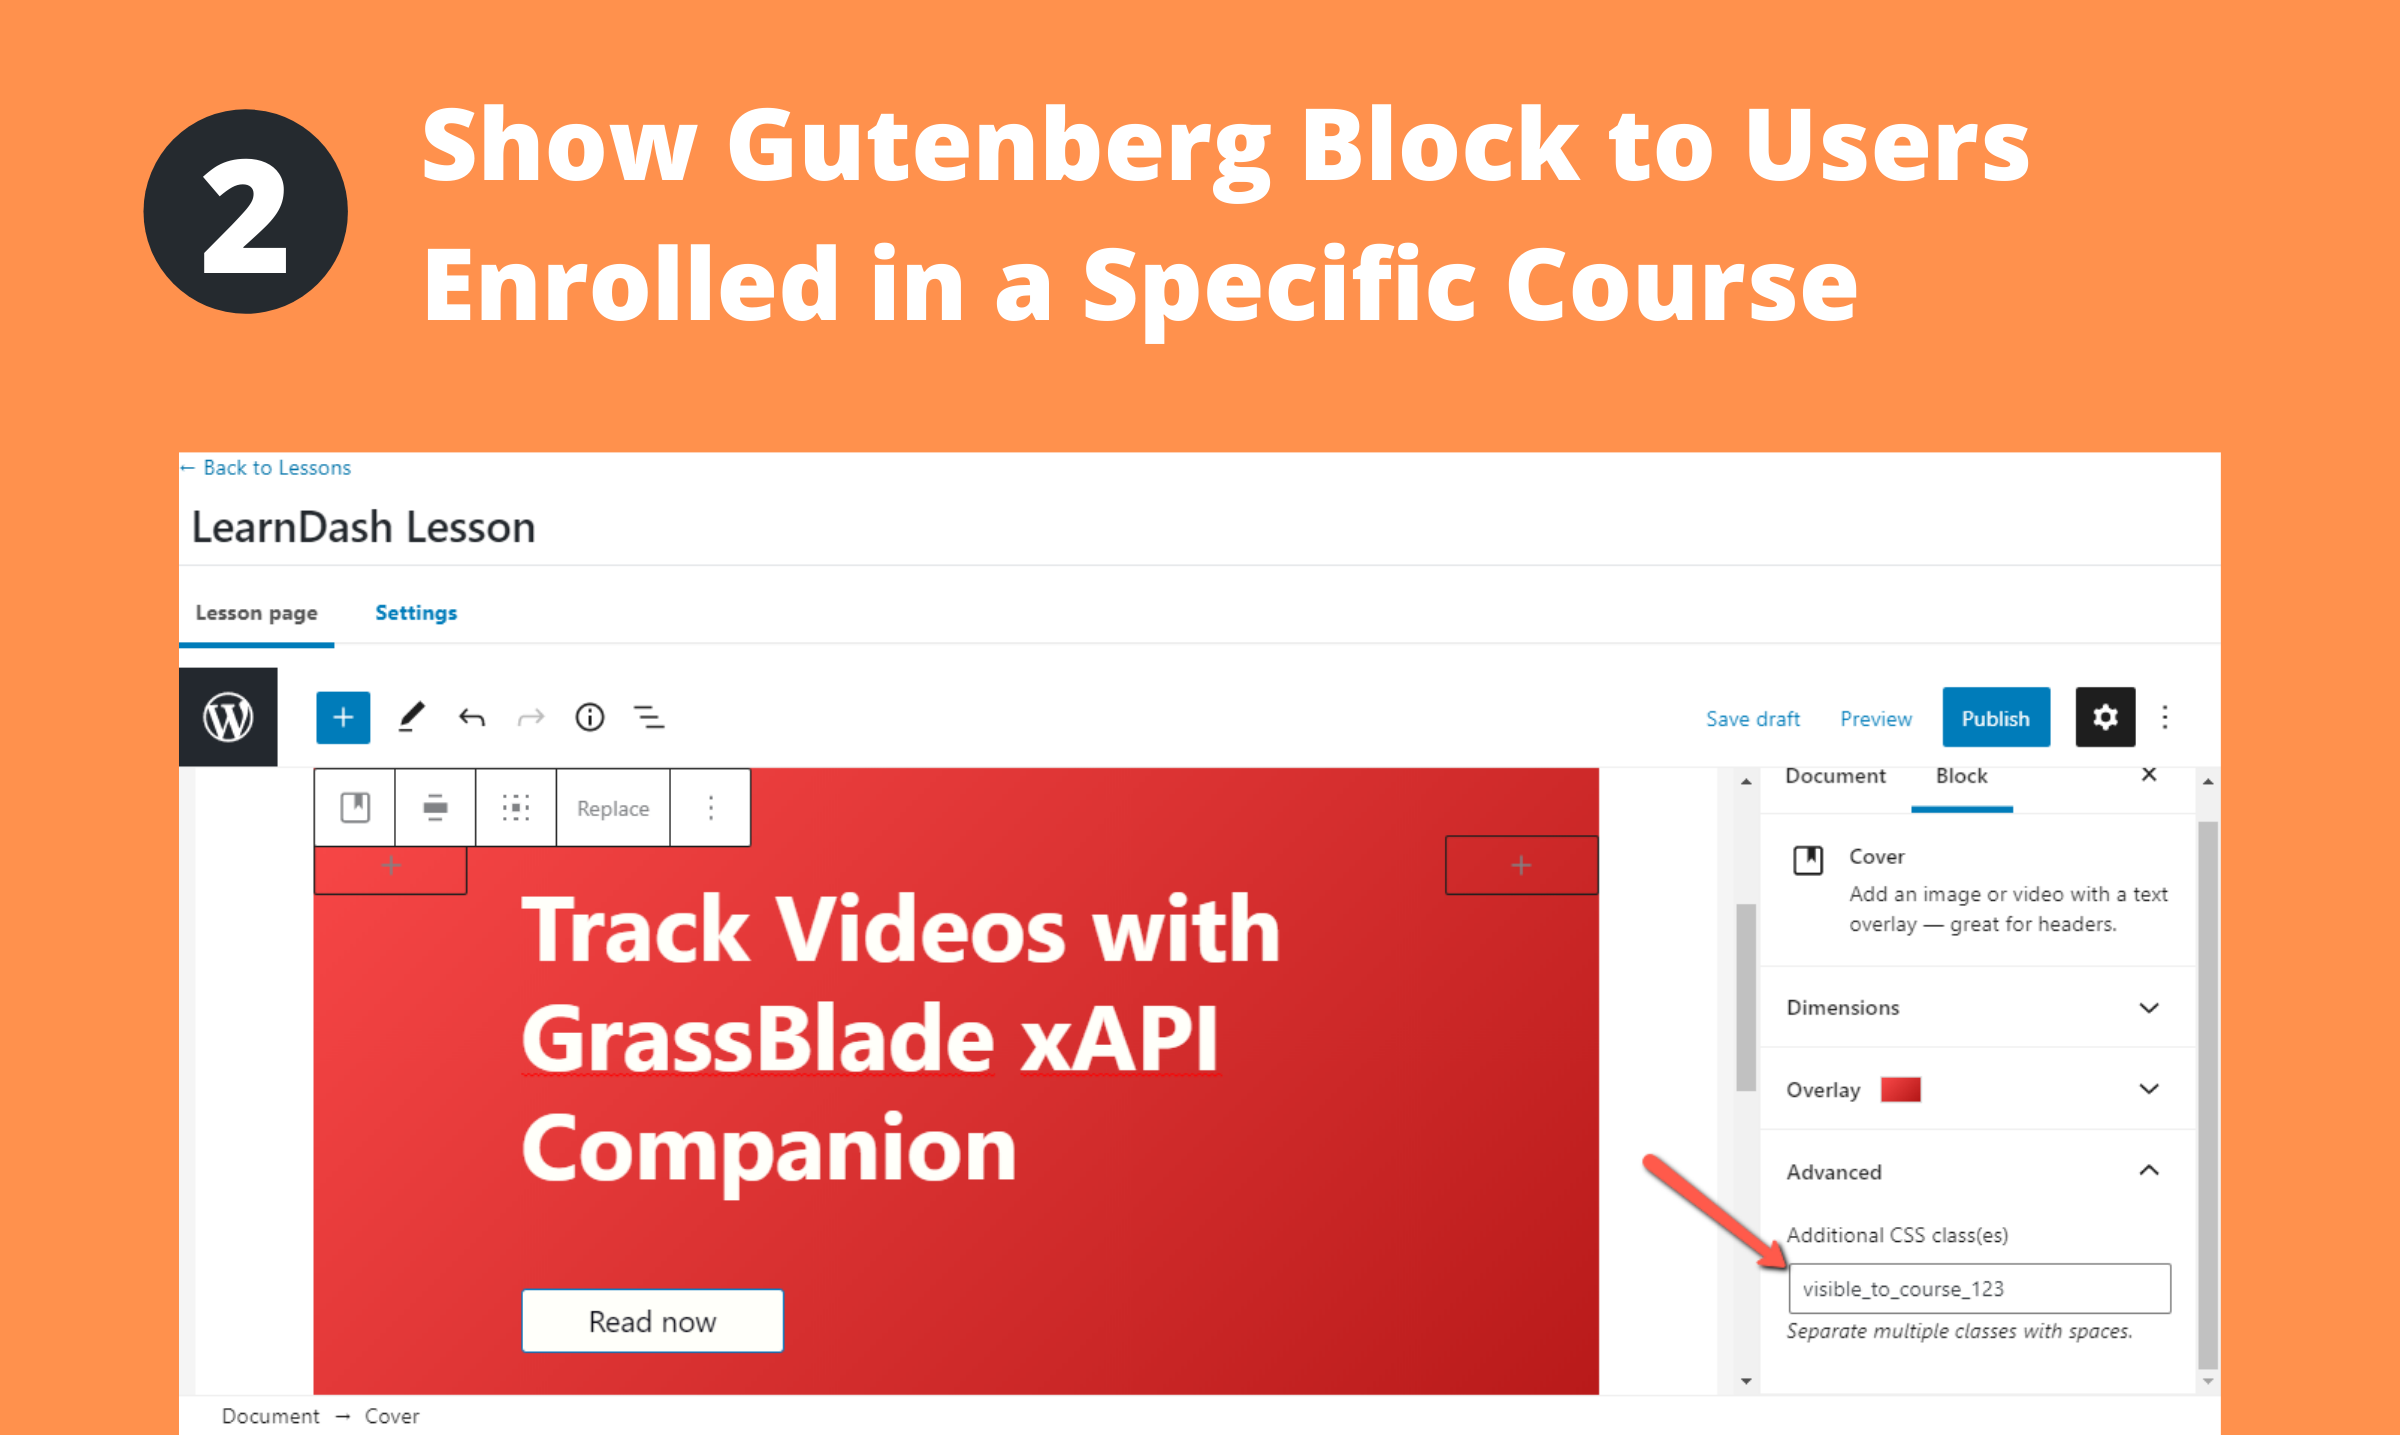
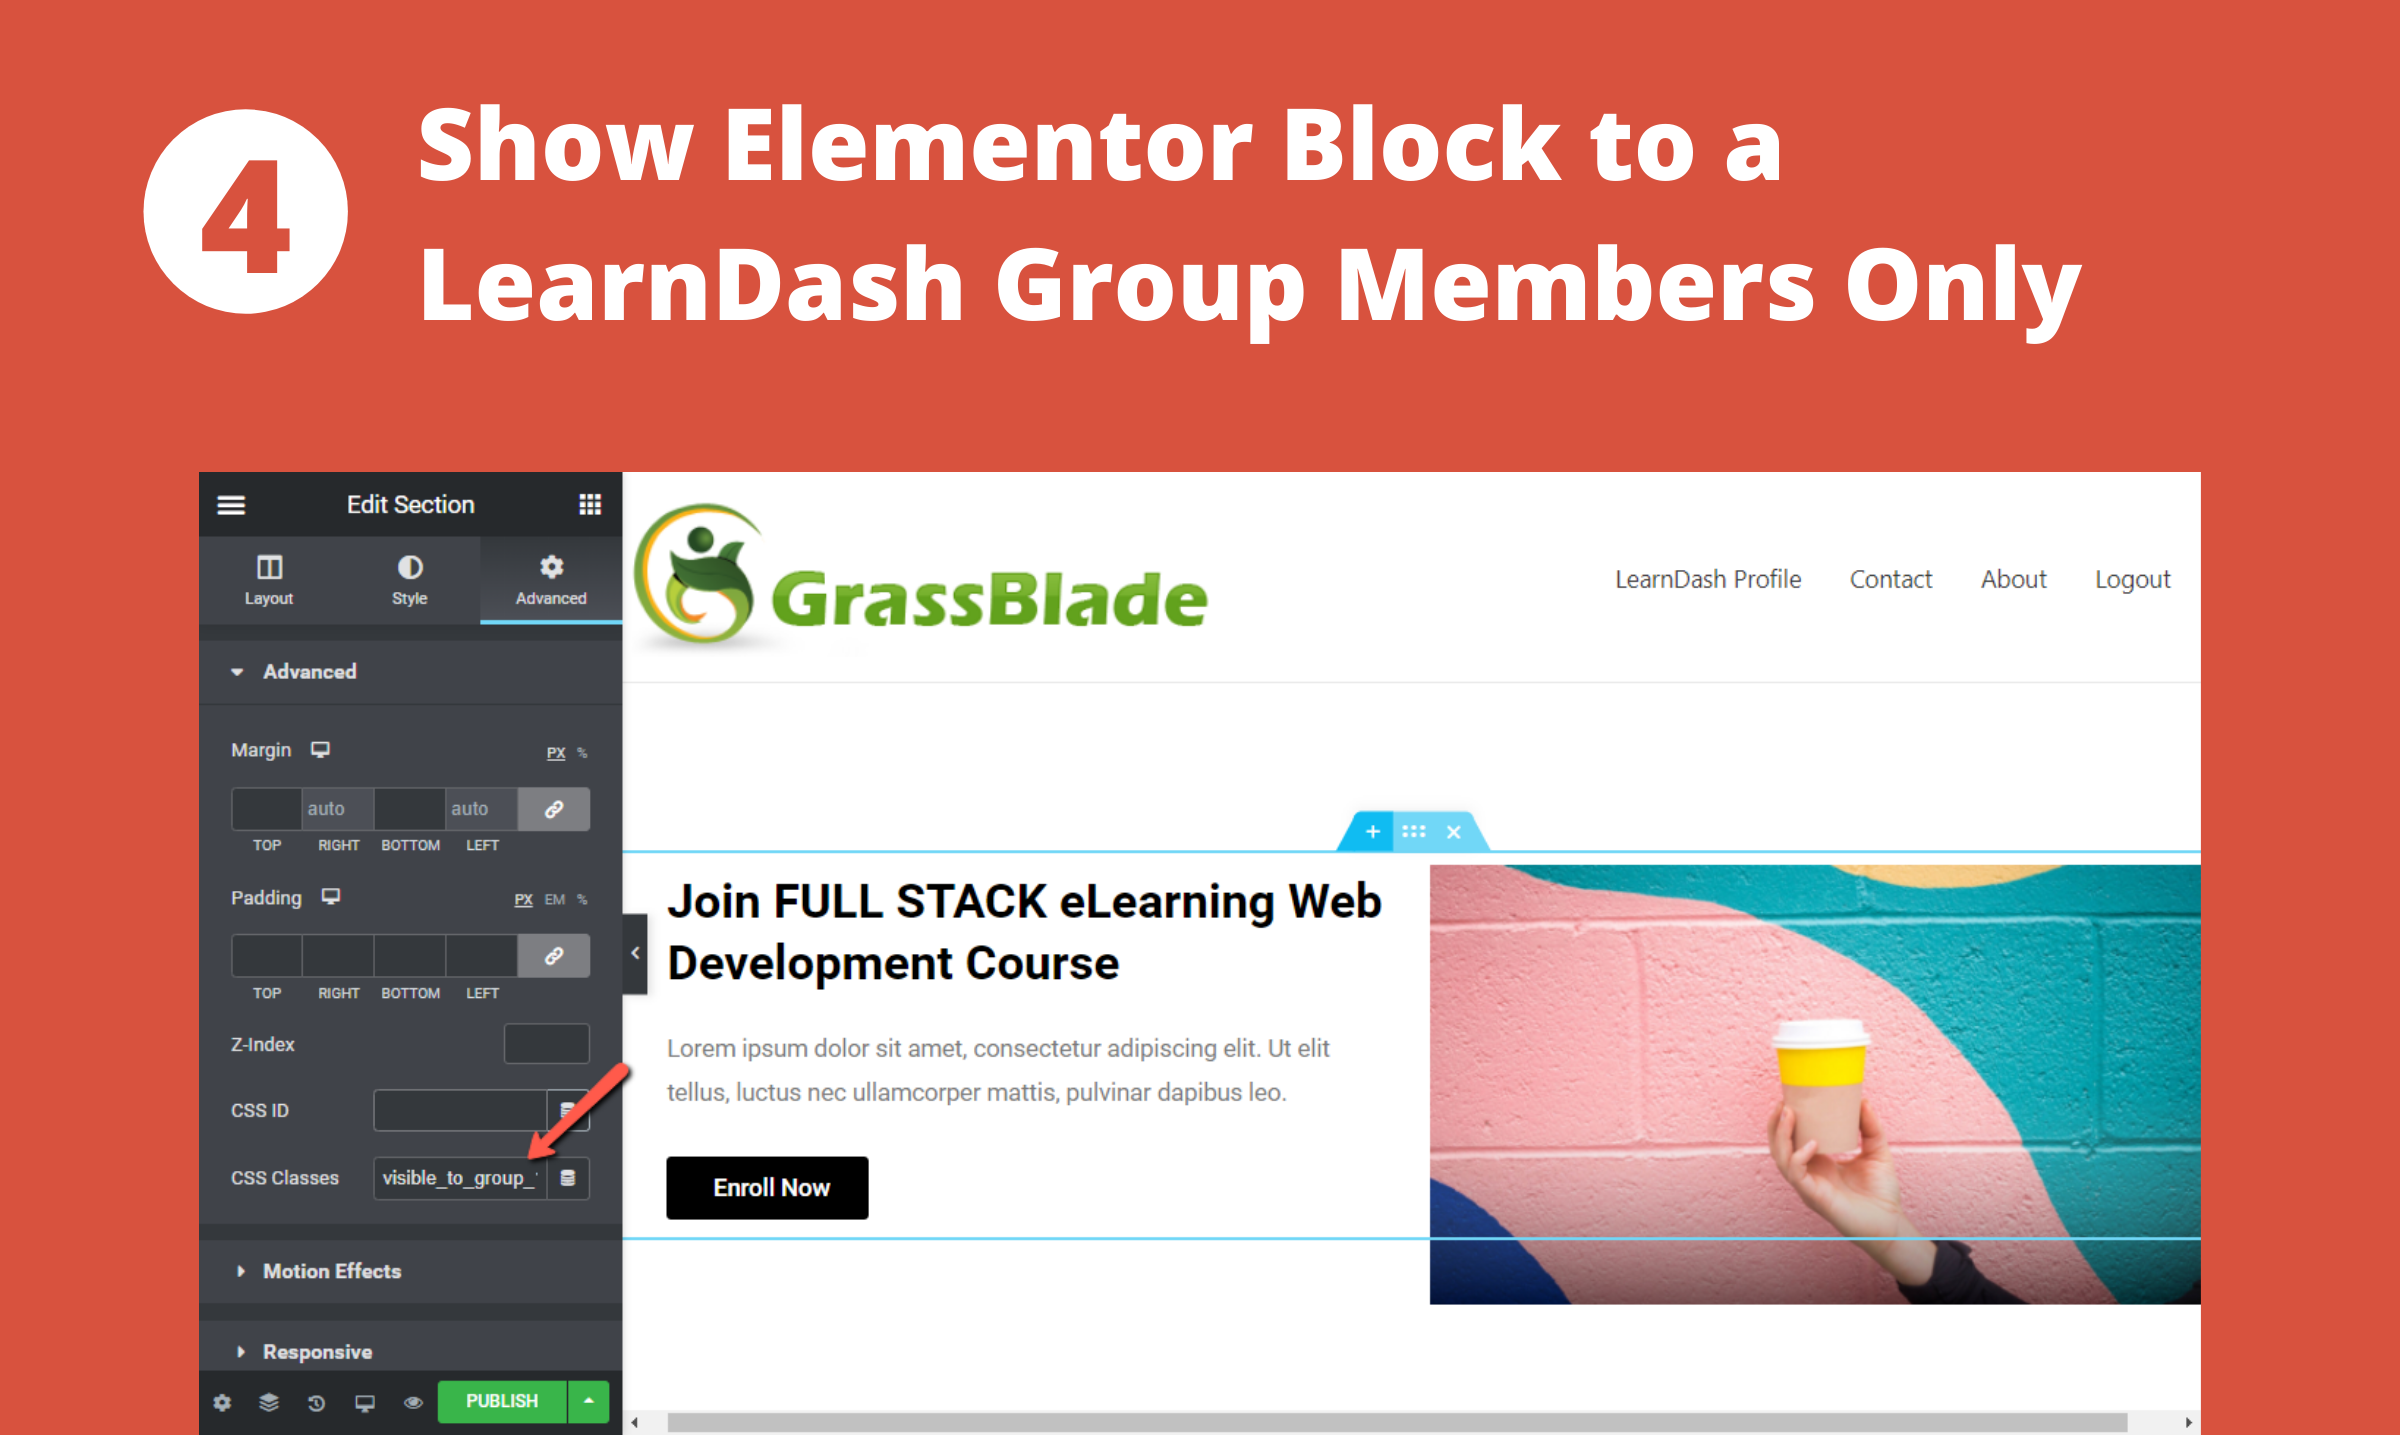
You simply need to add a CSS class to your element div or span. As explained here:
Example:
Login/Logout Status:
- To show the element/menu item to a logged-in user, add this CSS class: visible_to_logged_in OR hidden_to_logged_out
- To hide the element/menu item from a logged-in user, add this CSS class: visible_to_logged_out OR hidden_to_logged_in
For user’s role:
* To show the element/menu item to a user will role administrator, add this CSS class: visible_to_role_administrator OR hidden_to_role_administrator
* Note: To show an element to multiple specific roles only, you need add the element multiple times, one for each role. To hide an element/menu from specific multiple roles only you can add the element once add multiple classes to the same element.
For all the courses:
- To show the element/menu item to user with access to all the Courses, add this CSS class: visible_to_course_all
- To hide the element/menu item from user with access to all the Courses, add this CSS class: hidden_to_course_all
- To show the element/menu item to users not enrolled in any Course, add this CSS class: visible_to_course_none
- To hide the element/menu item from users not enrolled in any Course, add this CSS class: hidden_to_course_none
For a specific course, if Course ID is 123:
- To show the element/menu item to user with access to above Course, add this CSS class: visible_to_course_123
- To hide the element/menu item from user with access to above Course, add this CSS class: hidden_to_course_123
For users with access to at least one course:
* Add this CSS class: hidden_to_course_none
For a course completion status, if Course ID is 123:
- To show the element/menu item to user who completed above course, add this CSS class: visible_to_course_complete_123
- To hide the element/menu item from user who completed above course, add this CSS class: hidden_to_course_complete_123
- To show the element/menu item to user who has not completed above course, add this CSS class: visible_to_course_incomplete_123
- To hide the element/menu item from user who has not completed above course, add this CSS class: hidden_to_course_incomplete_123
For all the groups:
- To show the element/menu item to user with access to all the groups, add this CSS class: visible_to_group_all
- To hide the element/menu item from user with access to all the groups, add this CSS class: hidden_to_group_all
- To show the element/menu item to users not enrolled in any group, add this CSS class: visible_to_group_none
- To hide the element/menu item from users not enrolled in any group, add this CSS class: hidden_to_group_none
For a specific group, if Group ID is 123:
- To show the element/menu item to user with access to above Group, add this CSS class: visible_to_group_123
- To hide the element/menu item from user with access to above Group, add this CSS class: hidden_to_group_123
For users with access to at least one group:
* Add this CSS class: hidden_to_group_none
Mechanism of Functioning
- Multiple CSS Classes: If multiple visibility control classes are added, ALL of them must meet the criterion to keep the element visible. If any one of them hides the element, it will be hidden. For example: visible_to_group_123 visible_to_group_124 will show the element only to those who have access to both groups.
- Hidden data/elements reaches the browser. Though user’s do not see it.
- CSS is added to the page for all CSS elements that needs to be hidden based on above rules.
- After page is loaded. These elements are removed from page using jQuery (if available), so it won’t be available even on Inspect.
- Elements rendered after the page load are hidden but not removed from DOM/page.
Future Development
Depending on the interest in this feature, we will decide on adding a shortcode and/or a Gutenberg Block to achieve this feature.
Other Visibility Control Plugins:
– Visibility Control for LearnDash LMS
– Visibility Control for WP Courseware LMS
– Visibility Control for LearnPress LMS
– Visibility Control for LifterLMS
– Visibility Control for TutorLMS
– Visibility Control for MasterStudyLMS
– Visibility Control for Sensei LMS
– Visibility Control for WooCommerce
Related Plugins for LearnDash LMS:
* Manual Completions for LearnDash LMS
* Manage Enrollment for LearnDash LMS
* Autocomplete LearnDash Lessons and Topics
It is pretty similar to this plugin and having same features, it allows controlling the visibility of HTML elements based user’s purchase of a particular WooCommerce Product or Variation.
Installation
This section describes how to install the plugin and get it working.
e.g.
- Upload the plugin files to the
/wp-content/plugins/visibility-control-for-learndashdirectory, or install the plugin through the WordPress plugins screen directly. - Activate the plugin through the ‘Plugins’ screen in WordPress
- Add the CSS classes to your HTML elements or Menu Items as described in the Details section.
Screenshots
FAQ
LearnDash LMS is the number one WordPress based Learning Management System (LMS) plugin. It includes many advanced features including, quizzing engine, course management, reports, certificates and payment methods.
You can also add GrassBlade xAPI Companion plugin and GrassBlade LRS to start using Experience API (xAPI) based contents with LearnDash LMS.
GrassBlade xAPI Companion is a paid WordPress plugin that enables support for Experience API (xAPI) based content on WordPress.
It also provides best in industry Advanced Video Tracking feature, that works with YouTube, Vimeo and self-hosted MP4 videos. Tracking of MP3 audios is also supported.
It can be used independently without any LMS. However, to add advanced features, it also has integrations with several LMSes.
GrassBlade Cloud LRS is a cloud-based Learning Record Store (LRS). An LRS is a required component in any xAPI-based ecosystem. It works as a data store of all eLearning data, as well as a reporting and analysis platform. There is an installable version which can be installed on any PHP/MySQL based server.
Changelog
1.7
- Feature: Added support for course completion status: Example: visible_to_course_complete_123, visible_to_course_incomplete_123, hidden_to_course_complete_123, hidden_to_course_incomplete_123
1.6
- Feature: Added support for roles: Example: visible_to_role_administrator
- Fixed: issues on addons page on network website.
1.5
- Fixed: jQuery 3.0 conflict on some websites.
1.4
- Feature: Added new classes: visible_to_course_none, hidden_to_course_none, visible_to_course_all, hidden_to_course_all, visible_to_group_none, hidden_to_group_none, visible_to_group_all, hidden_to_group_all
1.3
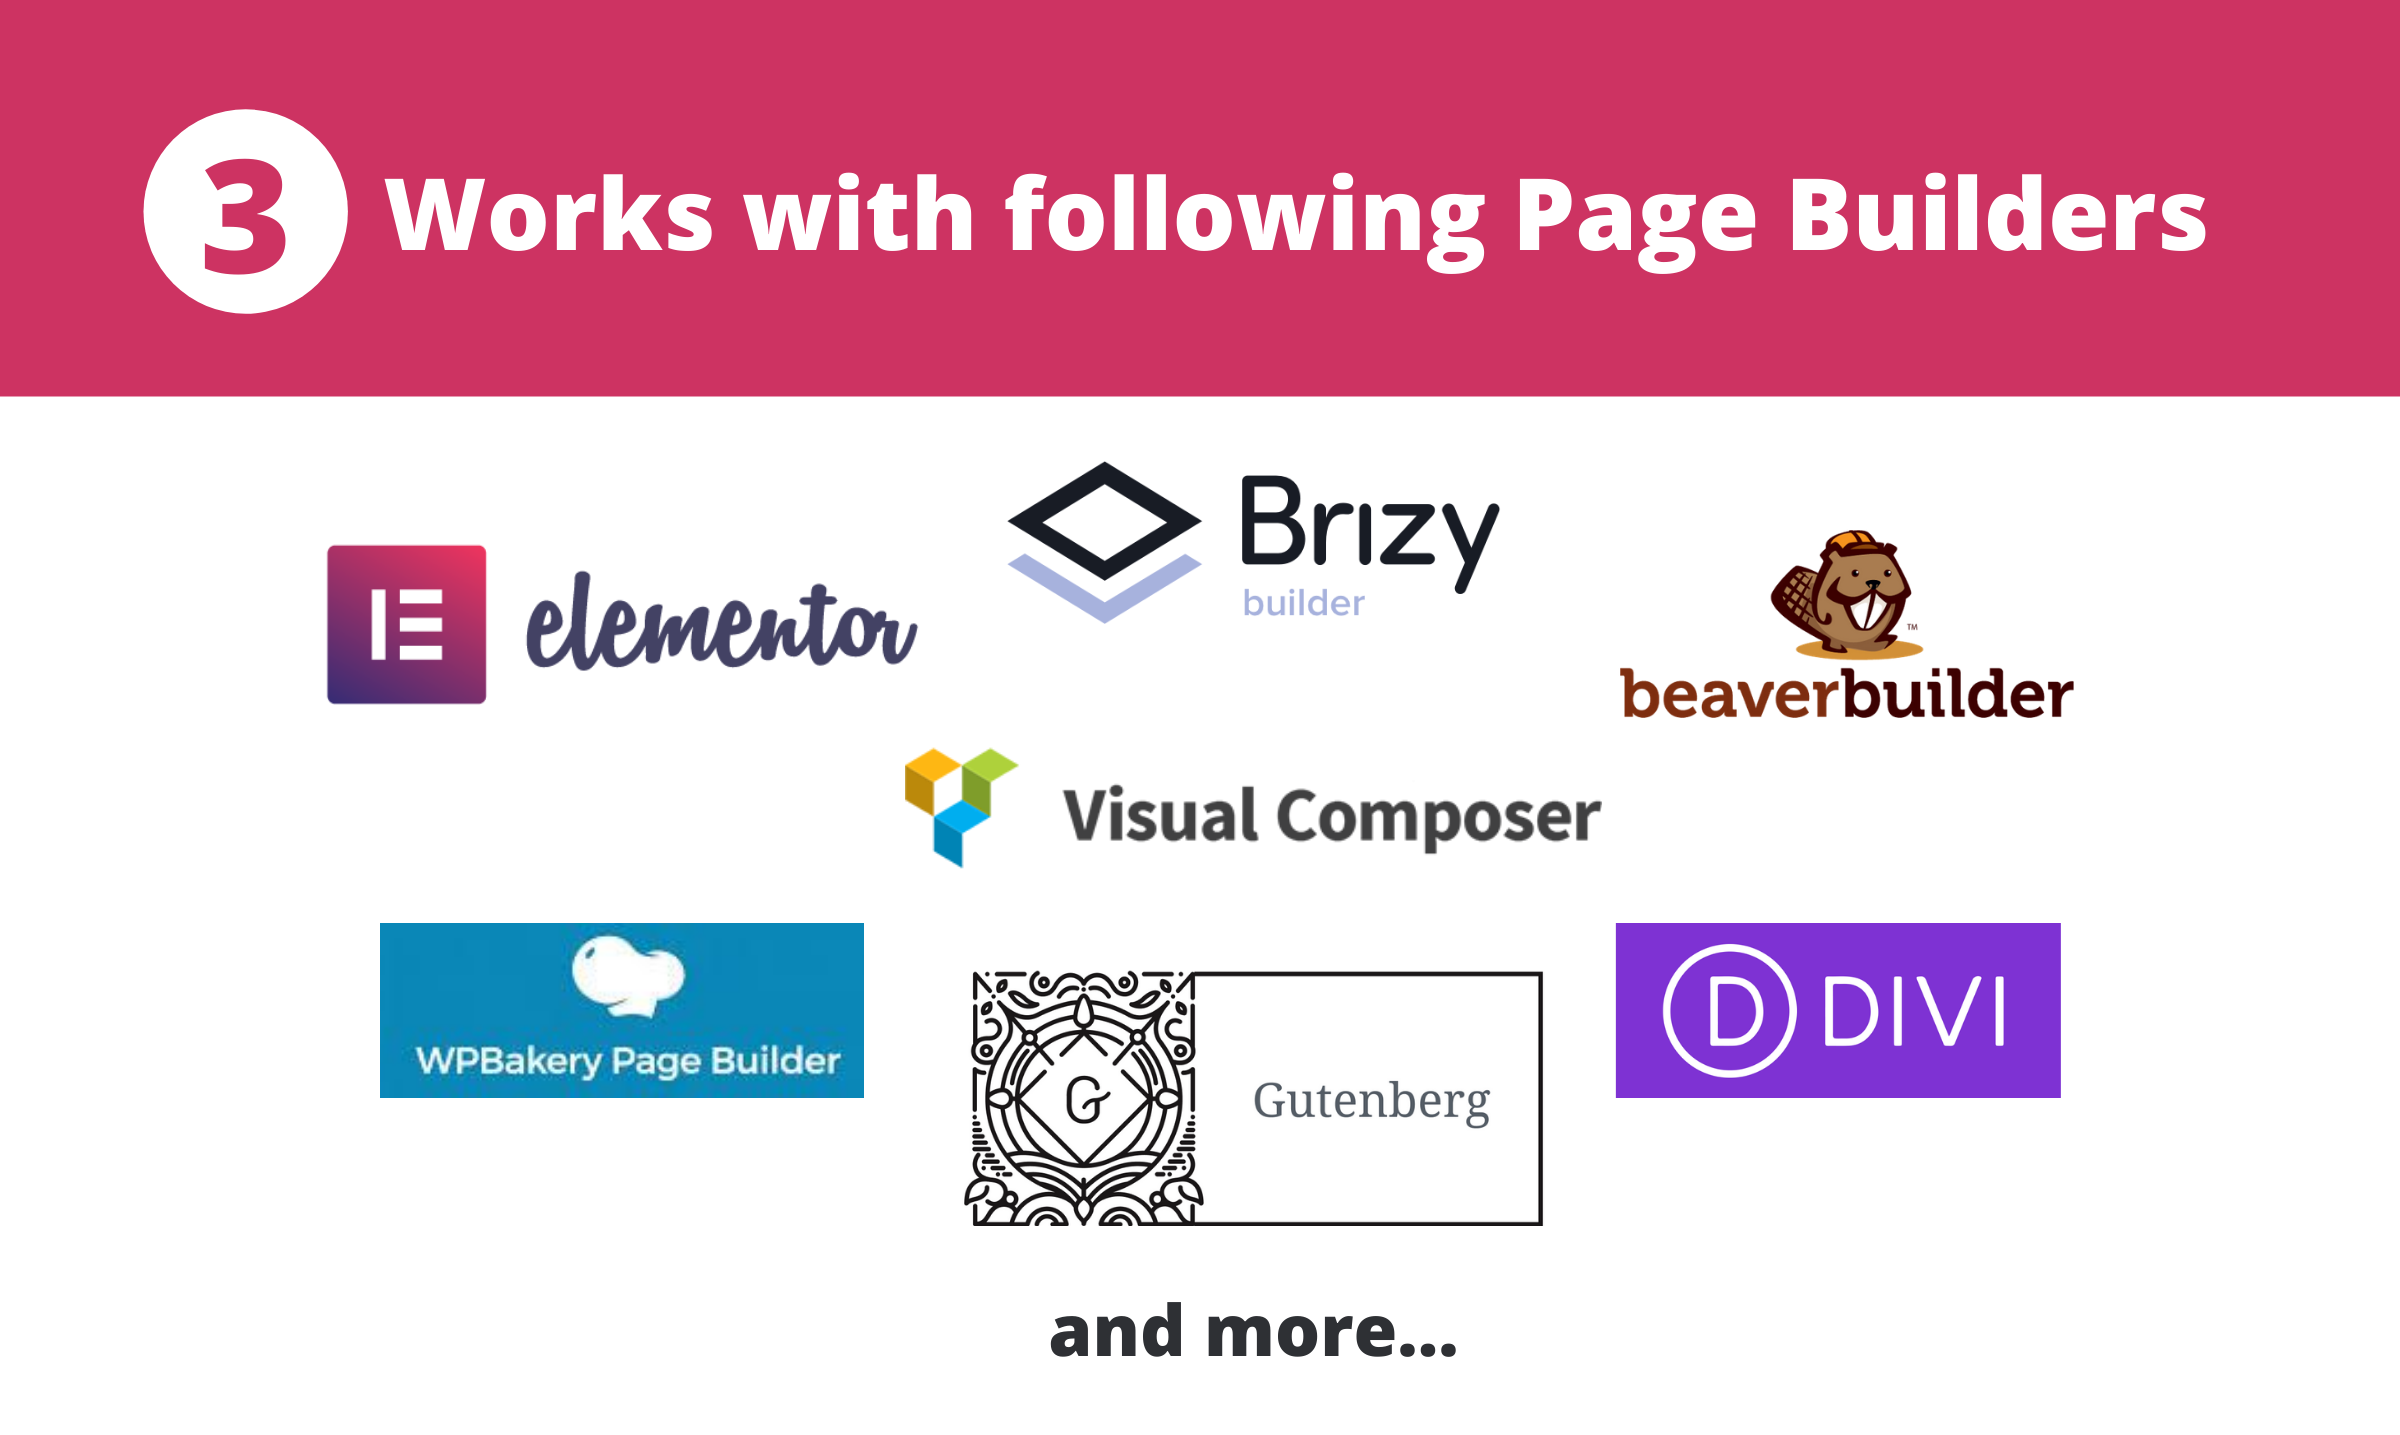
- Improvement: Compatible with different editors now: Gutenberg, WPBakery Builder, Visual Composer, Elementor, Brizy Builder, Beaver Builder, Divi
1.2
- Feature: Added support for LearnDash Groups. (.visible_to_group_123, .hidden_to_group_123)
- Feature: Hidden elements are now removed after page is loaded (using jQuery, if available)
- Improvement: Added to LearnDash menu
1.1
- Added Add-ons page
1.0.3
Fixed: Not working due to wrong action
1.0.2
- Disabled checking from wp-admin area to avoid block from getting hidden from the editor
1.0.1
Fix: Disable the visiblity functionality when LearnDash is not installed


