TwentyTwenty Plugin
Show before-and-after pictures in your blog, with an interactive slider that allows users to compare them.
This plugin brings the power of Zurb TwentyTwenty to your blog. From our friends at Zurb:
We recently needed a way to showcase the visual differences between two images. Folks tend to typically place two images next to each other in hopes that it’ll be clear exactly what changed. We even thought about having one image fade into another. But we knew there had to be an even better way to highlight the differences between two images. A way that would bring everything into focus.
Find out more about TwentyTwenty, and see examples, on the official TwentyTwenty site from Zurb.
Watch this screencast to see the plugin in action and learn how to use it.
Instructions
Make sure your before and after images are the same size. The before-and-after box will use the size of the first image, and assume that the second image is the same size.
Insert two images into a post, one right after the other.
Before the first image, type
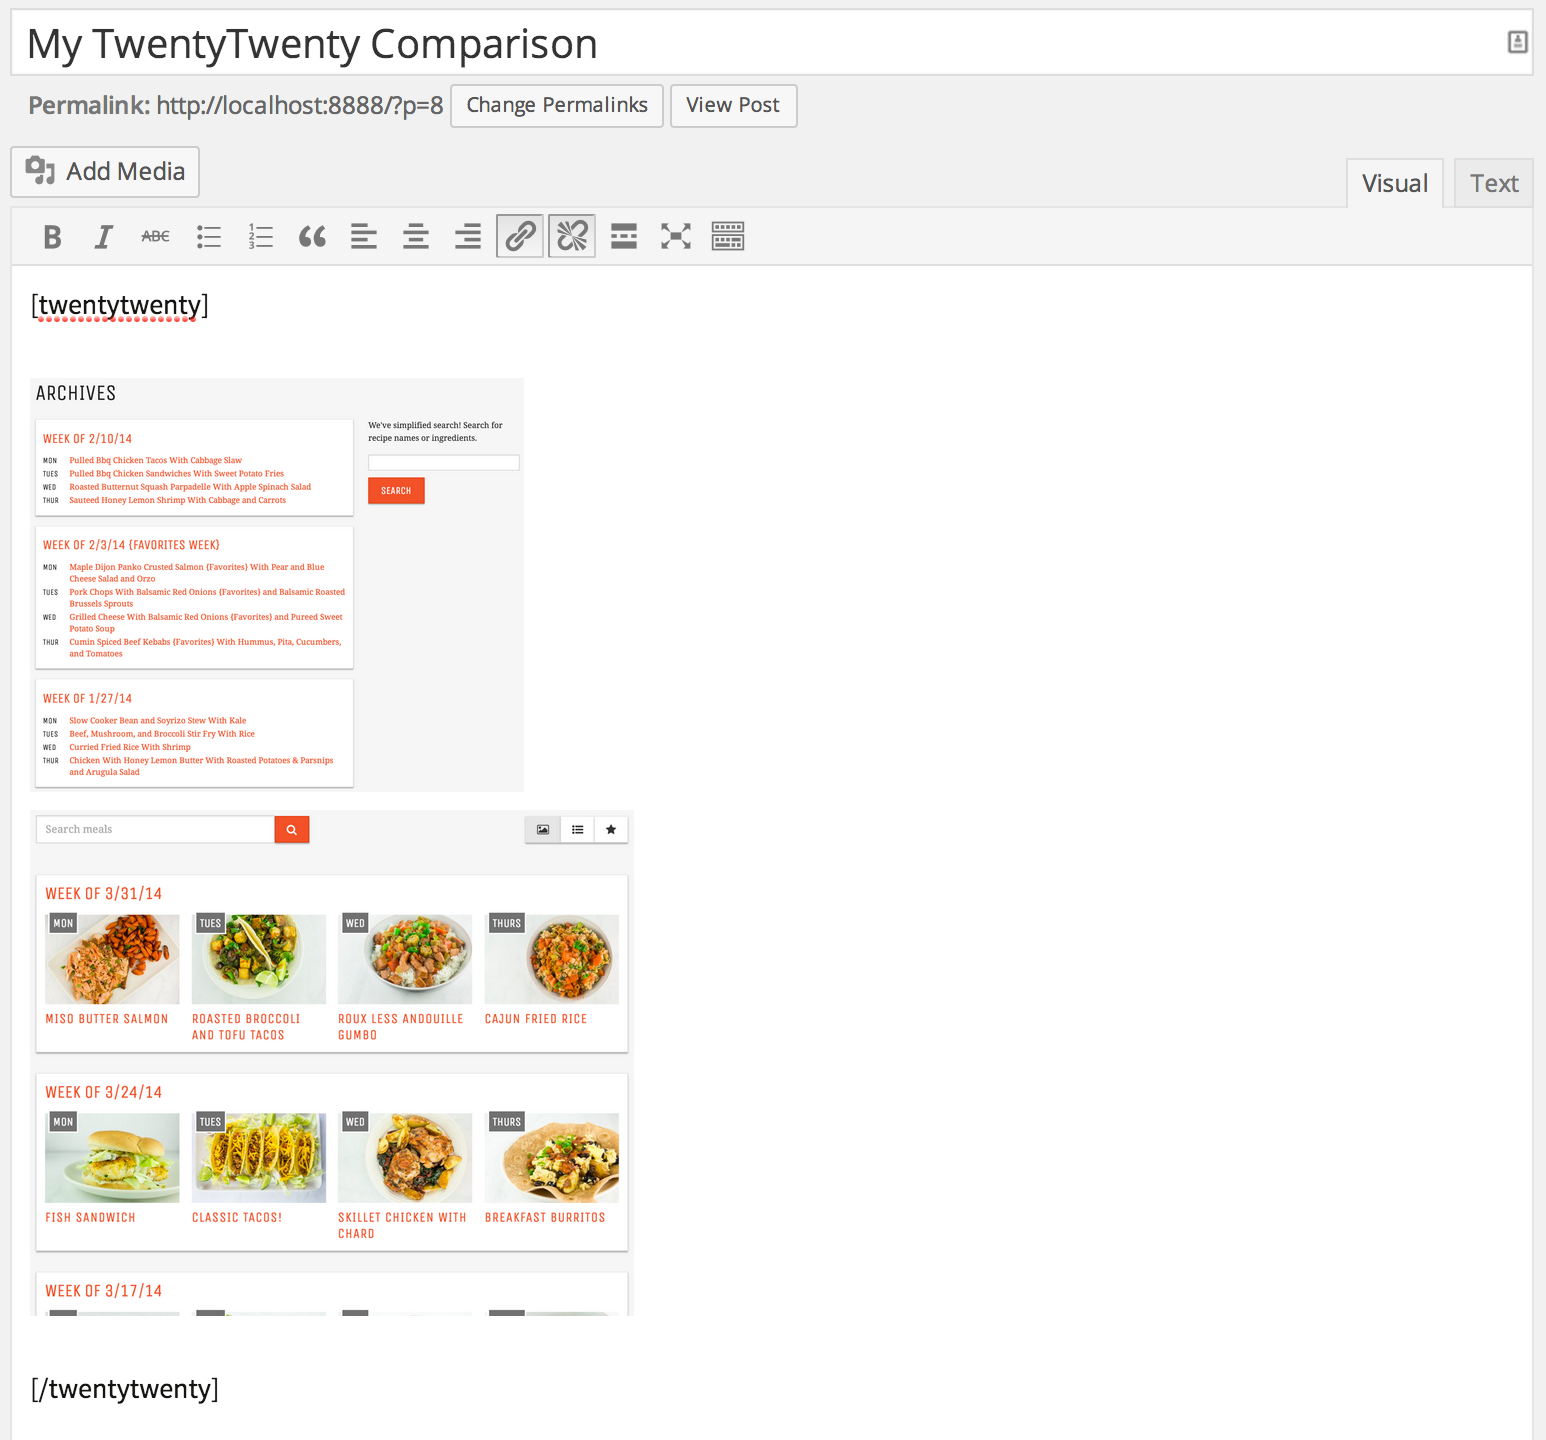
[twentytwenty]. After the second image, type[/twentytwenty]. See the second screenshot for an example.
Watch this screencast to see the plugin in action and learn how to use it.
Installation
Using The WordPress Dashboard
- Navigate to the ‘Add New’ in the plugins dashboard
- Search for ‘TwentyTwenty’
- Click ‘Install Now’
- Activate the plugin on the Plugin dashboard
Screenshots
FAQ
Installation Instructions
Using The WordPress Dashboard
- Navigate to the ‘Add New’ in the plugins dashboard
- Search for ‘TwentyTwenty’
- Click ‘Install Now’
- Activate the plugin on the Plugin dashboard
Why aren’t my pictures lining up properly?
Make sure that the pictures are the exact same height and width, and that you choose the same display size for the images when you upload them (ex. medium, large, full size).
What browsers does this support?
TwentyTwenty is tested the latest versions of Chrome, Safari, FireFox, and iOS, and on IE 9 and above.
Can I customize how the slider looks?
Not yet, but I hope to enable that in a future release?
Will this work on any WordPress theme?
It should, but please report any issues on this blog post or the support forum to the right.
Changelog
1.0
- Initial version

