Purge Cloud Flare Plugin
Purge CloudFlare makes clearing CloudFlare cache as simple as one click.
It clears whole CloudFlare cache for desired domain.
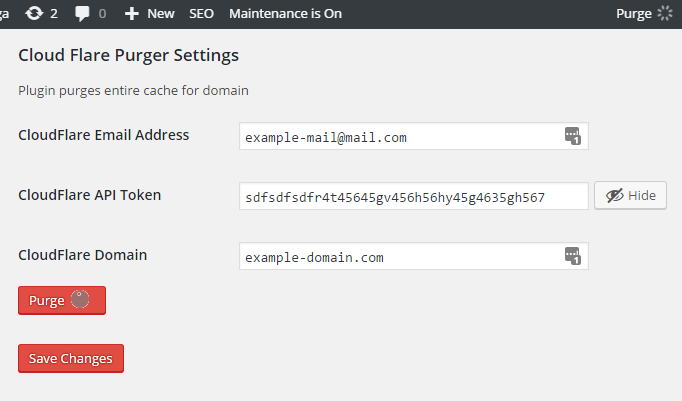
Purge is done from WordPress admin panel or plugin’s page. Current version contains functionality which purges individual files by URL and clears CloudFlare cache after Save Post action.
THINGS YOU NEED TO KNOW:
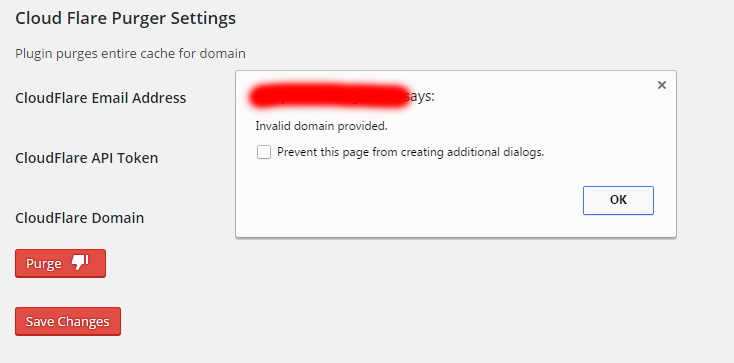
- Whenever you get error clearing the cache alert popup appears with CloudFlare Api response.
- This version allows you to purge whole CF cache and specific files by their urs.
- Clear cached files to force Cloudflare to fetch a fresh version of those files from your web server. You can purge files selectively or all at once.
- Purging the cache may temporarily degrade performance for your website.
Installation
- Upload the plugin plugin to your blog.
- Activate it.
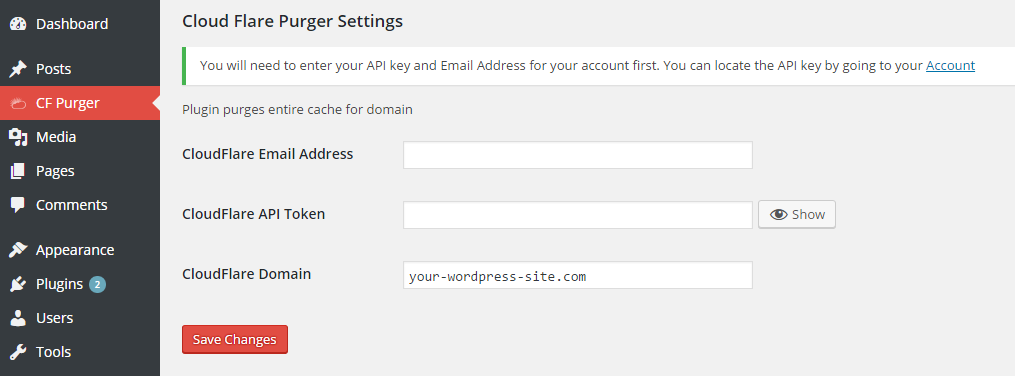
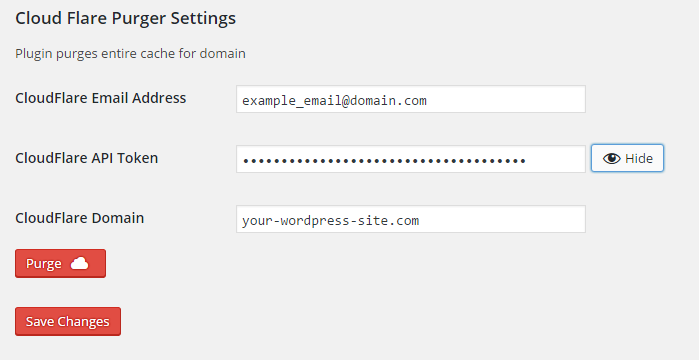
- Go to Dashboard->CF Purger (or directly to this URL: “http://your-wordpress-site.com/wp-admin/admin.php?page=cf-purger”) and enter following fields:
- CloudFlare Email Address
- CloudFlare API Token (you can find it in your CloudFlare Account ) previously logged in to CloudFlare
- Zone ID – required to specify the domain clear cache for
- Press “Save Changes” button
- Be happy! 🙂
Screenshots
FAQ
Notice tells “CloudFlare cache clear attempt was done”. How can I understand if autopurge is successful?
Good question. This notice doesn’t guarantee the cache wa successfully purged. Next major version of the plugin will contain that functionality if needed.
How can I clear particular files?
Hover over Purge button in right top corner on WordPress admin bar and click “Specific Files”. You will see modal (screenshot 6). Enter files in appeared form, press “purge Individual Files” button. Be happy =)
I have cleared cache, but no changes on my frontend. Why?
If no error message has appeared – wait for 30 seconds more. It must have successfully purged all assets. Please allow up to 30 seconds for changes to take effect.
I want to clear specific Cache Tag. How can I do it
This feature is available for Enterprise CloudFlare accounts only. It’s not developed so far.
Changelog
1.6
- important bugfix: when your WordPress was installed to subfolder – ajax call might have not worked
1.5.2
- bugfix when adding a new menu and atoclear cache option is enabled
1.5.1
- Small bugfixes and adjustments with style.css and script.js
1.5
- Autopurge option is added. You now can clear whole CloudFlare cache after post is updated/saved/created
1.4.1
- Small improvement with js
1.4
- Purge individual files feature is added
1.3
- Domain is replaced with Zone ID
1.2
- script.js is bugbixed. uprgade emmediatelly
1.1
- plugin is migrated to CloudFlare API v4
1.0.1
- Styles are added for admin bar.
- Menu name is renamed to Purge Cloud Flare
1.0
- Initial plugin release


