Account Engagement Plugin
Integrate Account Engagement with WordPress: easily track visitors, embed forms and dynamic content in pages and posts, or use the forms or dynamic co …
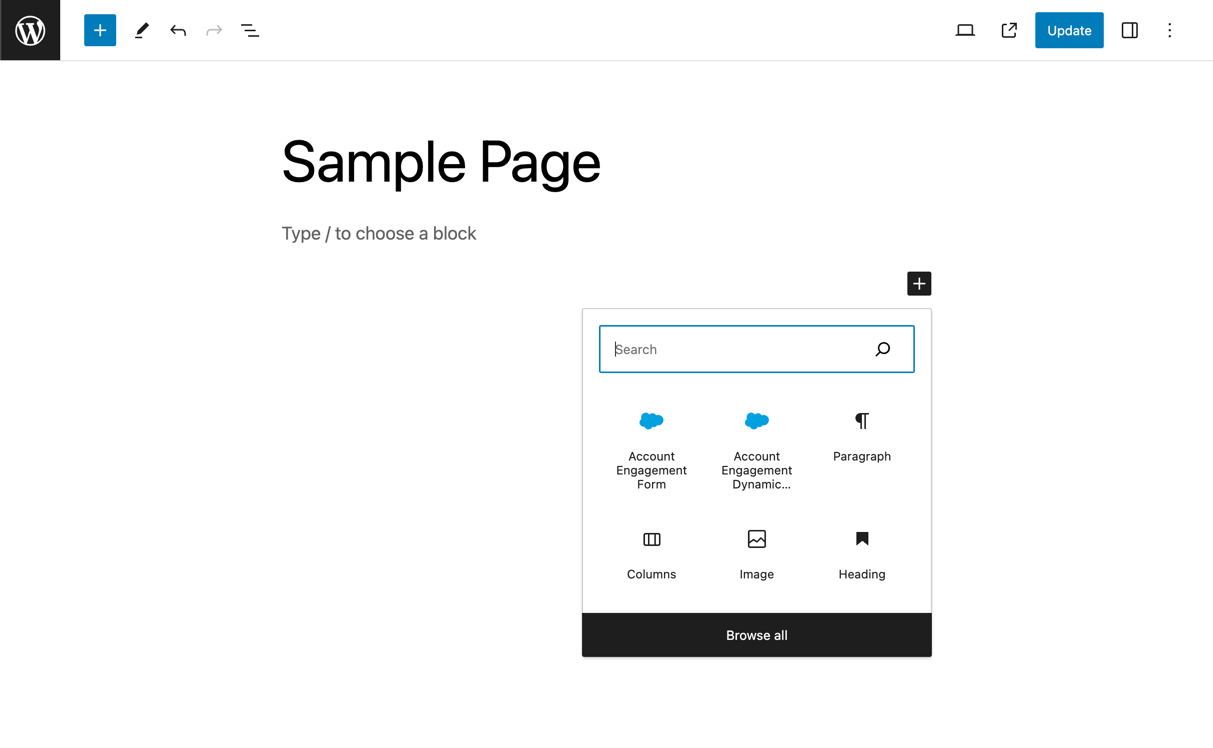
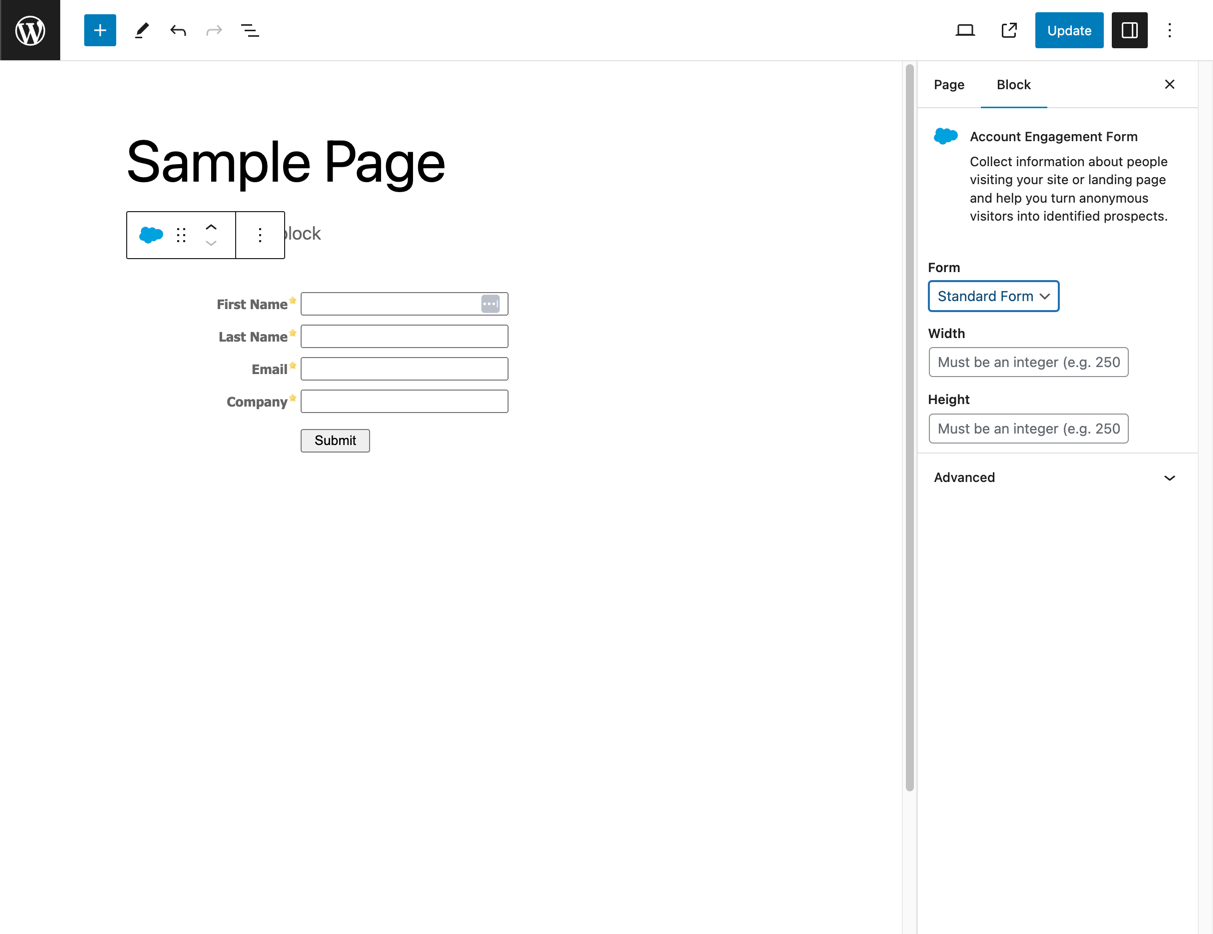
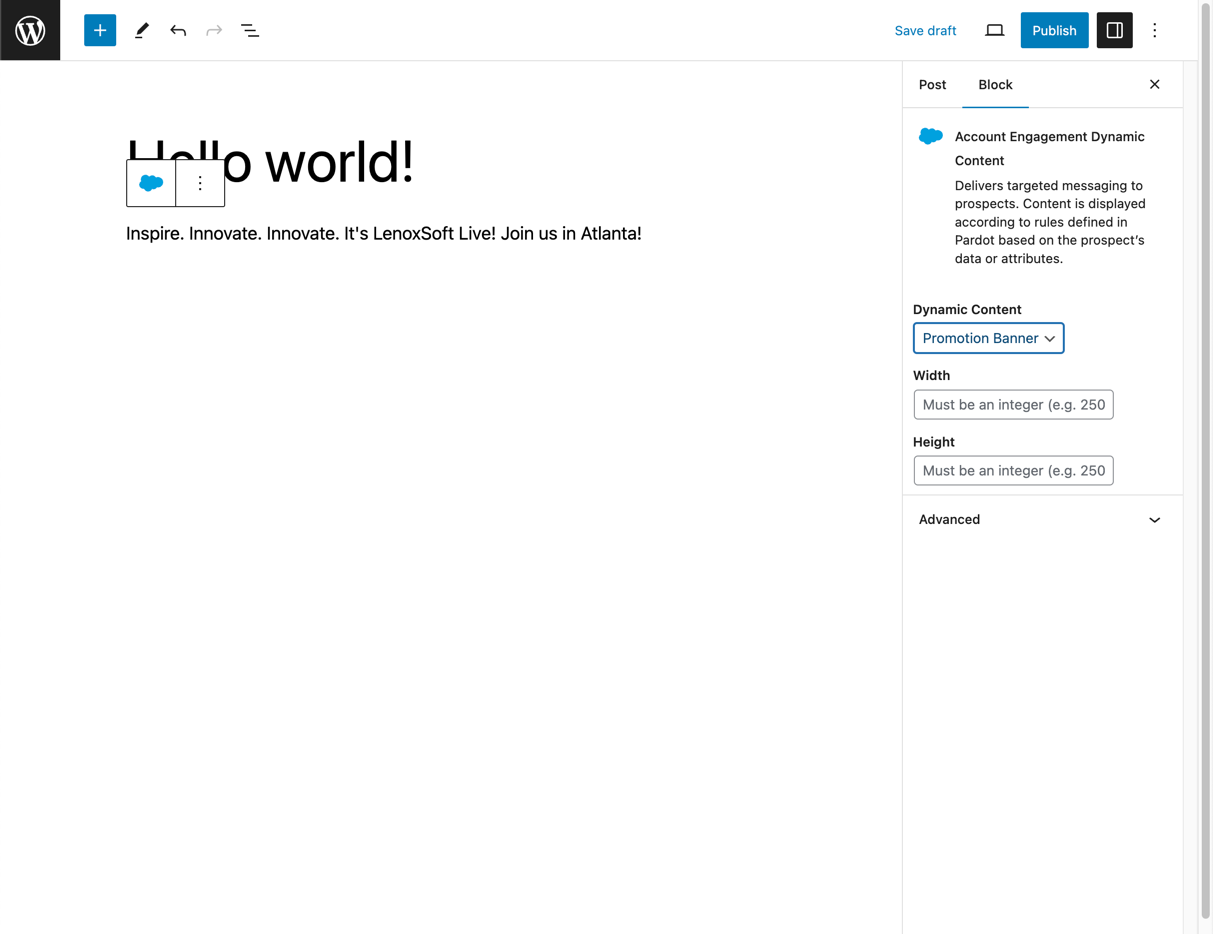
Say hello to marketing automation simplicity! With a single login, your self-hosted WordPress installation will be securely connected with Account Engagement. With the selection of your campaign, you’ll be able to track visitors and work with forms and dynamic content without touching a single line of code. You can use the widget to place a form or dynamic content anywhere a sidebar appears, or embed them in a page or post using a shortcode or the Account Engagement button on the Visual Editor’s toolbar.
Installation
- Upload
marketing-cloud-account-engagement-for-wordpress/trunkto your/wp-content/plugins/directory or go to Plugins > Add New in your WordPress Admin area and search for Account Engagement. - Activate the plugin through the ‘Plugins’ menu in WordPress.
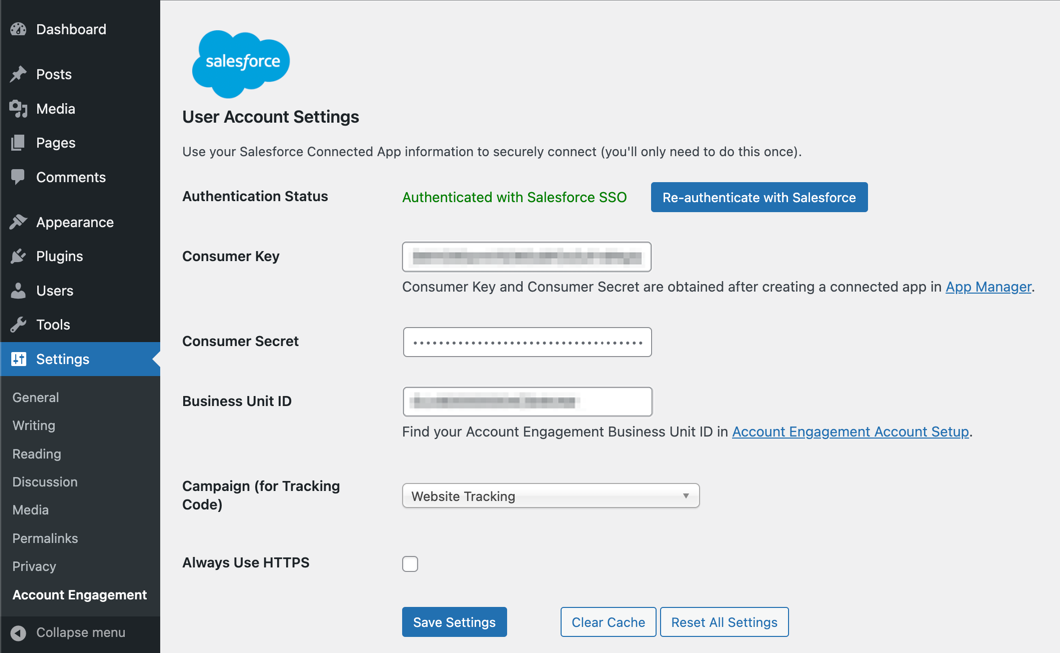
- Go to Settings > Account Engagement Settings and authenticate with Salesforce SSO.
- Select your campaign (for tracking code usage).
Screenshots
FAQ
In order to use Salesforce SSO authentication, you must create a connected application for the plugin in your Salesforce org.
- Navigate to App Manager.
- On the top right, click the “New Connected App” button.
- Enter an app name, API name, and contact email of your choice.
- Click the “Enable OAuth Settings” toggle.
- Enter a Callback URL to allow Salesforce to redirect users back to your Account Engagement plugin settings page. The URL should look similar to:
https://[YourWordpressDomainHere]/wp-admin/options-general.php?page=pardot. - Add “Access Pardot Services (pardot_api)” and “Perform requests on your behalf at any time (refresh_token, offline_access)” to your selected OAuth scopes.
- Save your connected application. A new page will appear with the Consumer Key and Consumer Secret.
- Enter your Consumer Key, Consumer Secret, and Account Engagement Business Unit ID into the Account Engagement WordPress settings screen. To find the Account Engagement Business Unit ID, go to Salesforce Setup and enter “Account Engagement Business Unit Setup” in the Quick Find box. Your Account Engagement Business Unit ID begins with “0Uv” and is 18 characters long. If you cannot access the Account Engagement Business Unit Setup information, ask your Salesforce Administrator to provide you with the Account Engagement Business Unit ID.
- Click “Save Settings”.
- When the page reloads, click “Authenticate with Salesforce”. Enter your Salesforce credentials in the popup that appears.
You should then see Authentication Status change from “Not Authenticated” to “Authenticated”.
Two simple shortcodes are available for use.
Form Shortcode
[pardot-form id="{Form ID}" title="{Form Name}" class="" width="100%" height="500" querystring=""] Use [pardot-form] with at least the id parameter. For instance, [pardot-form id="1" title="Title"] renders my Account Engagement form with an ID of 1.
Optional parameters:
The title parameter is included when using the toolbar button, but it’s not required for display. There is no default.
The class parameter allows you to add additonal classes to the iframe element. There is no default, but the class pardotform is now automatically added, regardless of any additional classes.
The width parameter will set the width of the iframe in pixels or percentage. For example, “500”, “500px”, and “80%” are all valid. The default is 100%.
The height parameter will set the height of the iframe in pixels only. For example, “500” or “500px” are valid. The default is 500px.
The querystring parameter appends an arbitrary string to the end of the form’s iframe source. This is helpful for passing data directly into the form. You can also do this with filters (see below).
Dynamic Content Shortcode
[pardot-dynamic-content id="{Dynamic Content ID}" default="{Non-JavaScript Content}"] Use [pardot-dynamic-content] with at least the id parameter.
The default parameter is used for accessibility. Whatever is placed here is wrapped in <noscript> tags and is shown only to users who have JavaScript disabled. By default, it will automatically be your “Default Content” as designated in Account Engagement. So,
[pardot-dynamic-content id="1" default="My default content."] would render something like:
<script type="text/javascript" src="http://go.pardot.com/dcjs/99999/99/dc.js"></script><noscript>My default content.</noscript> …which would show the dynamic content to users with JavaScript enabled, and ‘My default content’ to users with it disabled. Note that, due to the way the WordPress Visual Editor works, HTML tags for the parameter will be URL encoded to avoid strange formatting.
Simply choose another campaign in Settings > Account Engagement Settings and click ‘Save Settings’.
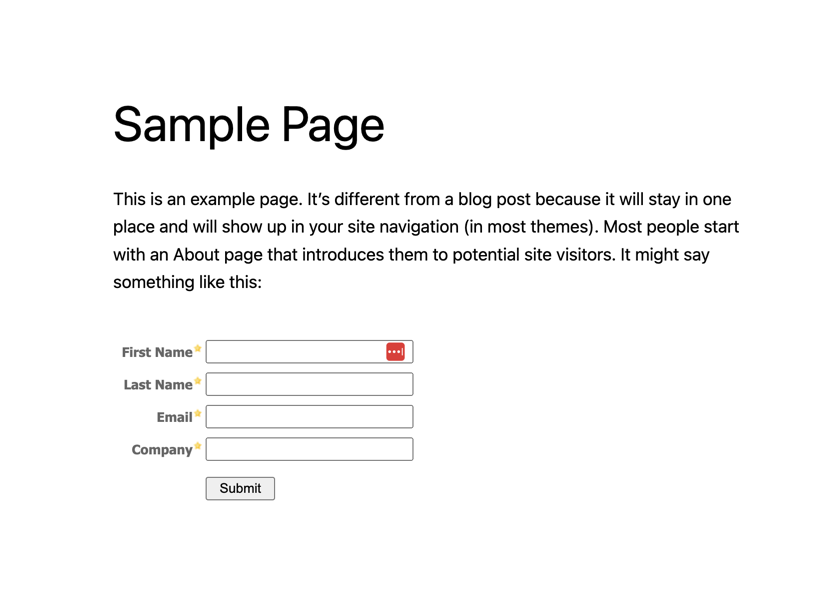
Since every WordPress theme is different, embedded forms won’t always automatically fit. You’ll want to make a Account Engagement Layout Template specifically for your WordPress theme:
- Go to Forms in Account Engagement. Find and edit the form that needs updating.
- Click ahead to the ‘Look and Feel’ step of the wizard and select the ‘Styles’ tab.
- Set ‘Label Alignment’ to ‘Above’ and click ‘Confirm and Save.’.
- Click the link to the layout template being used by the form.
Edit the layout template and add the following to the
<head>section of the template:<style type=”text/css”>
#pardot-form input.text, #pardot-form textarea {
width: 150px;
}
</style>
A width of 150px is just a starting point. Adjust this value until it fits on your page and add additional styles as you see fit. For styling help, reference our Basic CSS for Forms page.
Go to Settings > Account Engagement Settings and click ‘Reset Cache’. This should reinitialize and update your Account Engagement content.
As of version 1.4, developers can now deal with various directory configurations that would previously cause the plugin to break. This is due to the plugin not being able to find wp-load.php.
To fix it, add a new file called pardot-custom-wp-load.php to the plugins/pardot/includes directory (this will never be overridden by updates). In that file, define a constant that gives the absolute path to your wp-load.php file. For instance:
define('PARDOT_WP_LOAD', '/path/to/wp-load.php'); pardot_form_embed_code_[Form ID]
Filter the entire embed code for a given form. A common usage for this is conditionally appending a query string. So, for instance, the following will filter the embed code for form #545 and append an arbitrary parameter along with the post ID of the page being viewed:
function pardot_custom_append_querystring($body_html) { return preg_replace( '/src="([^"]+)"/', 'src="$1?this=that&postID=' . get_the_ID() . '"', $body_html ); } add_filter( 'pardot_form_embed_code_54796', 'pardot_custom_append_querystring' ); You can apply any conditional logic you want. For instance, this will append the same information, but only if you’re on the “About” page:
function pardot_custom_append_querystring($body_html) { if ( is_page('About') ) { $body_html = preg_replace( '/src="([^"]+)"/', 'src="$1?this=that&postID=' . get_the_ID() . '"', $body_html ); } return $body_html; } add_filter( 'pardot_form_embed_code_54796', 'pardot_custom_append_querystring' ); pardot_https_regex Filter the regular expression used to find URLs to be converted to https://go.pardot.com. This is only used when “Use HTTPS?” is checked in the settings. You may want to filter this regex if you find it’s not properly capturing and converting your URLs.
function pardot_custom_filter_https_regex() { return "/(http|https|ftp|ftps)\:\/\/[a-zA-Z0-9\-\.]+\.[a-zA-Z]{2,63}(\/\S[^'\"]*)?/"; } add_filter( 'pardot_https_regex', 'pardot_custom_filter_https_regex' ); Changelog
2.1.2
- Maintenance – Patch for some javascript ajax requests missing nonce
2.1.1
- Maintenance – Security patch for ajax requests
2.1.0
- Maintenance – Rebrand Pardot Plugin to Account Engagement Plugin
2.0.0
- Feature – Added support for the WordPress Block Editor
- Fix – When “Always Use HTTPS” is enabled in the plugin settings, non-HTTPS content will be properly converted to HTTPS
1.5.8
- Fix – Handled an issue that authentication failure (Pardot API Error Code 184: https://developer.salesforce.com/docs/marketing/pardot/guide/error-codes.html#numerical-list-of-error-codes) causes the settings page to be stuck in a loading state
1.5.7
- Fix – Allow custom HTTPS tracker domains
- Fix – Campaign dropdown now appears immediately after authentication
- Improvement – Automatically update form & dynamic cached HTML after selection
- Improvement – Eliminate Pardot Authentication Option (Not functional since February 2021)
1.5.6
- Fix – Persist access token refreshes properly
1.5.5
- Fix – Allow retrieving more than 200 assets when authing via Salesforce SSO
1.5.4
- Fix – Enforce Https for Salesforce SSO Redirect URI
1.5.3
- Fix – New response of invalid grant causes oauth to become invalidated
1.5.2
- Fix – v3 Pardot API call that goes to appropriate endpoint
1.5.1
- Fix – Handle recently added error codes (4xx) to prevent de-authorization
1.5.0
- Maintenance – Added Salesforce SSO authentication in preparation of Pardot authentication being discontinued in February 2021
- Improvement – Added authentication status indicator to settings page
- Improvement – Users no longer need to refresh the settings page after resetting settings
- Fix – Admin notices no longer overlap the Pardot logo on the settings page
- Fix – “#cancel” button on popup when not authenticated now closes popup (also changed name to more descriptive “Close”)
- Fix – PHP error no longer appears when initially adding widget
1.4.13
- Fix – Prevents a potential error with loading functions from pluggable.php
- Fix – Look for specific error messages and bail on auto-retrying authentication (to prevent loops)
1.4.12
- Fix – Show title attribute on form iframe
- Improvement – Improve encryption of stored strings
1.4.11
- Improvement – Improve password handling on settings screen
1.4.10
- Fix – Disable recursion bug that resulted in overloaded cache and transient rows (click Empty Cache button in settings or manually delete the
_pardot_cache_keysand_pardot_transient_keysrows from your options table)
1.4.9
- Fix – Set autoload to false when updating options to prevent large DB value from being loaded into memory
- Maintenance – Move authorization to headers to conform with API docs (#27) Thanks @adelawalla!
- Fix – Ensure proper counting when looping through assets (#25) Thanks @stefanwiebe!
- Fix – Update settings screen text for finding API key
- Fix – Remove undefined tb_close JS function causing console error
1.4.8
- Fix – Show any authentication-related error messages returned by the Pardot API to the user, where possible, to aid troubleshooting [106707]
1.4.7
- Fix – Restored some older cache-clearing code to help ensure Pardot data that preceded the 1.4.6 release is indeed cleared from the cache [104403]
1.4.6
- Fix – Added support for OpenSSL-based protection of settings data, addressing the deprecation and removal of Mcrypt-support in PHP 7.x [90688]
- Fix – Implemented changes to ensure the cache can successfully be cleared within environments that use persistent caching [88962]
- Fix – Prevent PHP errors that would sometimes arise with empty campaign data, especially in PHP 7.0 and higher (props to @jimcin and @jarvizu for reporting this issue!) [102028]
- Tweak – Resolved an issue that resulted in the display of duplicate confirmation notices when updating plugin settings [99848]
- Tweak – “Reset All Settings” functionality altered to more reliably delete all settings [90688]
- Tweak – Added filter hook
pardot_get_setting[100888]
1.4.5
- Fix – Fixed some layout issues when the Pardot shortcode-builder form is viewed in smaller browser sizes or mobile devices [89563]
1.4.4
- Fix – Restored functionality of the Pardot button in the visual editor [86322]
1.4.3
- Fixes a more obscure bug that would cause the plugin to become unauthenticated
1.4.2
- Fixes a bug that would cause the plugin to become unauthenticated
1.4.1
- Allow connection with API v4
- Improve regex for HTTPS and add filtering
1.4
- Add HTTPS option
- Add “querystring” parameter in shortcode
- Allow embed code to be filtered
- Change “Pardot Settings” link to “Pardot”
- Update branding
- Allow override for wp-load.php in various installation configurations
- Fixes errant notice on 404 pages
1.3.10
- Improve WordPress 3.9 compatibility (Tiny popup titles; update Chosen)
1.3.9
- Fixes a small bug with a JS library being called in the wrong place
1.3.8
- Add Chosen selector to forms and dynamic content
- Fix async DC bug
- Enchance password authentication encoding
1.3.7
- Add Chosen selector to campaign settings
- Fix authentication issue
1.3.6
- Adds support for 400+ campaigns, form, and dynamic content blocks
- Updates branding
1.3.5
- Fixed a bug where pardotform class might be applied to closing iframe tag (thanks palpatine1976!)
- Optimize code to remove some debug messages
- Improve campaign retrieval for over 200 campaigns
1.3.4
- Fixed a bug where tracking code might show the wrong ID.
1.3.3
- Accounts for a minor API change in the tracking code
- Adds support for 200+ campaigns
1.3.1
- Fixed a bug with
shortcode_existsfatal error
1.3.1
- Fixed a bug with
has_shortcodefatal error
1.3
- Use new asynchronous loading for Dynamic Content
1.2
- Added ability to specify height, width, and class on the form
- Added class ‘pardotform’ to every iframe for easier styling
1.1.5
- Add some helpful links to the Reset Cache button
- Minor UI tweaks
- Updated the Pardot logos
- Updated screenshots for 3.5
1.1.4
- Fix TinyMCE modal bug when no forms or dynamic content is present
- Support for 200+ forms and dynamic content items
- Other minor checks
1.1.3
- Checks for mcrypt and falls back safely if not (fixes blank admin screen bug)
1.1.2
- Clear cache when resetting all settings
- Be more forgiving with login whitespace
- Make some security improvements
1.1.1
- Make
<noscript>default to Default Pardot Content
1.1.0
- Added dynamic content shortcodes
- Added title field to form widget
- Added ‘Reset Cache’ option
1.0.3
- Added form caching for faster rendering and less requests
1.0.2
- Fix a caching issue that was causing the most recently-used form to render on all posts/pages
- Extended API cache timeout
1.0.1
- Fix bug with form order in content
1.0
- Initial release.
