
Freshchat Plugin
Freshchat plugin is a seamless way to add your Chat to your website.
Speak to all your WordPress site visitors and users to increase sales, collect feedback and provide support. For setup instructions, go here.
Modern messaging software that your sales and customer engagement teams will love.
1.Not your typical bot. Meet your new sales sidekick.
Engage proactively with those who matter with contextual and timely messages. Let the bot kick in to capture leads, validate and qualify responses, and auto-upload them into your CRM. Customize bot messages to set the right expectations.
2.Get all the context you need to sell smarter
With events timeline, user information, and social profiles, know who you’re talking to and what they are up to. Bring in information from external tools like CRM or order management systems for more context.
3.Reduce churn, increase adoption
Talk to your users before it’s too late. Set up in-app campaigns to onboard and educate new users, or retain and re-engage lapsing customers. Send announcements, get feedback, and share product best practices right inside the product to close the loop effectively and maximize impact.
Paste below snippet with your token in snippet textbox
‘<script>
window.fcSettings = {
token: “XXXXXX-XXXX-XXXX-XXXX-XXXXXXXXXX”,
host: “https://wchat.freshchat.com”
};
</script>
<script src=”https://wchat.freshchat.com/js/widget.js” async></script>’
Installation
For an automatic installation through WordPress:
- Go to the ‘Add New’ plugins screen in your WordPress admin area.
- Search for ‘Freshchat’ plugin.
- Click ‘Install Now’ and activate the plugin.
- Select Freshchat and choose Freshchat is Enabled option
- Add the Freshchat widget code by logging in to your Freshchat account and copying the widget code from the Web Messenger Settings here
- Hit Save Changes
Paste below snippet with your token in snippet textbox
‘<script>
window.fcSettings = {
token: “XXXXXX-XXXX-XXXX-XXXX-XXXXXXXXXX”,
host: “https://wchat.freshchat.com”
};
</script>
<script src=”https://wchat.freshchat.com/js/widget.js” async></script>’
Manual Installation:
- Download the latest version of ‘Freshchat’ plugin from the WordPress Plugin Directory.
- Extract the zip and Upload the freshchat directory to your /wp-content/plugins directory
- Go to the plugins management page and activate the plugin
- You now have a new admin menu ‘Freshchat’ in your WordPress admin menu bar. Click on it and Configure your settings as mentioned in the info comments in the screen.
- Select Freshchat and choose Freshchat is Enabled option
- Add the Freshchat widget code by logging in to your Freshchat account and copying the widget code from the Web Messenger Settings here
- Hit Save Changes
Paste below snippet with your token in snippet textbox
‘<script>
window.fcSettings = {
token: “XXXXXX-XXXX-XXXX-XXXX-XXXXXXXXXX”,
host: “https://wchat.freshchat.com”
};
</script>
<script src=”https://wchat.freshchat.com/js/widget.js” async></script>’
Screenshots
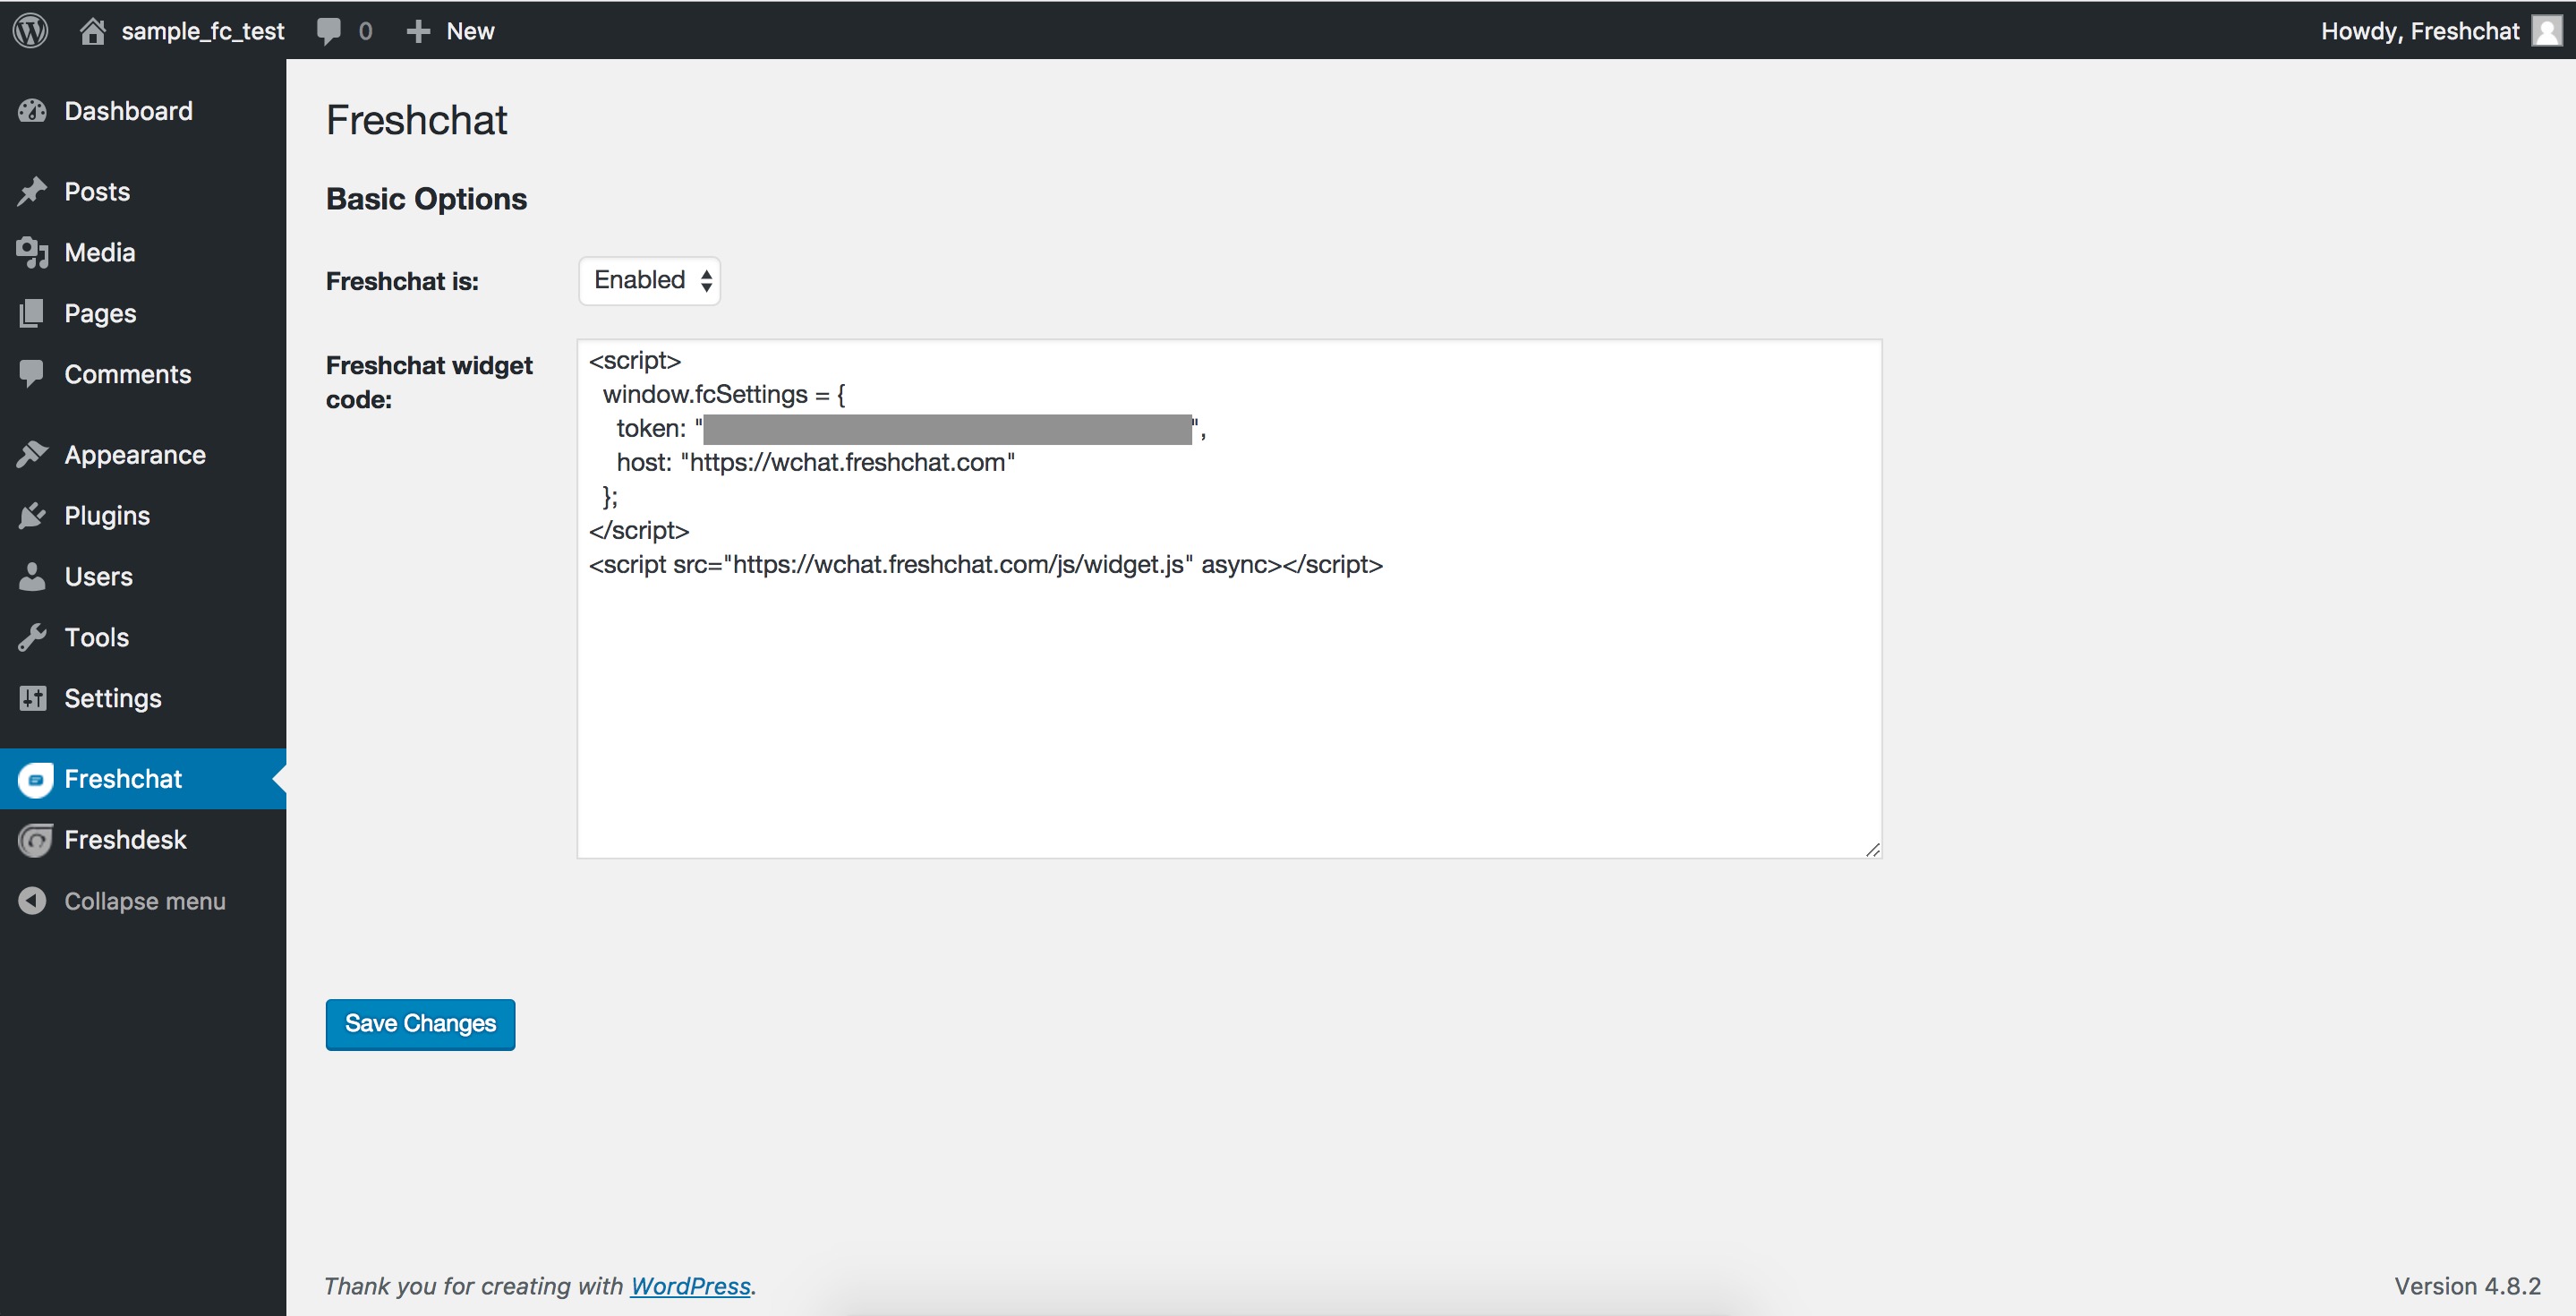
This screen shot shows the Settings Screen.

This shows the page where a new Chat widget installed.

This shows the page where Agent reply

This shows the chat widget with converstion
FAQ
Kindly check the installation tab.