Easy!Appointments Plugin
Integrate the booking form of Easy!Appointments directly into your WordPress pages.
Leverage your conversion rates by integrating the booking form directly in your WordPress pages. Customers will never have to leave your website for booking an appointment. Take advantage of the scheduling power of Easy!Appointment which will run smoothly with your WordPress installation. Include the booking form in your pages with the [easyappointments] shortcode.
Minimum Requirements: WordPress v5.0 & PHP v5.6
Connecting Easy!Appointments with WordPress
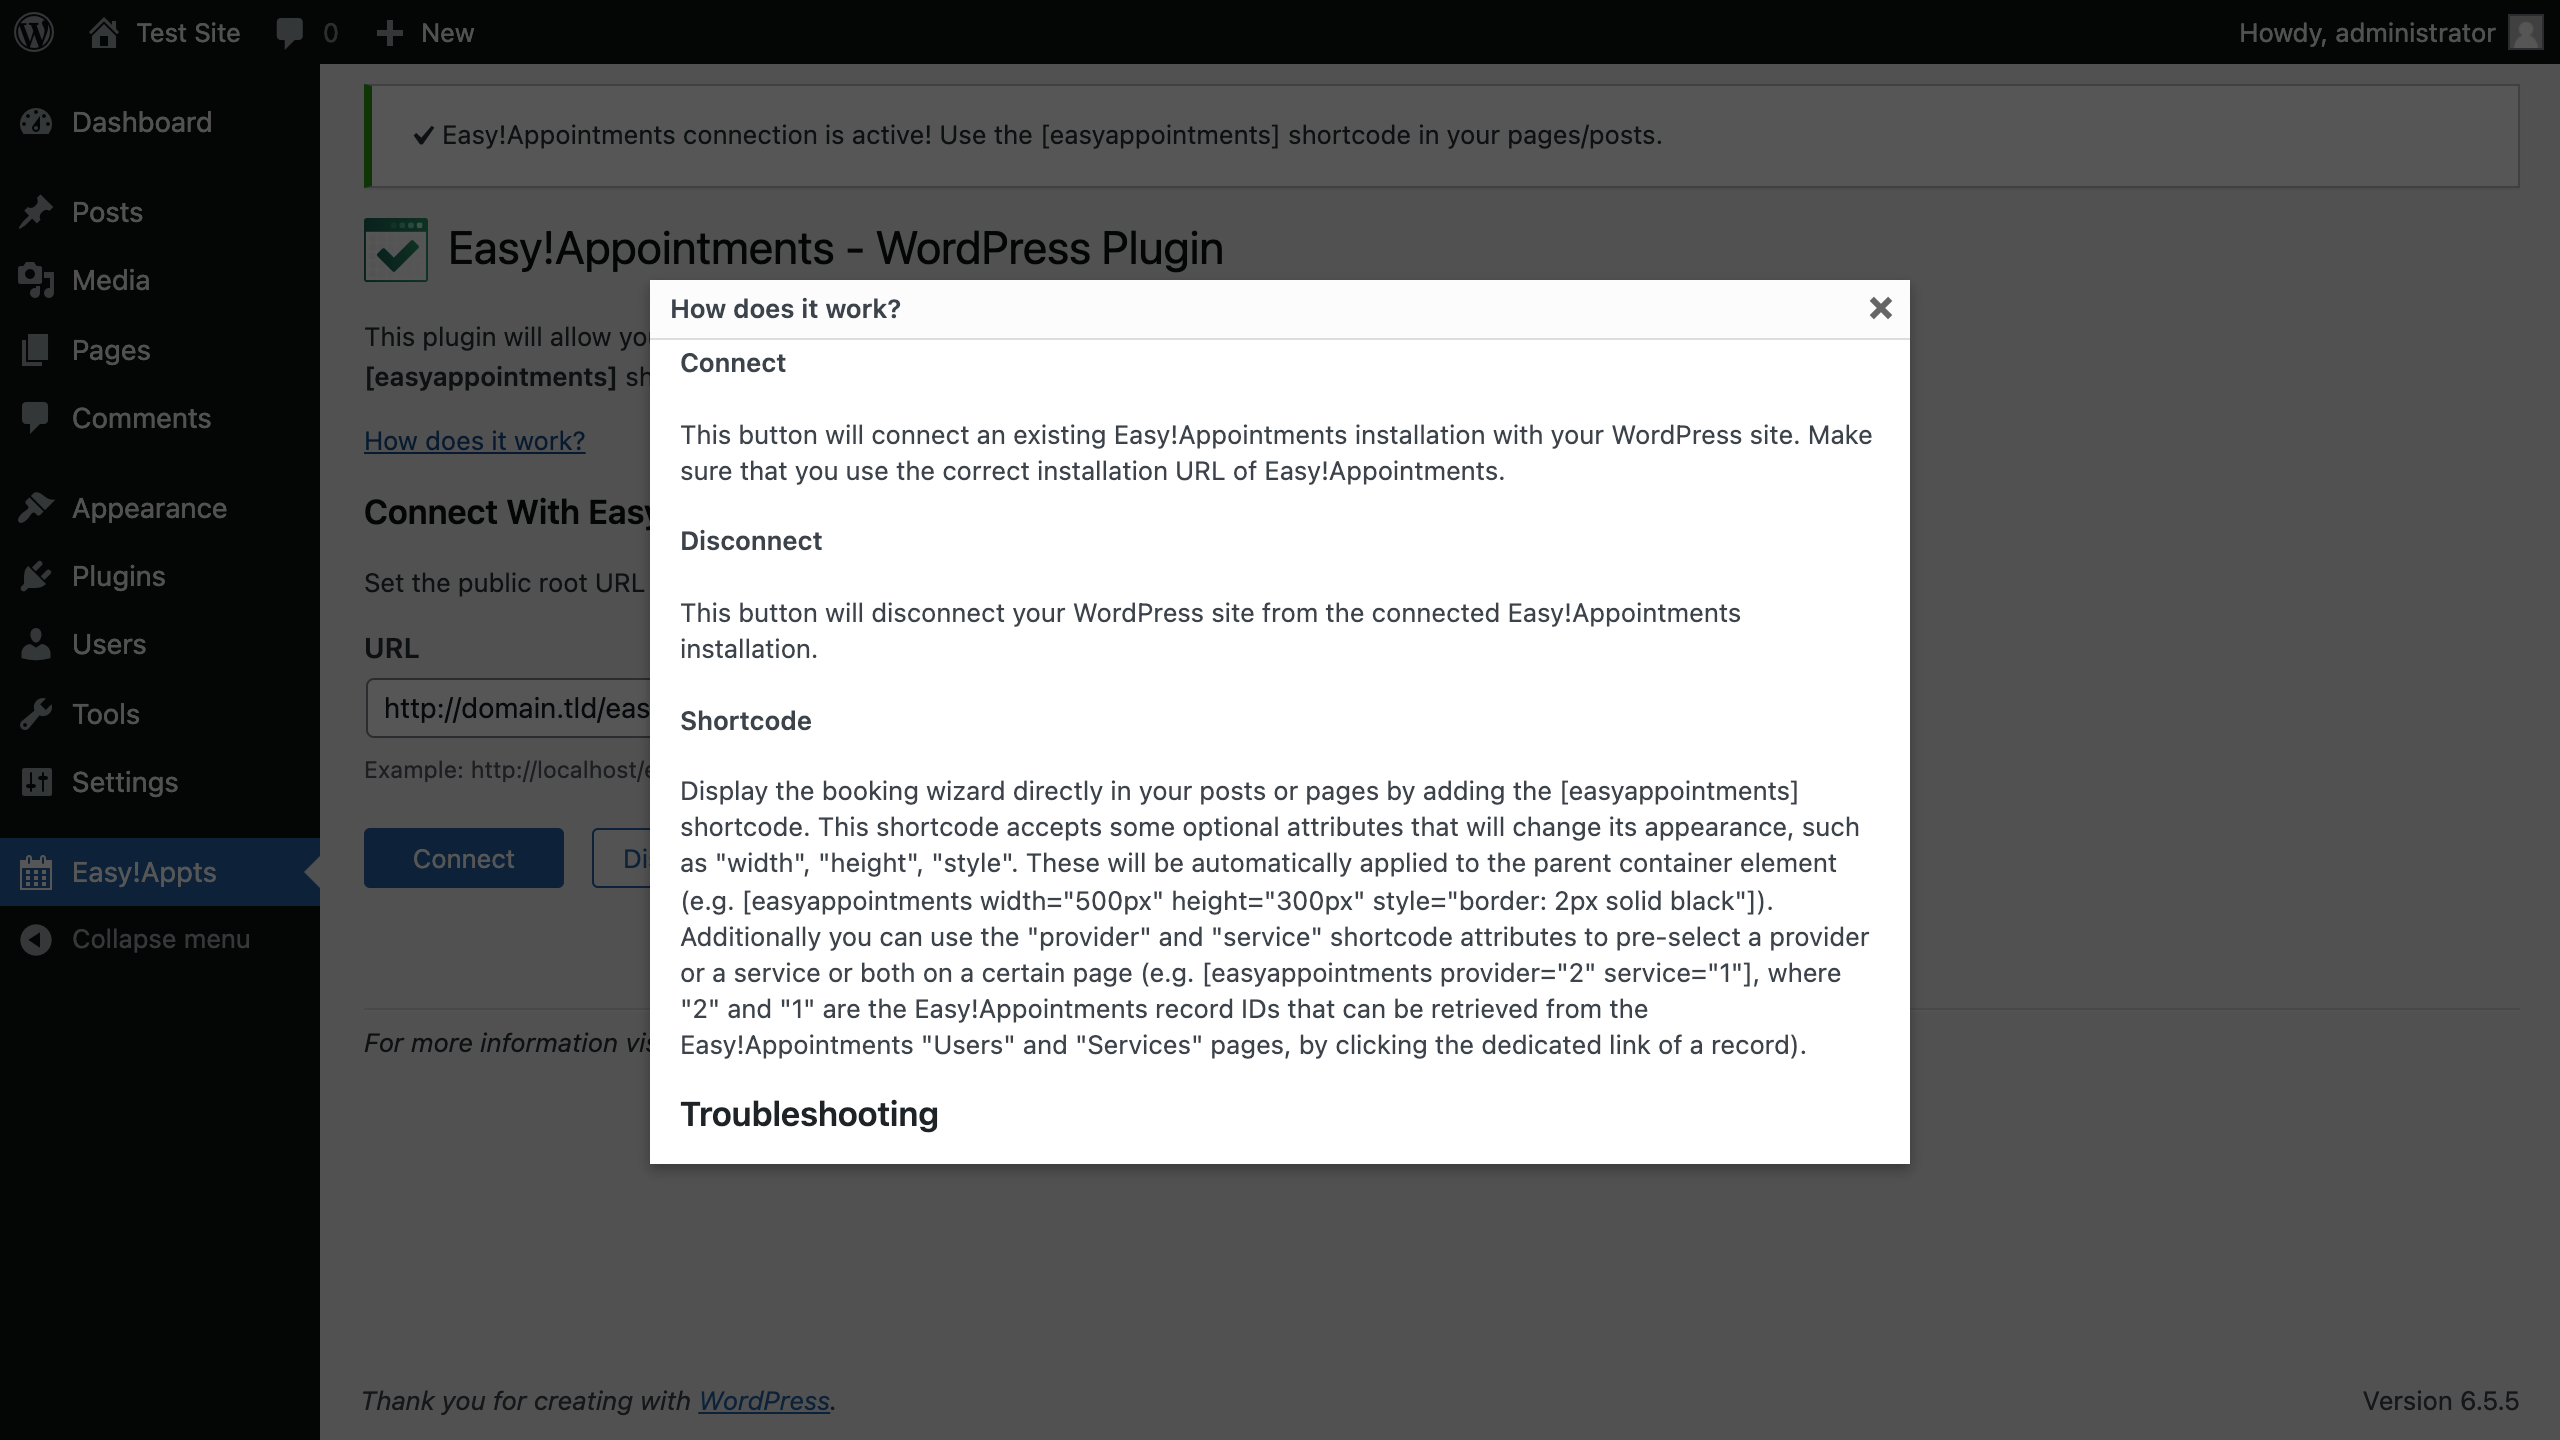
Install and activate the plugin and navigate to Easy!Appointments menu of the WordPress admin section. Connect to an existing Easy!Appointments installation by providing the preferred URL in the page form. Once a connection is established you’ll be able to include the booking form in your pages.
Include Booking in your Pages
WordPress supports the use of custom shortcodes which allows plugins to insert custom content into pages. This plugin takes advantage of this functionality and creates an iframe that displays the booking form of Easy!Appointments. Include the [easyappointments] shortcode in the correct place of your published contents as shown in the following example.
[easyappointments width="100%" height="500px" style="border: 5px solid #1A865F; box-shadow: #454545 1px 1px 5px;"] The “width”, “height” and “style” attributes are optional but can help you to fine tune the styling of the iframe.
Additionally, you can use the “provider” and “service” shortcode attributes to preselect a provider or a service or both on a certain page (e.g. [easyappointments provider="2" service="1"], where “2” and “1” are the record IDs, they can be fetched from the Easy!Appointments backend section, in the users and services page accordingly by clicking the dedicated link of a record).
Find out more about Easy!Appointments at https://easyappointments.org/wordpress
Installation
Install and activate the plugin and navigate to Easy!Appointments menu of the WordPress admin section. Create a new Easy!Appointments installation or connect to an existing one by providing the preferred URL and destination path in the page form. Once a connection is established you’ll be able to include the booking form in your pages.
After a successful connection you can use the [easyappointments] shortcode in your posts or pages. This shortcode will display the Easy!Appointments booking form and clients will be able to book appointments without ever leaving your website.
Screenshots
FAQ
You can change the default language of Easy!Appointments by editing the config.php of your installation.
If you encounter issues, but you do not know what to do visit the official Easy!Appointments support group where active users help each other solve their problems.
https://groups.google.com/forum/#!categories/easy-appointments
Changelog
1.4.1
- Add capabilities check to the plugin requests
1.4.0
- Support for up to WordPress 6.5.5.
- Remove installation functionality.
- Move the menu item in WP admin to root level, so that it becomes easier to find.
- Update screenshots.
1.3.3
- Support for WordPress 6.5.2.
- Add additional security check on instance removal.
- Add Russian translations to the plugin (by @krotesk).
1.3.2
- Support for WordPress 6.4.3.
- Fixed XSS issue with shortcode.
1.3.1
- Support for WordPress 5.6.
- Support for Easy!Appointments 1.4
- Fixed issue with new Easy!Appointments installations.
- Fixed issue with missing javascript file in public pages.
1.3.0
- Support for WordPress 5.5.
- Plugin codebase adjustments.
- Added support for “provider” and “service” shortcode attributes.
1.2.0
- Support for WordPress 5.x.
1.1.0
- Installation will not try to create a new directory (avoiding permission problems).
- Added minified assets (JS & CSS).
- Enhanced admin UI section.
1.0.1
- Initial release in WordPress plugin repositories.
- Install, Link, Unlink, Verify and Shortcode operations.
- Shipped with Easy!Appointments v1.1.1


