Cookielay Plugin
With Cookielay you manage cookies in a privacy compliant way. You offer visitors the possibility to decide for themselves which cookies are stored.
Cookielay: The easy way to manage cookies
With Cookielay you can easily manage your website’s cookies in a privacy compliant way. Add cookies, assign them to groups and define which function should be executed when allowing or blocking cookies.
The visitors of your website can now, through a cookie hint, decide for themselves which cookies they want to store.
Features and functions
Cookielay offers many useful features and functions:
- Disable cookie hint for bots and crawlers.
- Reload the page after the user has saved his cookie settings
- Easy to add cookies thanks to presets
- Add exceptions for the cookie overlay
- Different overlay layouts to choose from
- Free customization of the overlay
- Easy management of cookie settings via shortcodes
Translations
The translations only affect the backend. Everything the user sees on your website from Cookielay, you can customize and translate yourself!
Cookielay is currently translated into the following languages:
- English
- German
- Dutch
Cookielay Premium: Expand your possibilities!
The basic version of Cookielay already offers countless useful features. But if you want to use the full potential of Cookielay, upgrade to Premium!
Upgrade to Cookielay Premium now and expand your possibilities. Get access to many useful functions that allow you to customize Cookielay even better for your website. These include:
- Multilingual-Support (WPML & Polylang)
- Multisite-Support
- Automatic cookie detection
- Content-Blocker
- Custom overlay style
- Add your logo to the overlay
- Change the name of the Cookielay cookie
- Add unlimited cookies
- Premium Support
Cookielay Premium is currently under development and is expected to be completed in the first half of 2021.
Support
Need help installing Cookielay, something isn’t working as expected, or want to get in touch for some other reason?
You are in a hurry? With Cookielay Premium, your requests are prioritized.
Many thanks to André for the support!
Installation
Installing Cookielay is really easy: download it, set it up and activate it. That’s it. Sounds great, doesn’t it? If you still have problems with the installation, feel free to contact our support. We will help you!
Install Cookielay with WordPress
- Visit the “Plugins” page in the WordPress backend
- Click on “Add new” to install a new plugin
- Search for “Cookielay
- Click on “Install” and then on “Activate
- Navigate to the page “Cookielay” in the WordPress backend
- Configure Cookielay according to your preferences
- Activate Cookielay in the Cookielay dashboard
Install Cookielay manually
- Download the zip file
- Unzip it and move the folder
cookielayto the directory/wp-content/plugins/. - Click on the “Plugin” page in the WordPress backend
- Activate cookielay
- Navigate to the page “Cookielay” in the WordPress backend
- Configure Cookielay according to your preferences
- Activate Cookielay in the Cookielay dashboard
Screenshots

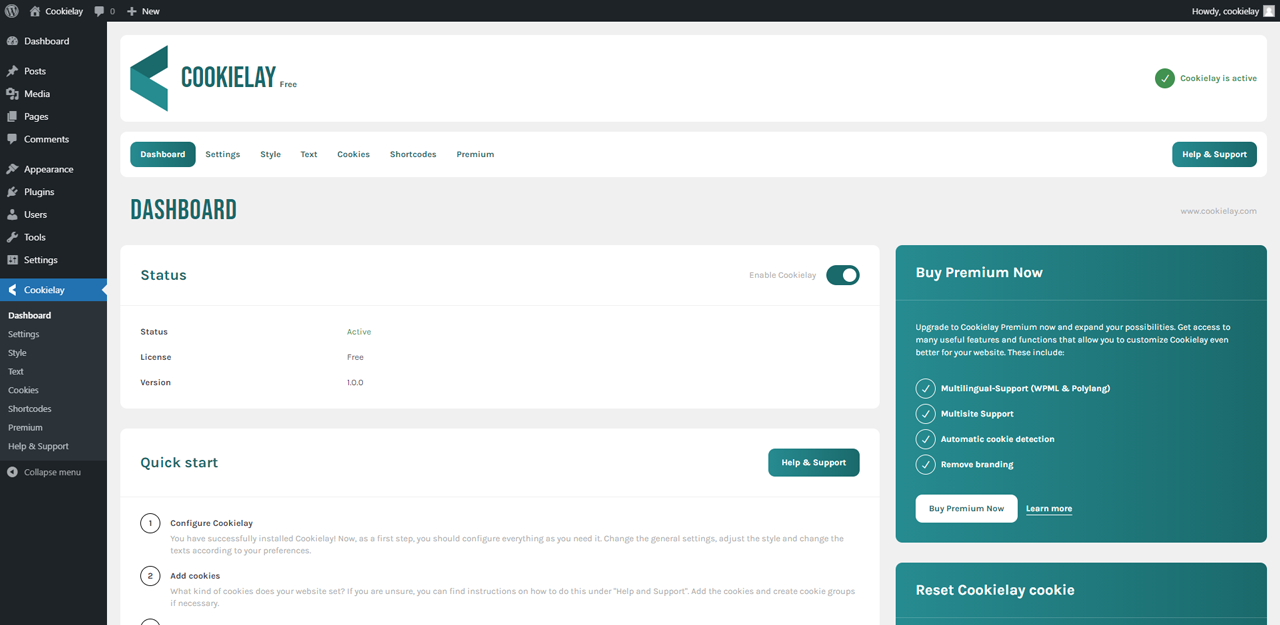
The dashboard shows you all current parameters.

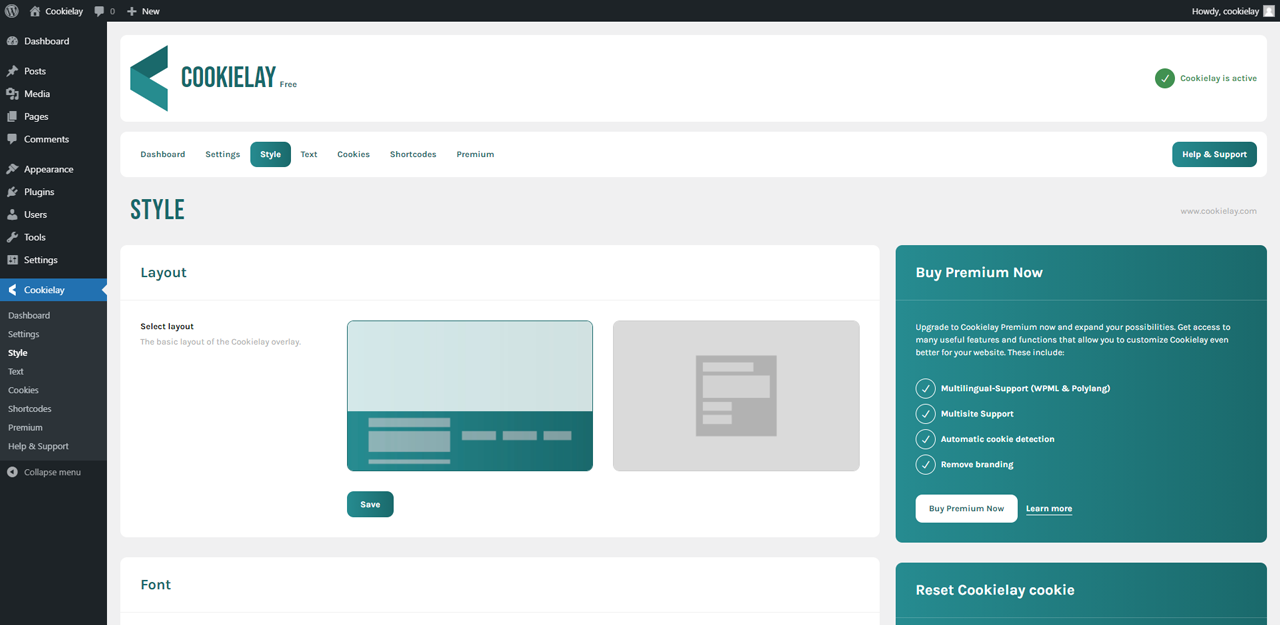
You can customize Cookielay and choose between two different layouts.

You always keep track of your groups and cookies.

Shortcodes allow your users to easily customize their cookie settings.

This is the default Cookielay layout.

This is the alternative Cookielay layout.

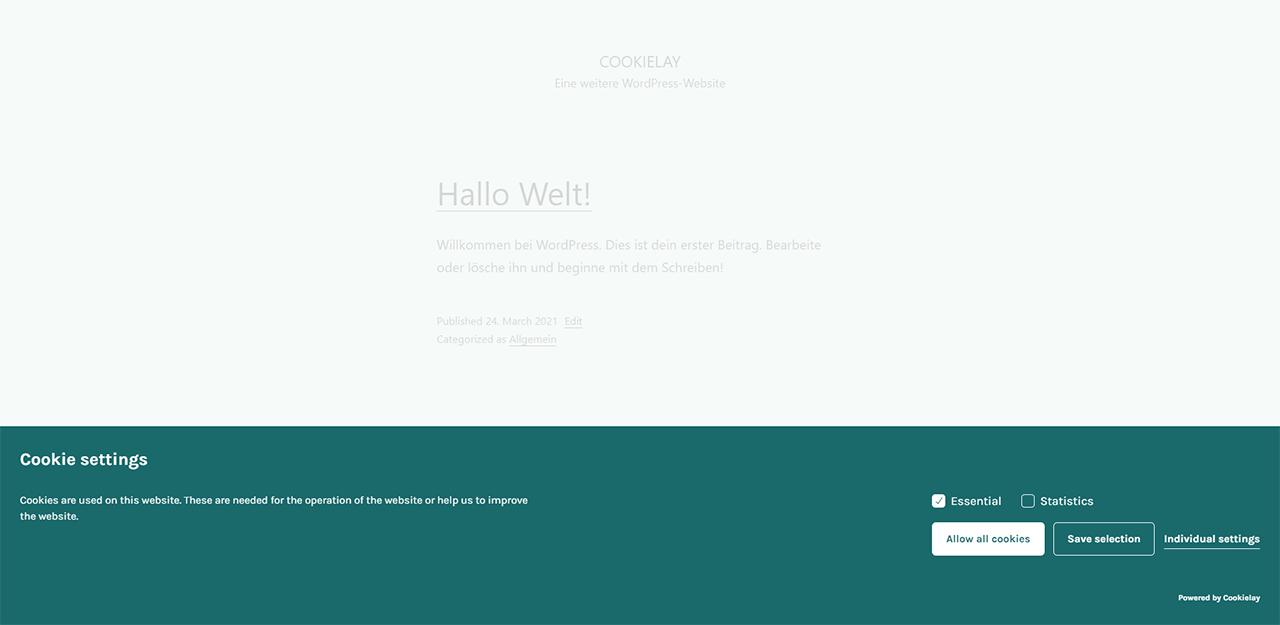
Your visitors can customise which cookies are stored.
FAQ
If Cookielay is not displayed on your website, then this may be due to various reasons. First of all, you should check if Cookielay is active at all. The current status is constantly displayed in the upper area. If it is currently inactive, you need to enable Cookielay in the Dashboard first. Additionally, you should check your settings.
Cookielay is still not displayed? Open the JavaScript console on your website and see if any error messages are displayed. In many cases, these are helpful for troubleshooting.
If no error is displayed in the console, then check if your active theme or another plugin deregisters jQuery.
Please check your domain in the settings. If your entered URL is incorrect or incomplete, then the cookie cannot be set properly, which leads to repeated display of Cookielay.
There are several ways to find out which cookies your website sets. The easiest way is to check the privacy settings of your browser to see which cookies belong to your website. Alternatively, there are also a bunch of websites out there that scan your site for cookies. Just search for them.
Unfortunately, we can not give you legal advice on which cookies you need to get consent for. Basically, you should get consent from the user for every cookie, unless it is absolutely necessary for the operation of your website.
First of all, you should know what kind of cookie you want to add to Cookielay and what its function is. To add the cookie, click “Add cookie” under “Cookies”. Enter a title that fits the cookie. In the corresponding field, enter the actual name of the cookie as it is stored in the browser. Fill in all other fields and select a cookie group. If you do not find a suitable group, you should create one first.
Now it gets exciting: Copy the JavaScript code, which should be executed after the consent or after blocking the cookie, into the appropriate editors (with the script-tag). The corresponding code will then be executed on every page load. For example, for a statistics cookie, you add the tracking code in the “Scripts (Allow)” field.
Now you just have to save the cookie and activate it in the overview.
Changelog
1.2.0
- Small bug fixes
- Compatibility with WordPress 6.3
- Template changes to the frontend
- Add the possibility to remove the checkboxed of the groups in the frontend
1.1.9
- Fix css issue
1.1.8
- Fix cursor issue
1.1.7
- Compatibility with WordPress 6.0
- Small bug fixes
- Updated to Bootstrap 5 (Backend)
1.1.6
- Compatibility with WordPress 5.9
- Equate the “Save” button with the “Accept All” button
1.1.5
- Fixed bug: Cookielay was displayed again on another page after confirming the settings on one subpage
1.1.4
- Ready for MySQL 8.0 and higher
- UI adjustments
- Adjustments to the translations
- Small bug fixes
1.1.3
- Remove local translation files
1.1.2
- Add cookie presets
- Added a setting that allows hiding empty cookie groups in the frontend
- UI adjustments
- Adjustments to the translations
- Small bug fixes
1.1.1
- Improve translation
1.1.0
- The possibility to output the cookie code in the header of the website
- Script tags must now be used in the code editor of the cookies
- Add updater
- Implement checkboxes of the cookie groups in the Cookielay Overlay
- Adjustments to the Cookielay Overlay
- Removing the Cookielay version from the database on uninstallation
- Adjustments to the translations
- Small bug fixes
1.0.0
- Cookielay was born! Hello world!