Contact Form Clean and Simple Plugin
A clean and simple AJAX contact form with Google reCAPTCHA, Twitter Bootstrap markup and Akismet spam filtering.
A clean and simple AJAX contact form with Google reCAPTCHA, Twitter Bootstrap markup and Akismet spam filtering.
Clean: all user inputs are stripped in order to avoid cross-site scripting (XSS) vulnerabilities.
Simple: AJAX enabled validation and submission for immediate response and guidance for your users (can be switched off).
Stylish: Use the included stylesheet or switch it off and use your own for seamless integration with your website.
Uses Twitter Bootstrap classes.Safe: All incoming data is scanned for spam with Akismet.
This is a straightforward contact form for your WordPress site. There is very minimal set-up
required. Simply install, activate, and then place the short code [cscf-contact-form] on your web page.
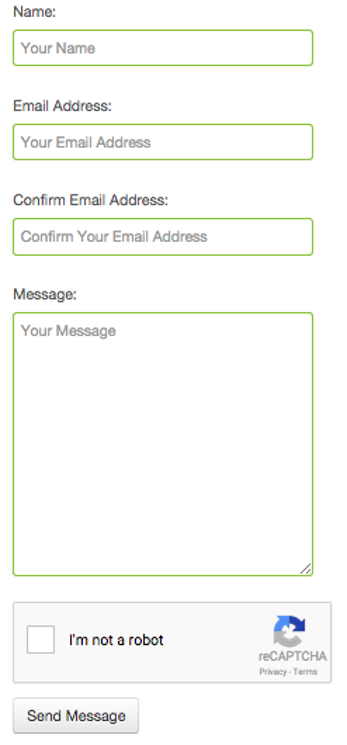
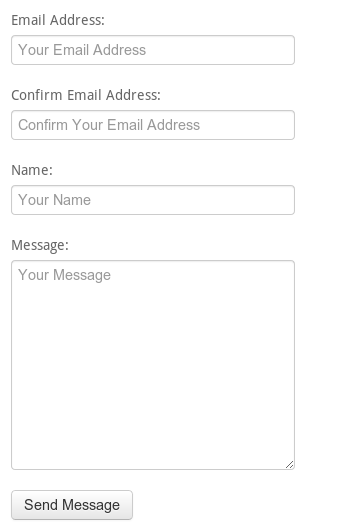
A standard set of input boxes are provided, these include Email Address, Name, Message and a nice big ‘Send Message’ button.
When your user has completed the form an email will be sent to you containing your user’s message.
To reply simply click the ‘reply’ button on your email client.
The email address used is the one you have set up in WordPress under ‘Settings’ -> ‘General’, so do check this is correct.
To help prevent spam all data is scanned via Akismet.
For this to work you must have the Akismet Plugin installed and activated.
All spam will be placed in your ‘comments’ list which you can then review if you want to,
For added piece of mind this plugin also allows you to add a ‘reCAPTCHA’.
This adds a picture of a couple of words to the bottom of the contact form.
Your user must correctly type the words before the form can be submitted, and in so doing, prove that they are human.
Why Choose This Plugin?
Granted there are many plugins of this type in existence already. Why use this one in-particular?
Here’s why:
Minimal setup. Simply activate the plugin and place the shortcode [cscf-contact-form] on any post or page.
Safe. All input entered by your user is stripped back to minimise as far as possible the likelihood of any
malicious user attempting to inject a script into your website.
If the Akismet plugin is activated all form data will be scanned for spam.
You can turn on reCAPTCHA to avoid your form being abused by bots.Ajax enabled. You have the option to turn on AJAX (client-side) validation and submission which gives your users an immediate response when completing the form without having to wait for the page to refresh.
The form can integrate seamlessly into your website. Turn off the plugin’s default css style sheet so that your theme’s style sheet can be used instead.
If your theme is based on twitter bootstrap then this plugin will fit right in because it already has all the right div’s and CSS classes for bootstrap.
This plugin will only link in its jQuery file where it’s needed, it will not impose itself on every page of your whole site!
Works with the latest version of WordPress.
Original plugin written by an experienced PHP programmer, Megan Nicholas, the code is rock solid, safe, and rigorously tested as standard practice.
Hopefully this plugin will fulfil all your needs.
PHP 8 Ready
Tested on PHP 8.0
How to Use
Unless you want to change messages or add reCAPTCHA to your contact form then this plugin will work out of the box without any additional setup.
Important: Check that you have an email address set-up in your WordPress ‘Settings’->’General’ page. This is the address that the plugin will use to send the contents of the contact form.
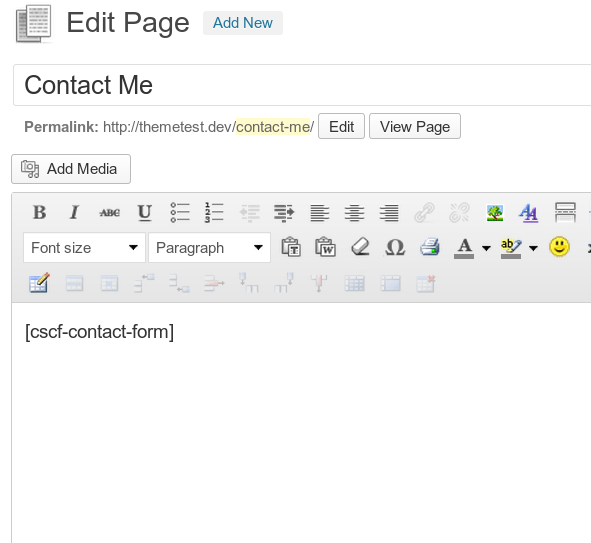
To add the contact form to your WordPress website simply place the shortcode [cscf-contact-form] on the post or page that you wish the form to appear on.
If you have Jetpack plugin installed disable the contact form otherwise the wrong form might display.
Additional Settings
This plugin will work out of the box without any additional setup. You have the option to change the default messages that are displayed to your user and to add reCAPTCHA capabilities.
Go to the settings screen for the contact form plugin.
You will find a link to the setting screen against the entry of this plugin on the ‘Installed Plugins’ page.
Here is a list of things that you can change
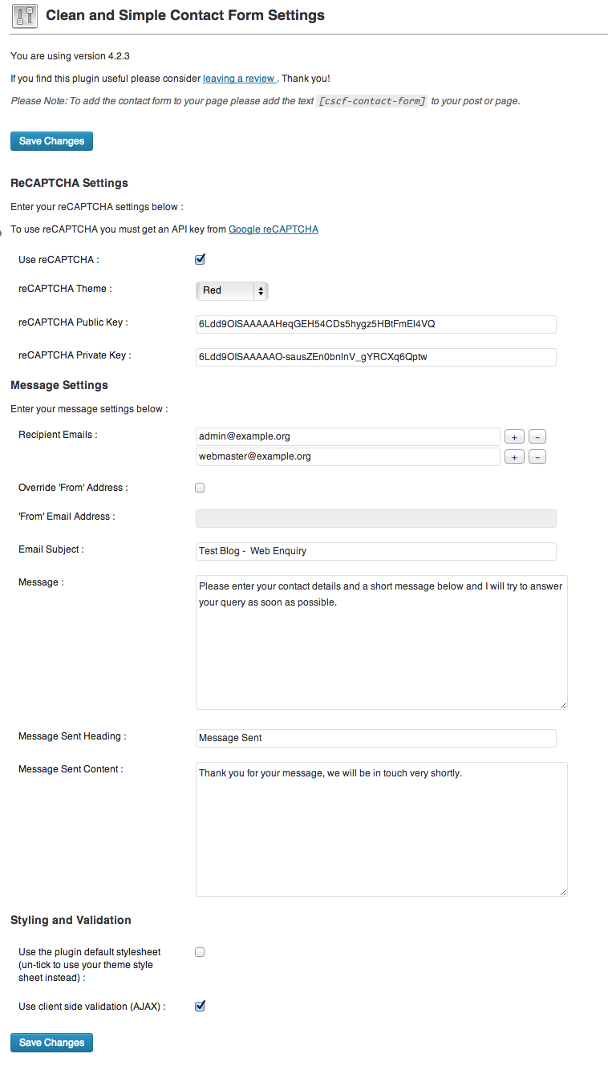
Message: The message displayed to the user at the top of the contact form.
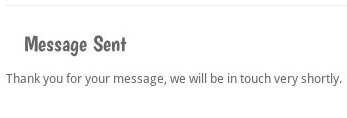
Message Sent Heading: The message heading or title displayed to the user after the message has been sent.
Message Sent Content: The message content or body displayed to the user after the message has been sent.
Use this plugin’s default stylesheet: The plugin comes with a default style sheet to make the form look nice for your user. Untick this if you want to use your theme’s stylesheet instead. The default stylesheet will simply not be linked in.
Use client side validation (Ajax): When ticked the contact form will be validated and submitted on the client giving your user instant feedback if they have filled the form in incorrectly. If you wish the form to be validated and submitted only to the server then untick this option.
Use reCAPTCHA: Tick this option if you wish your form to have a reCAPTCHA box. ReCAPTCHA helps to avoid spam bots using your form by checking that the form filler is actually a real person. To use reCAPTCHA you will need to get a some special keys from google https://www.google.com/recaptcha/admin/create. Once you have your keys enter them into the Public key and Private key boxes
reCAPTCHA Public Key: Enter the public key that you obtained from here.
reCAPTCHA Private Key: Enter the private key that you obtained from here.
reCAPTCHA Theme: Here you can change the reCAPTCHA box theme so that it fits with the style of your website.
Recipient Emails: The email address where you would like all messages to be sent.
This will default to the email address you have specified under ‘E-Mail Address’ in your WordPress General Settings.
If you want your mail sent to a different address then enter it here.
You may enter multiple email addresses by clicking the ‘+’ button.Confirm Email Address: Email confirmation is now optional. To force your user to re-type their email address tick ‘Confirm Email Address’.
It is recommended that you leave this option on. If you turn this option off your user will only have to enter their email address once,
but if they enter it incorrectly you will have no way of getting back to them!Email Subject: This is the email subject that will appear on all messages. If you would like to set it to something different then enter it here.
Override ‘From’ Address: If you tick this and then fill in the ‘From Address:’ box then all email will be sent from the given address NOT from the email address given by the form filler.
**Option to allow enquiry to email themselves a copy of the message.
Contact consent: This option allows you to be GDPR compliant by adding a ‘Consent to contact’ check box at the bottom of the form.
Demo
Demo site coming soon.
Installation
There are two ways to install:
Click the ‘Install Now’ link from the plugin library listing to automatically download and install.
Download the plugin as a zip file. To install the zip file simply double click to extract it and place the whole folder in your wordpress plugins folder, e.g. [wordpress]/wp-content/plugins where [wordpress] is the directory that you installed WordPress in.
Then visit the plugin page on your wordpress site and click ‘Activate’ against the ‘Clean and Simple Contact Form’ plugin listing.
To place the contact form on your page use the shortcode [cscf-contact-form]
Screenshots
FAQ
If you get this message then you have a general problem with email on your server. This plugin uses WordPress’s send mail function.
So a problem sending mail from this plugin indicates that WordPress as a whole cannot send email.
Contact your web host provider for help, or use an SMTP plugin to use a third party email service.
- Check the recipient email on your settings screen, is it correct?
- Check in your spam or junk mail folder
- For Gmail check in ‘All Mail’, the email might have gone straight to archive
- Try overriding the ‘From’ email address in the settings screen. Use an email address you own or is from your own domain
You may have a conflict with another plugin. Either deactivate the other contact form plugin, if you don’t need it, or use
this alternative short code on your webpage – [cscf-contact-form].
This problem often occurs when Jetpack plugin is installed.
To put the contact form on your page, add the text:
[cscf-contact-form]
The contact form will appear when you view the page.
It is impossible to test this plugin with all themes. Styling incompatibilities can occur. In this case, switch off the default stylesheet on the settings
screen so you can add your own styles to your theme’s stylesheet.
Yes, I am currently building up translation files for this plugin.
If your language is not yet available you are very welcome to translate it.
The plugin now uses Bootstrap 3. The text box widths now use up 100% of the available width.
This makes the form responsive to all types of media. If you want to have a fixed width for the form you can put some styling around the shortcode:
[cscf-contact-form]
Currently you may only have one contact form per page. You CAN however put the contact form on more than one page using the same shortcode.
Note that making changes to the settings will affect all implementations of the plugin across your site.
Yes it will. HOWEVER, you cannot have more than one reCAPTCHA on a page. This is a constraint created by Google.
So for example, if your ‘Contact Me’ page has comments below it,
the reCAPTCHA for the contact form will be displayed correctly but not in the comments form below.
The comments form will never validate due to no supplied reCAPTCHA code.
Changelog
4.8.0
- add header to stop chaining ( kudos @kashmiri )
- add filter pre email sending to add flexibility for developers
4.7.10
- add buy me a coffee donation
