Advanced Classic Editor Plugin
Advanced Classic Editor - Your powerful WordPress editor, Insert many Icons, Insert Table of contents, etc.
WordPress + TinyMCE + Font Awesome + Bootstrap
This plugin extends the buttons on the Visual Editor toolbar.
It includes 20 plugins for WordPress Editor (TinyMCE)
- Insert Many Icons from Font Awesome Set easily, Change their Size or Border!
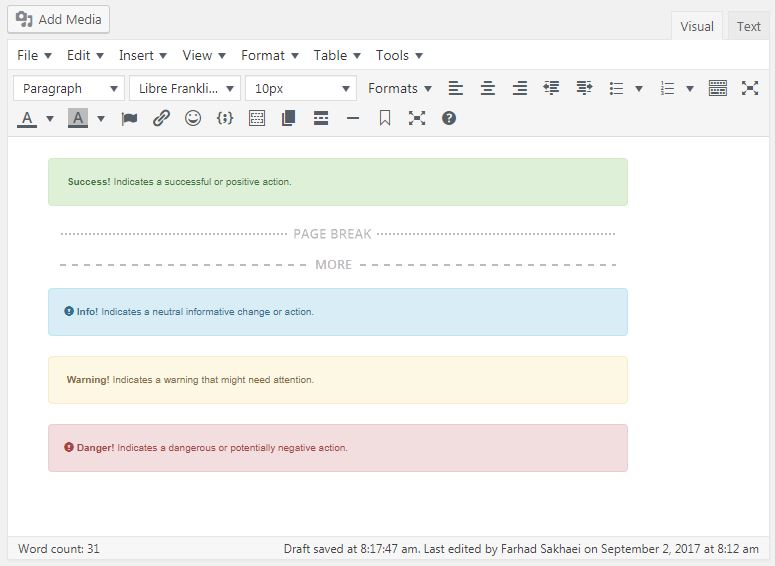
- Support HTML Templates (We will add many pre-designed templates soon!)
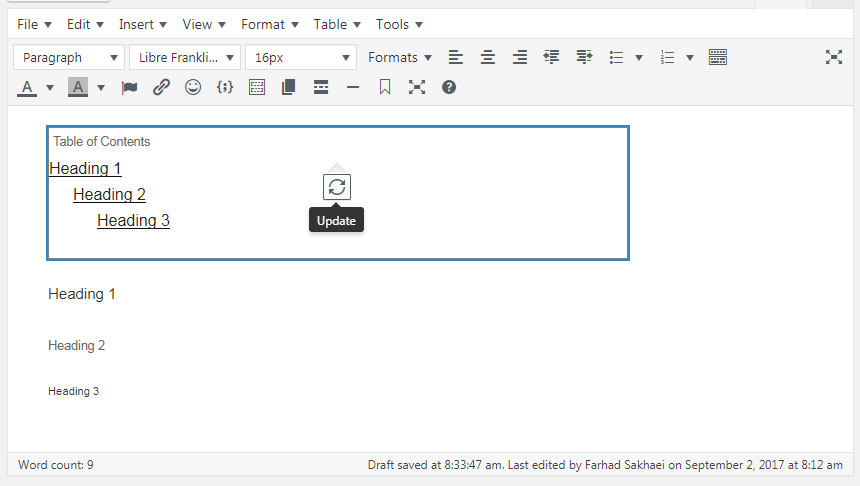
- Insert Table of Contents based on headings
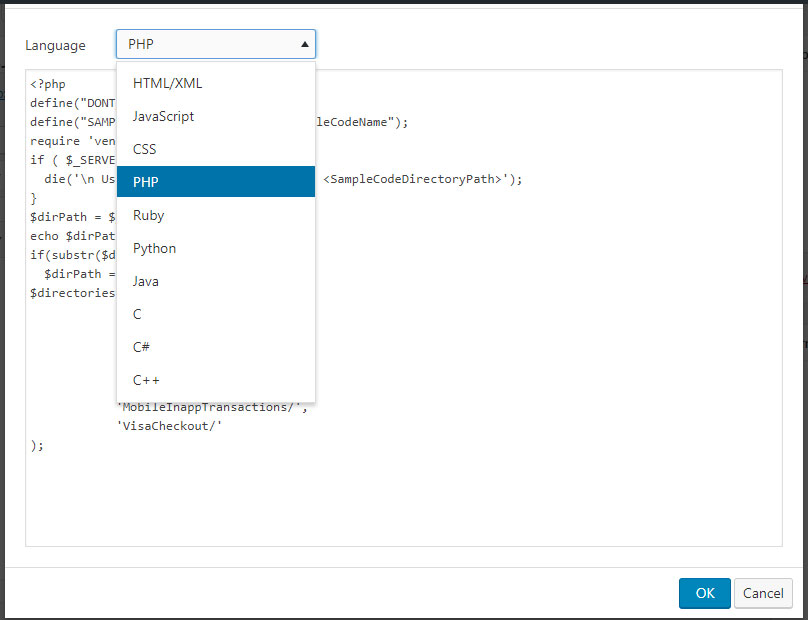
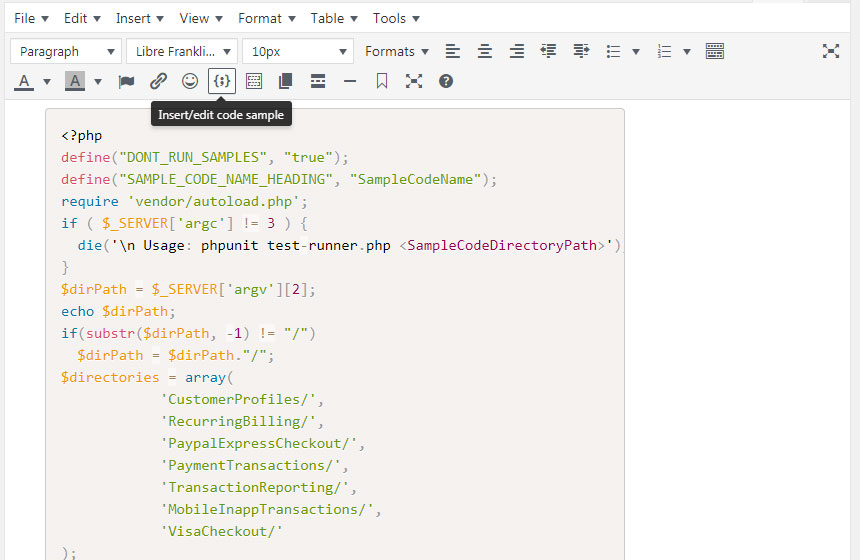
- Insert sample of codes, and colorize them
- Insert emoticons
- Change Text Colors and Back Colors
- Great Context Menu
- Print, Paste as Text, Find and Replace, Insert Media, Special Characters, Horizontal Line, Read More Tag, Page Break Tag, Anchor, DateTime
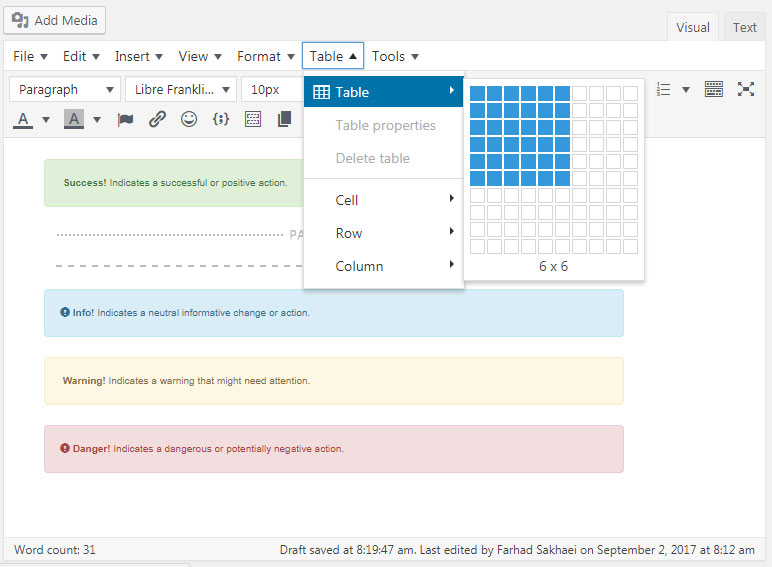
- Support for creating and editing tables.
- Search and Replace in the editor.
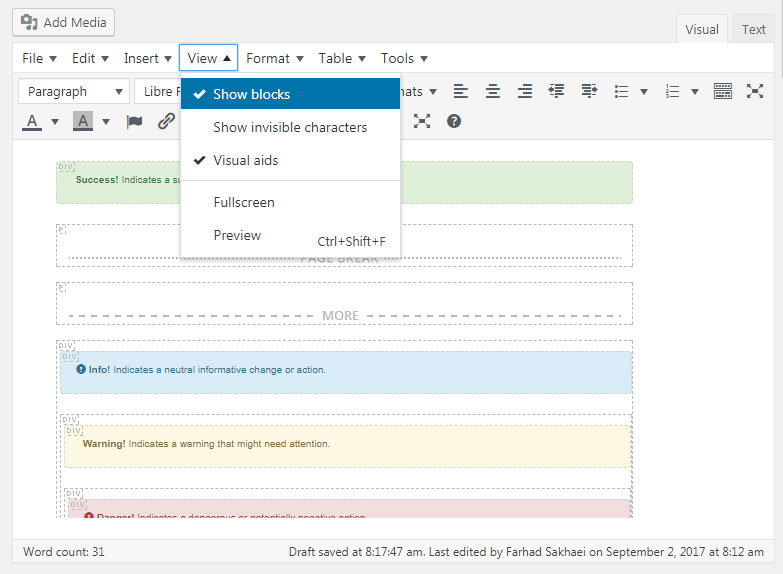
- Show Blocks, Show Invisible Characters
- Insert predefined styles and Clear Formatting
- More options when inserting lists.
- Ability to set Font Family and Font Sizes.
- Full Screen and Preview Options
- And many others.
Validated by:
https://wpreadme.com/
https://wordpress.org/plugins/developers/readme-validator
Installation
Minimum Requirements
- WordPress 6.0 or greater
- PHP 7.0 or greater is required (PHP 8.0 or greater is recommended)
- MySQL 5.6 or greater, OR MariaDB version 10.1 or greater, is required.
You can install this plugin in two ways:
Automatic installation (Install from within WordPress)
Automatic installation is the easiest option, WordPress will handles the file transfer, and you won’t need to leave your web browser.
- Log in to your WordPress dashboard
- Navigate to the Plugins menu within your dashboard
- click “Add New.”
- In the search field type the name of this plugin and then click “Search Plugins.”
- Once you’ve found us, you can view details about it such as the point release, rating, and description.
- Most importantly of course, you can install it by! Click “Install Now,” and WordPress will take it from there.
- Activate the plugin from your Plugins page
Manual installation
Manual installation method requires downloading the this plugin and uploading it to your web server via your favorite FTP application. The WordPress codex contains instructions on how to do this here.
- Download the plugin ZIP file and extract it
- Upload the extracted folder to the /wp-content/plugins/ directory
- Activate the plugin through the ‘Plugins’ menu in WordPress
Screenshots
FAQ
These styles are imported from your current theme editor-style.css file. However some themes do not have this functionality.
Changelog
3.1.0
- Bootstrap and FontAwesome Update
3.0.0
- Whole plugin rewritten
1.0.0
- First Release
