Backup Migration Plugin
Backup Migration
Try it out on your free dummy site: Click here => https://tastewp.com/plugins/backup-backup.
(this trick works for all plugins in the WP repo – just replace “wordpress” with “tastewp” in the URL)
Creating a backup of your site has never been easier!
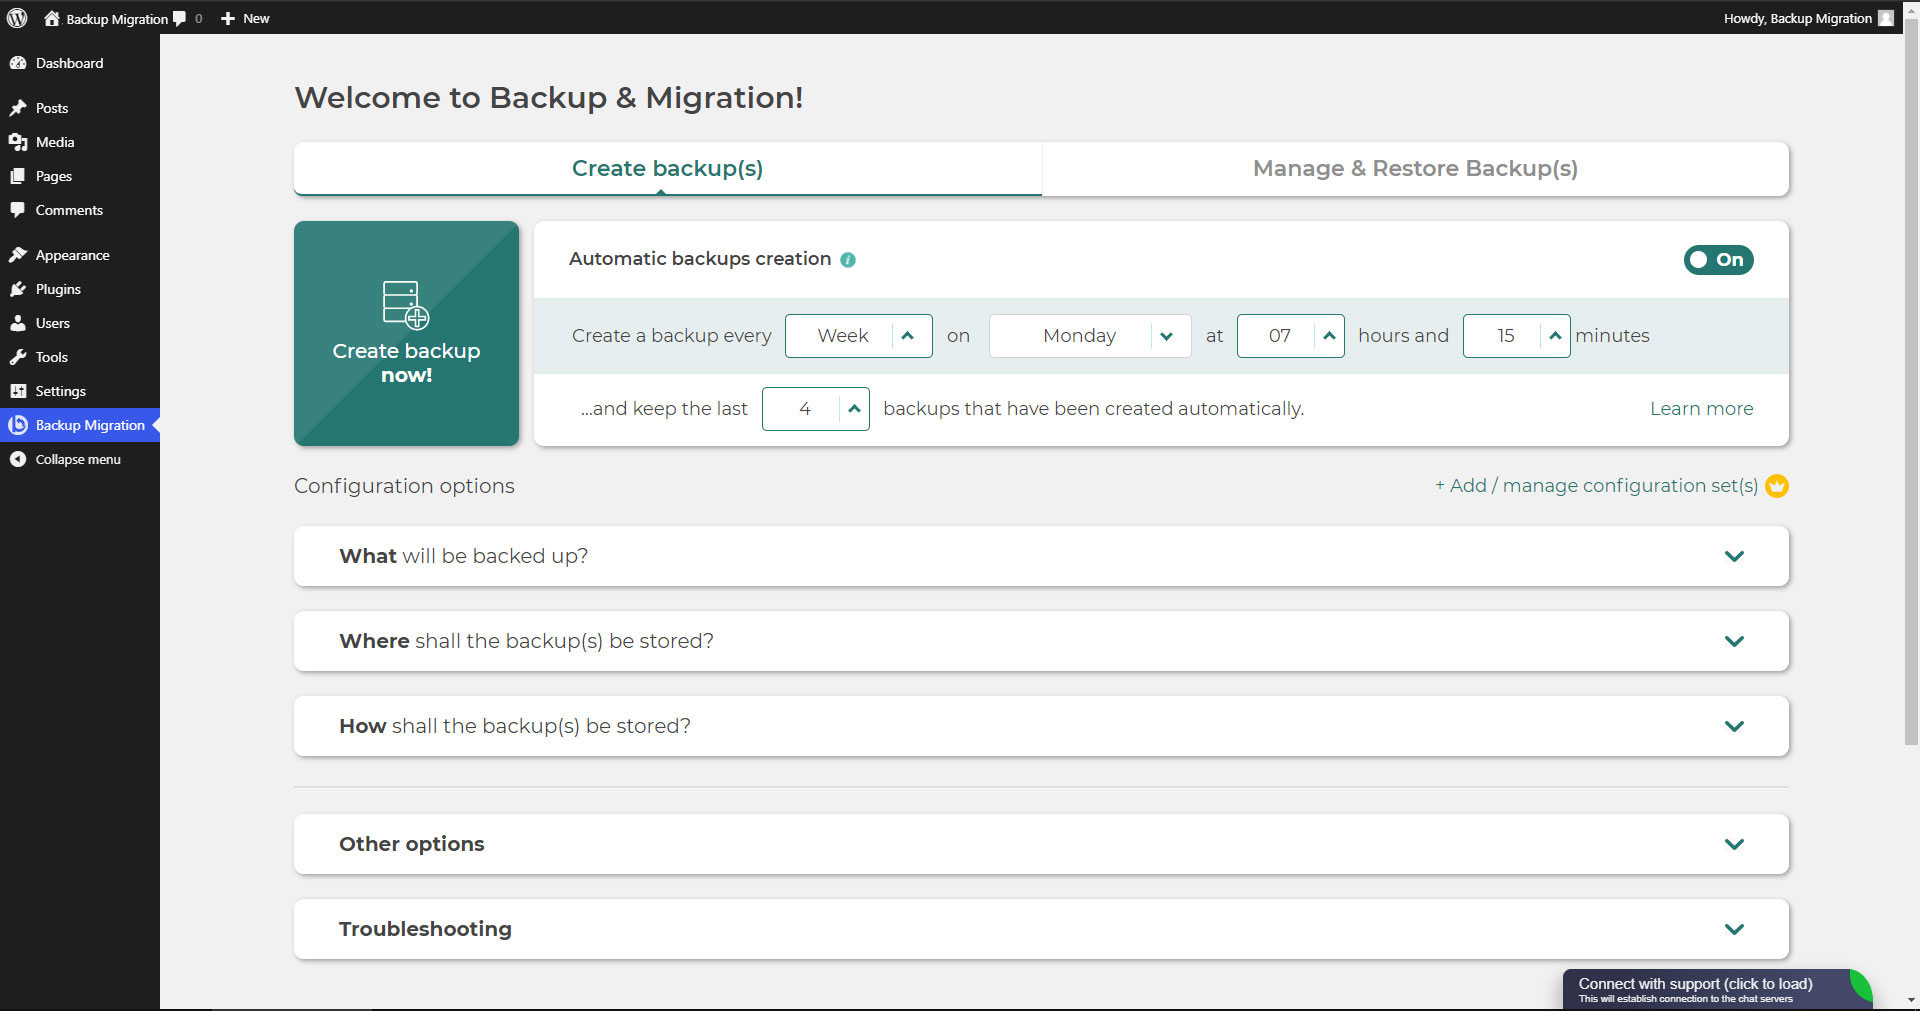
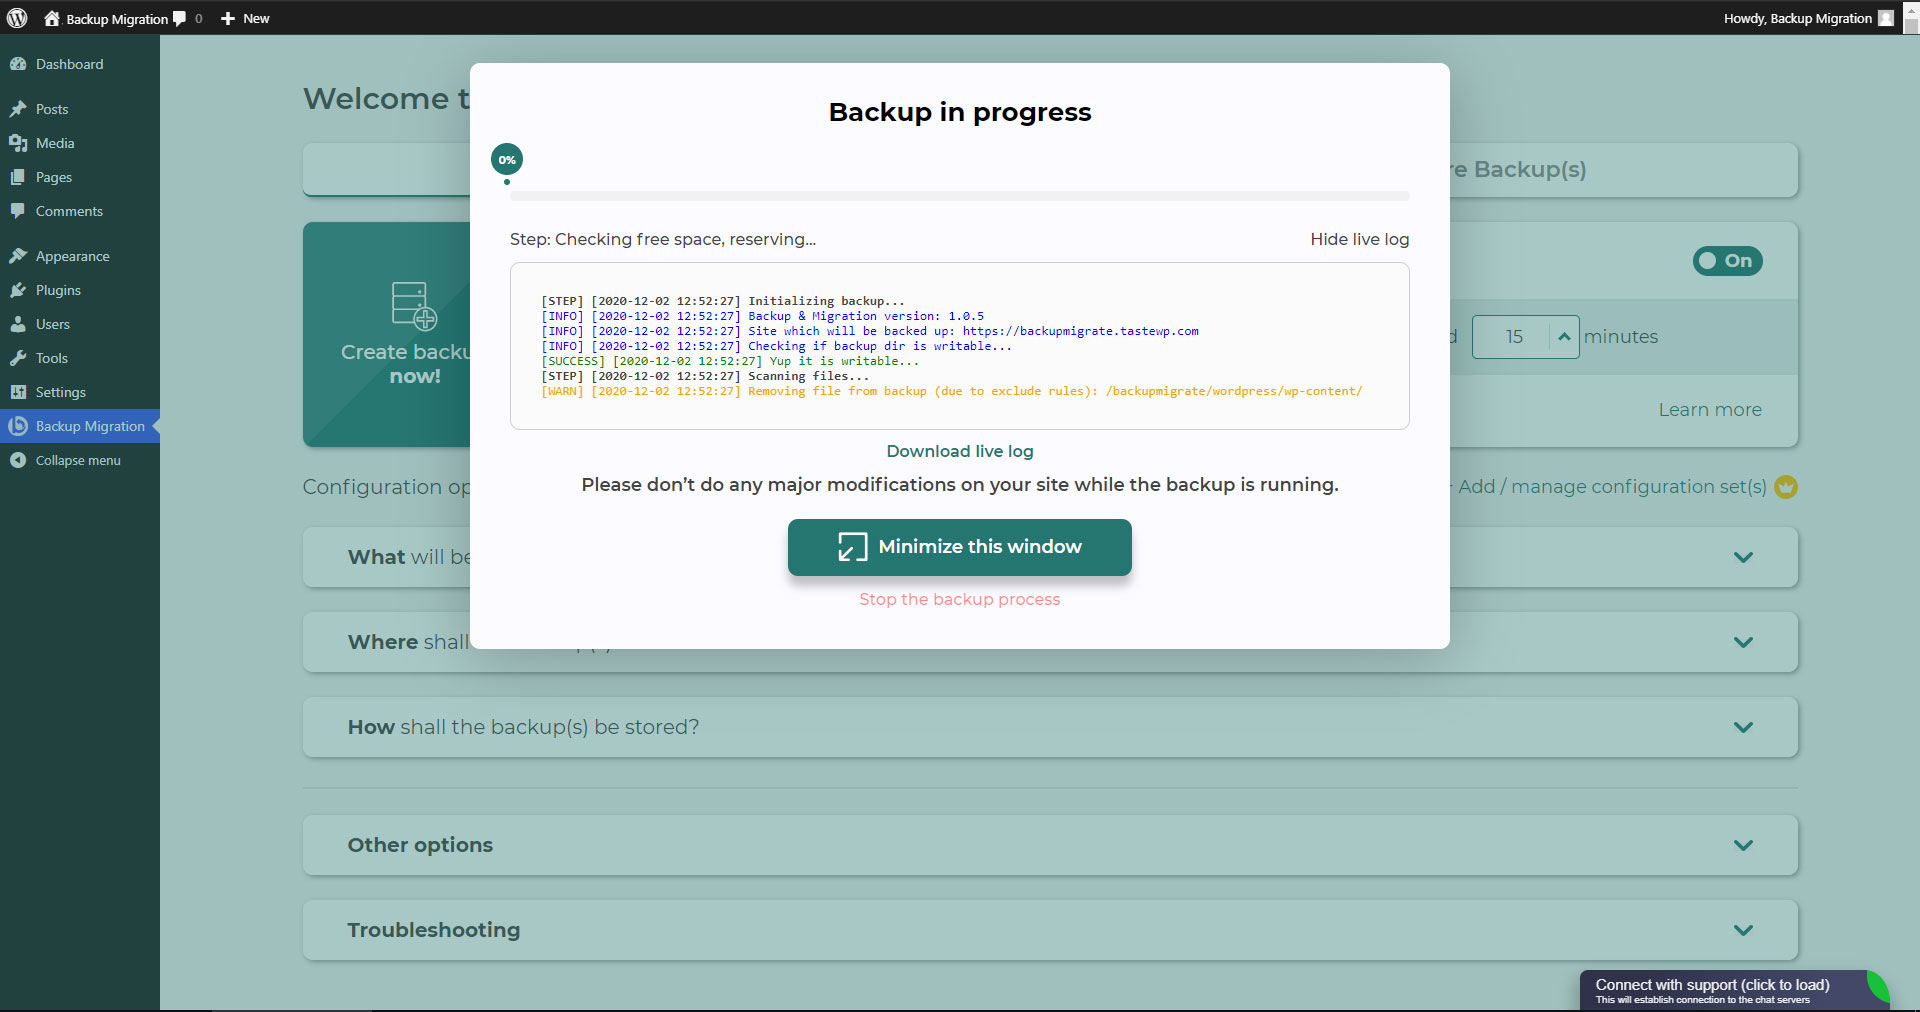
Simply install the plugin, click on “Create backup now” – done.
You can also schedule backups, e.g. define that a backup should be taken automatically every week (or every day/month).
Use a wide choice of configuration options:
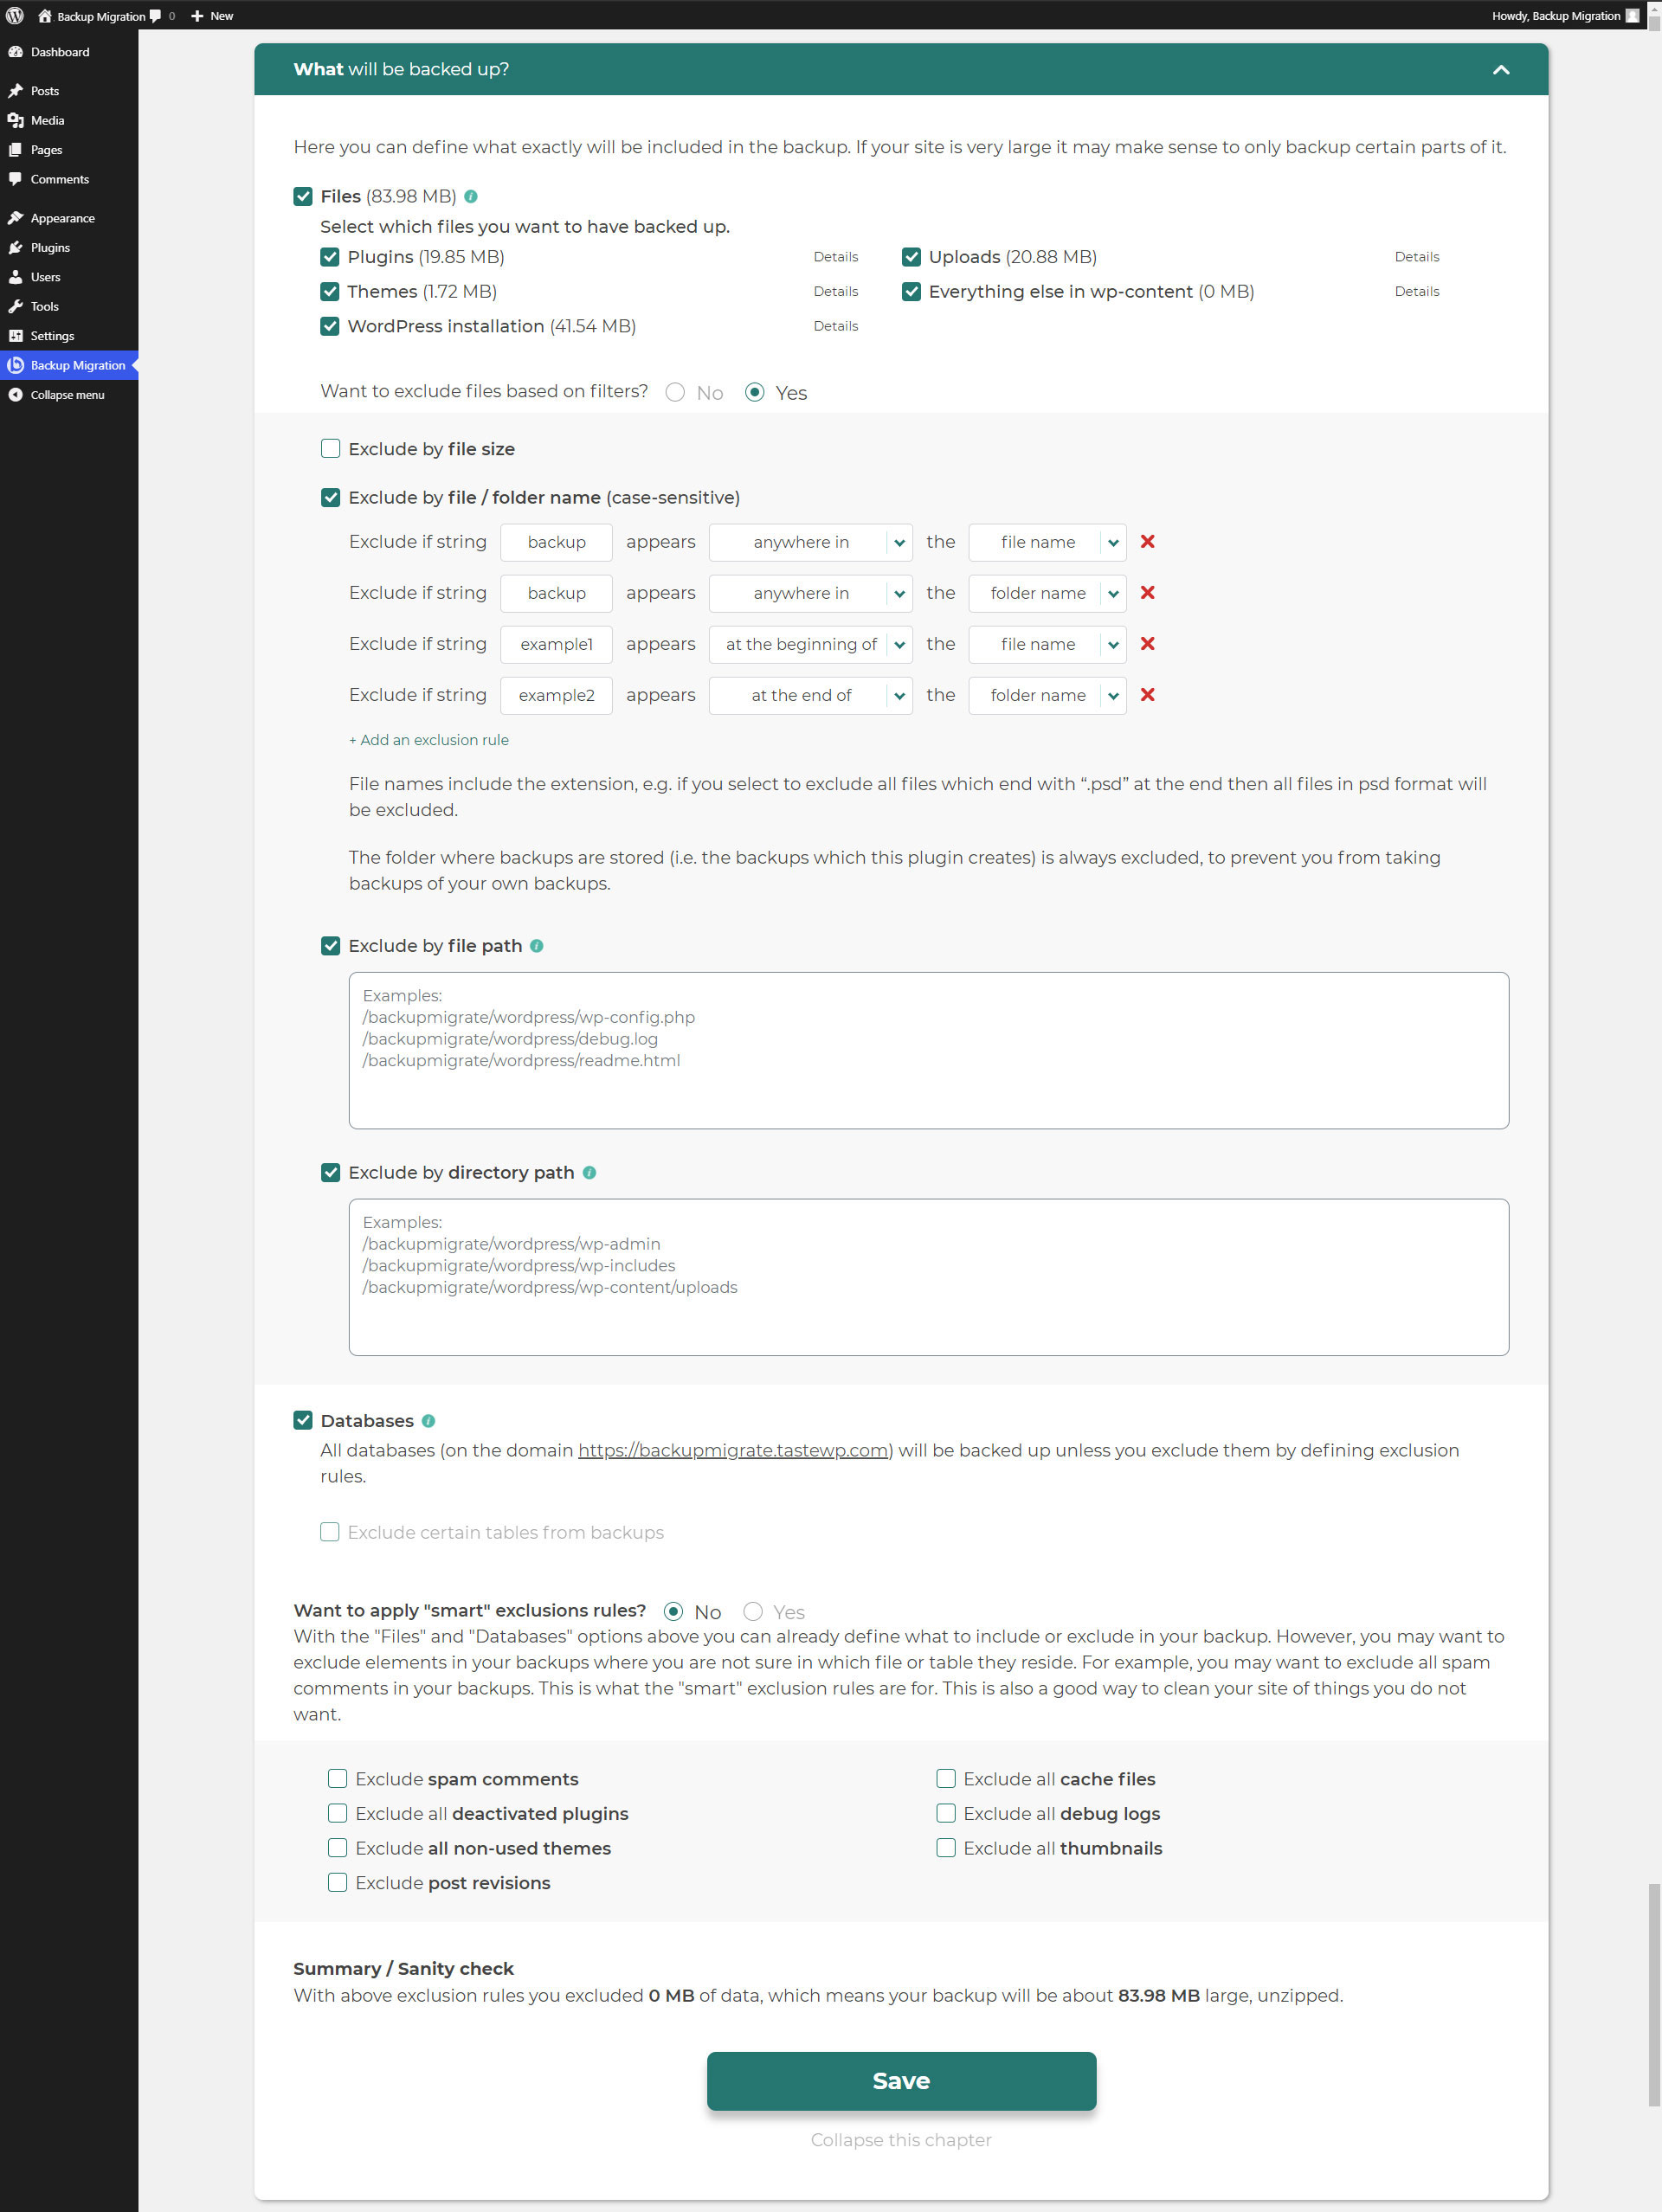
- Define exactly which files / databases should be in the backup, and which not
- Define where the backup will be stored (as of now, only a local option is available, but we’ll expand this soon)
- Define what name your backup should have, in which instances you should receive a notification email, and much more
This plugin is all in one solution if you need to migrate your site to another host or just restore the local backup.
Note: This (free) version is limited to backups of 2GB in size. For unlimited sizes, please have a look at the Premium Plugin. The code of this free plugin is licensed under GPLv3, however, we claim rights to other content. Please read the full Terms of Use that touch other points as well and apply in entirety.
If any questions come up, please ask us in the Support Forum – we’re always happy to help!
Installation
Admin Installer via search
- Visit the Add New plugin screen and select “Author” from the dropdown near search input
- Search for “Migrate”
- Find “Backup Migration” and click the “Install Now” button.
- Activate the plugin.
- The plugin should be shown below settings menu.
Admin Installer via zip
- Visit the Add New plugin screen and click the “Upload Plugin” button.
- Click the “Browse…” button and select the zip file of our plugin.
- Click “Install Now” button.
- Once uploading is done, activate Backup Migration.
- The plugin should be shown below the settings menu.
Screenshots
FAQ
Click on “Create backup now” on the settings page of the BackupBliss – Backup Migration Staging plugin.
BackupBliss – Backup Migration Staging will by default create a backup that contains everything from your site, except the BackupBliss plugin’s own backups and WordPress installation – if you want to include the WordPress installation as well, tick the checkbox in the section “What will be backed up?”.
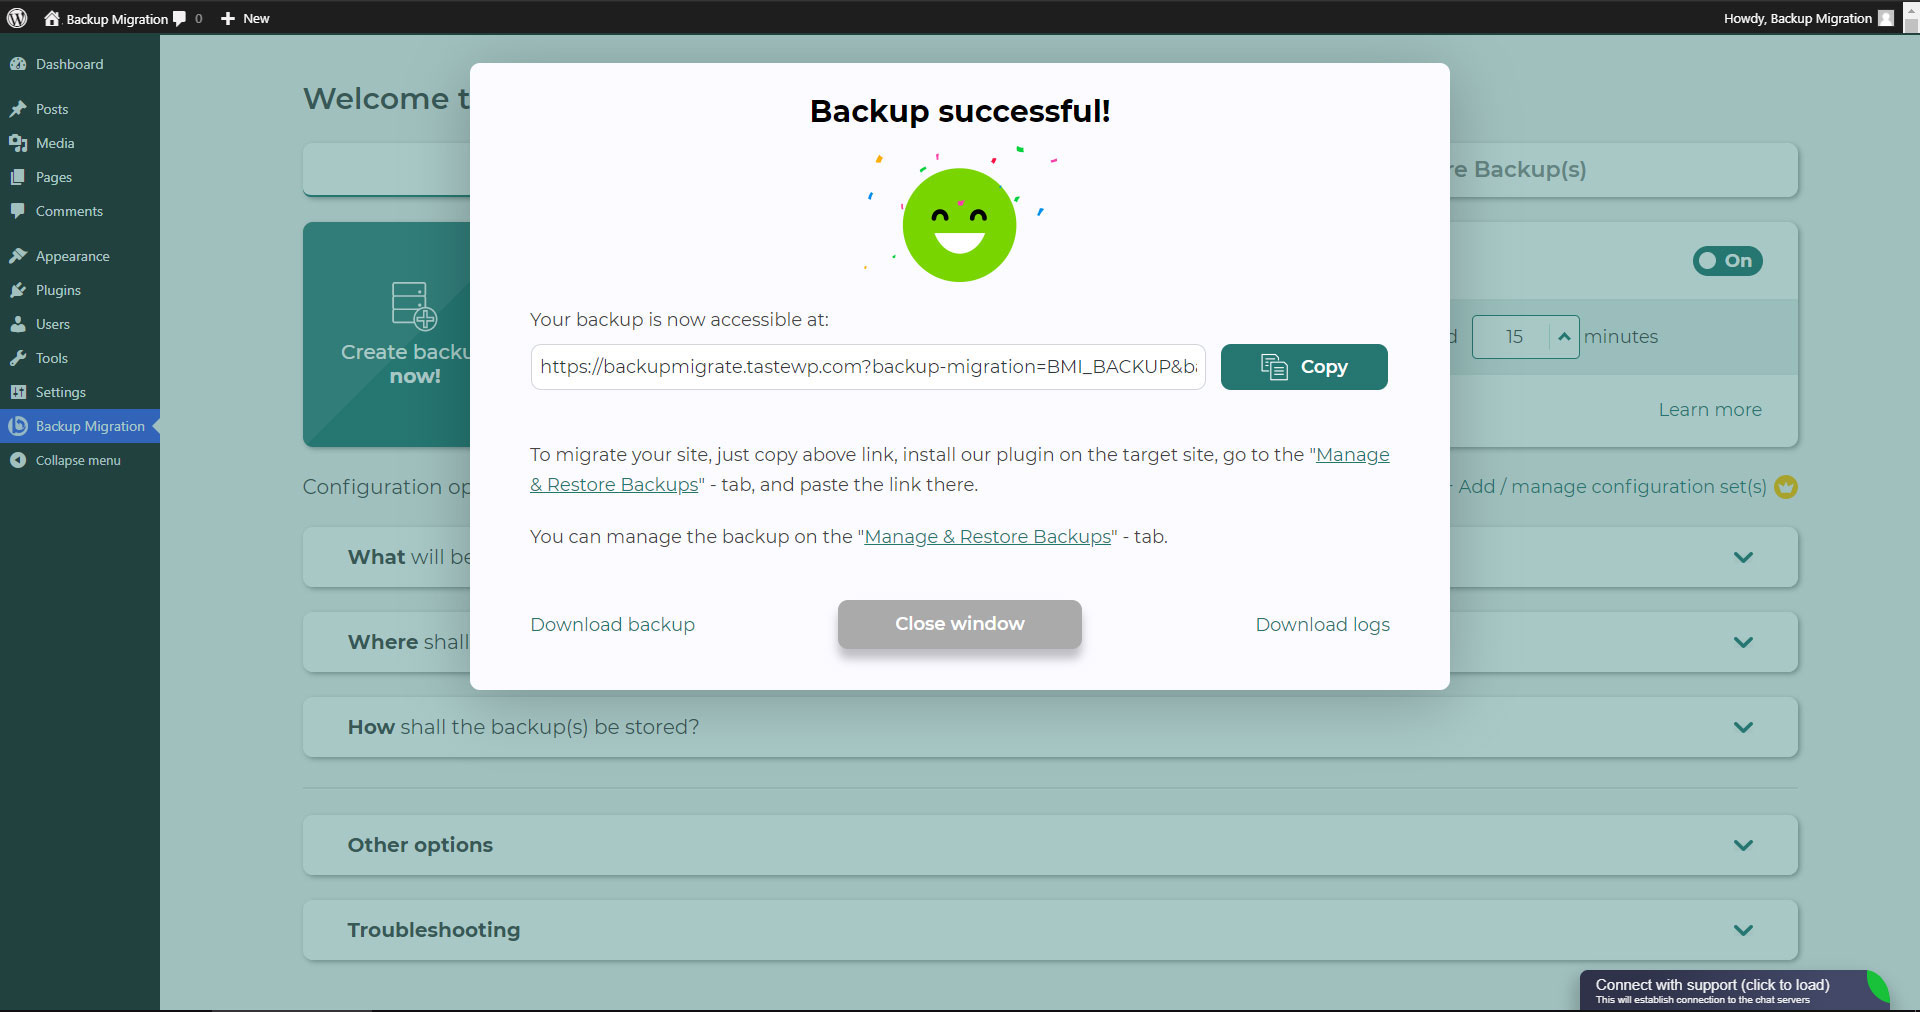
You can download backup or migrate your backup (use the plugin as a WordPress duplicator) immediately after the backup has been created.
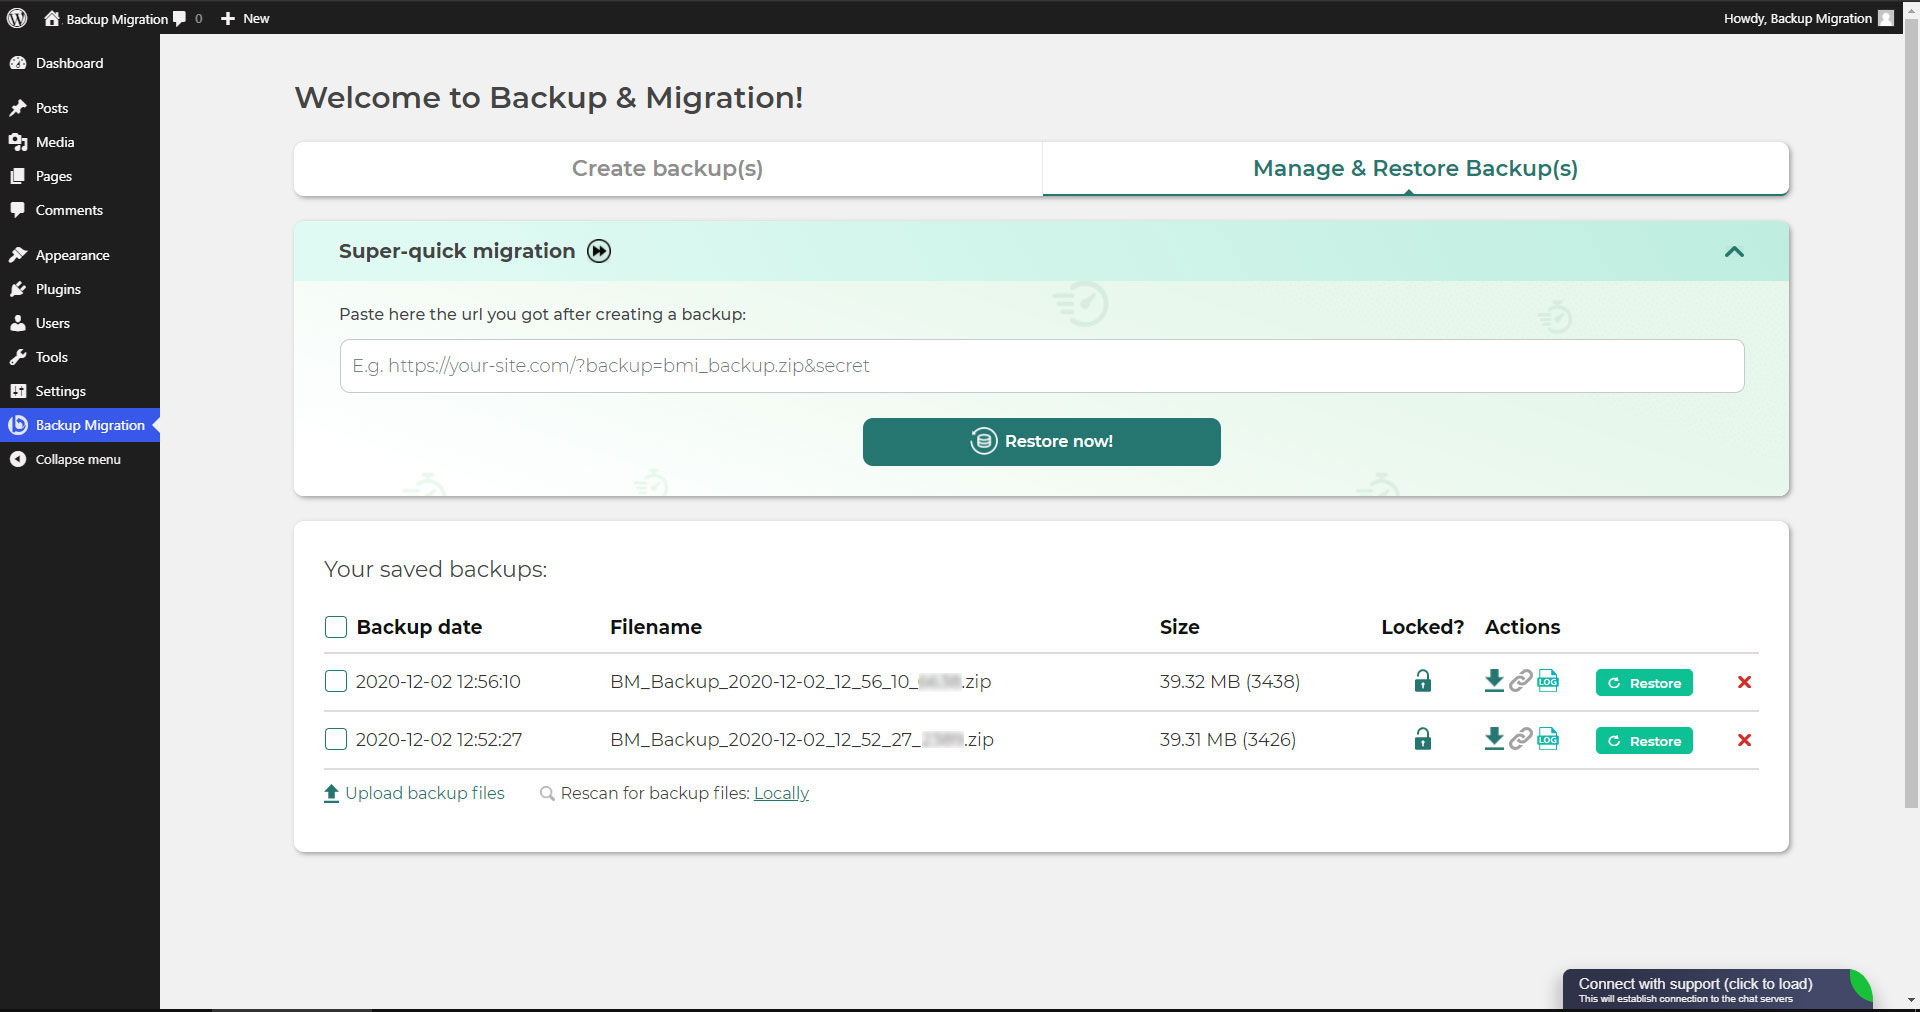
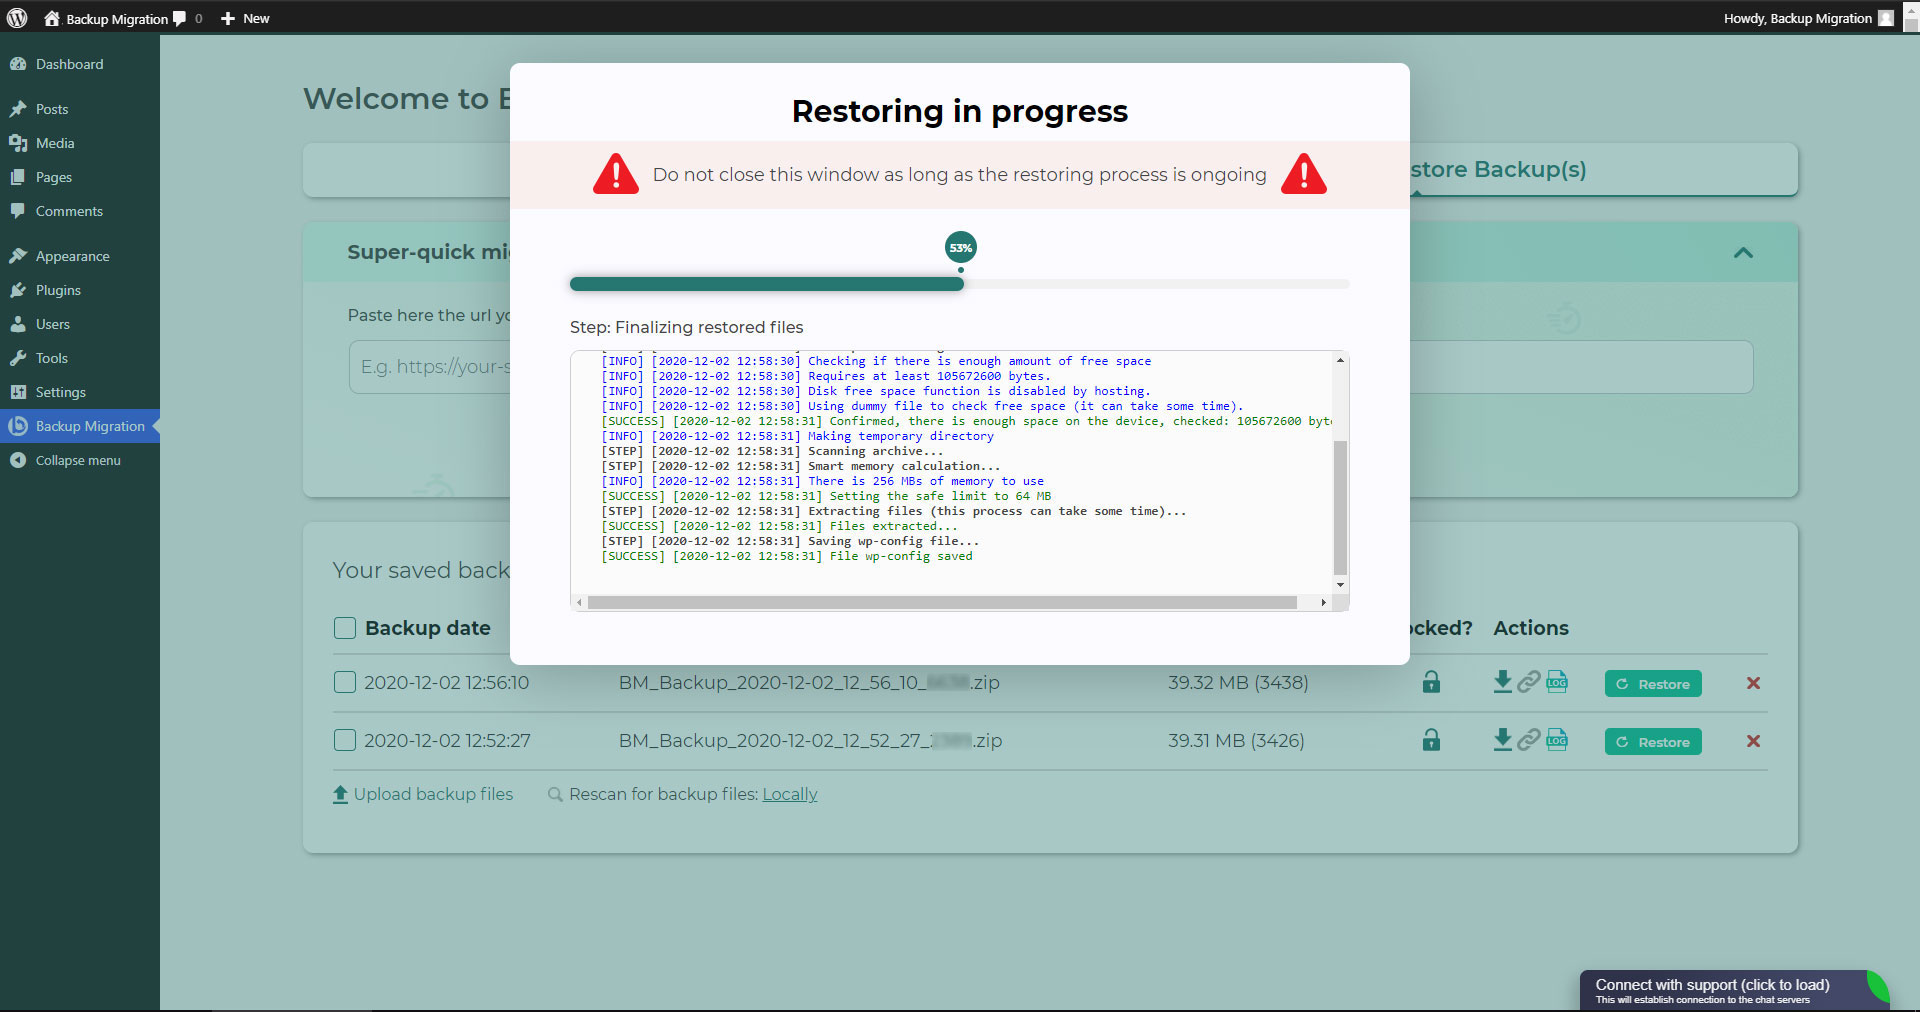
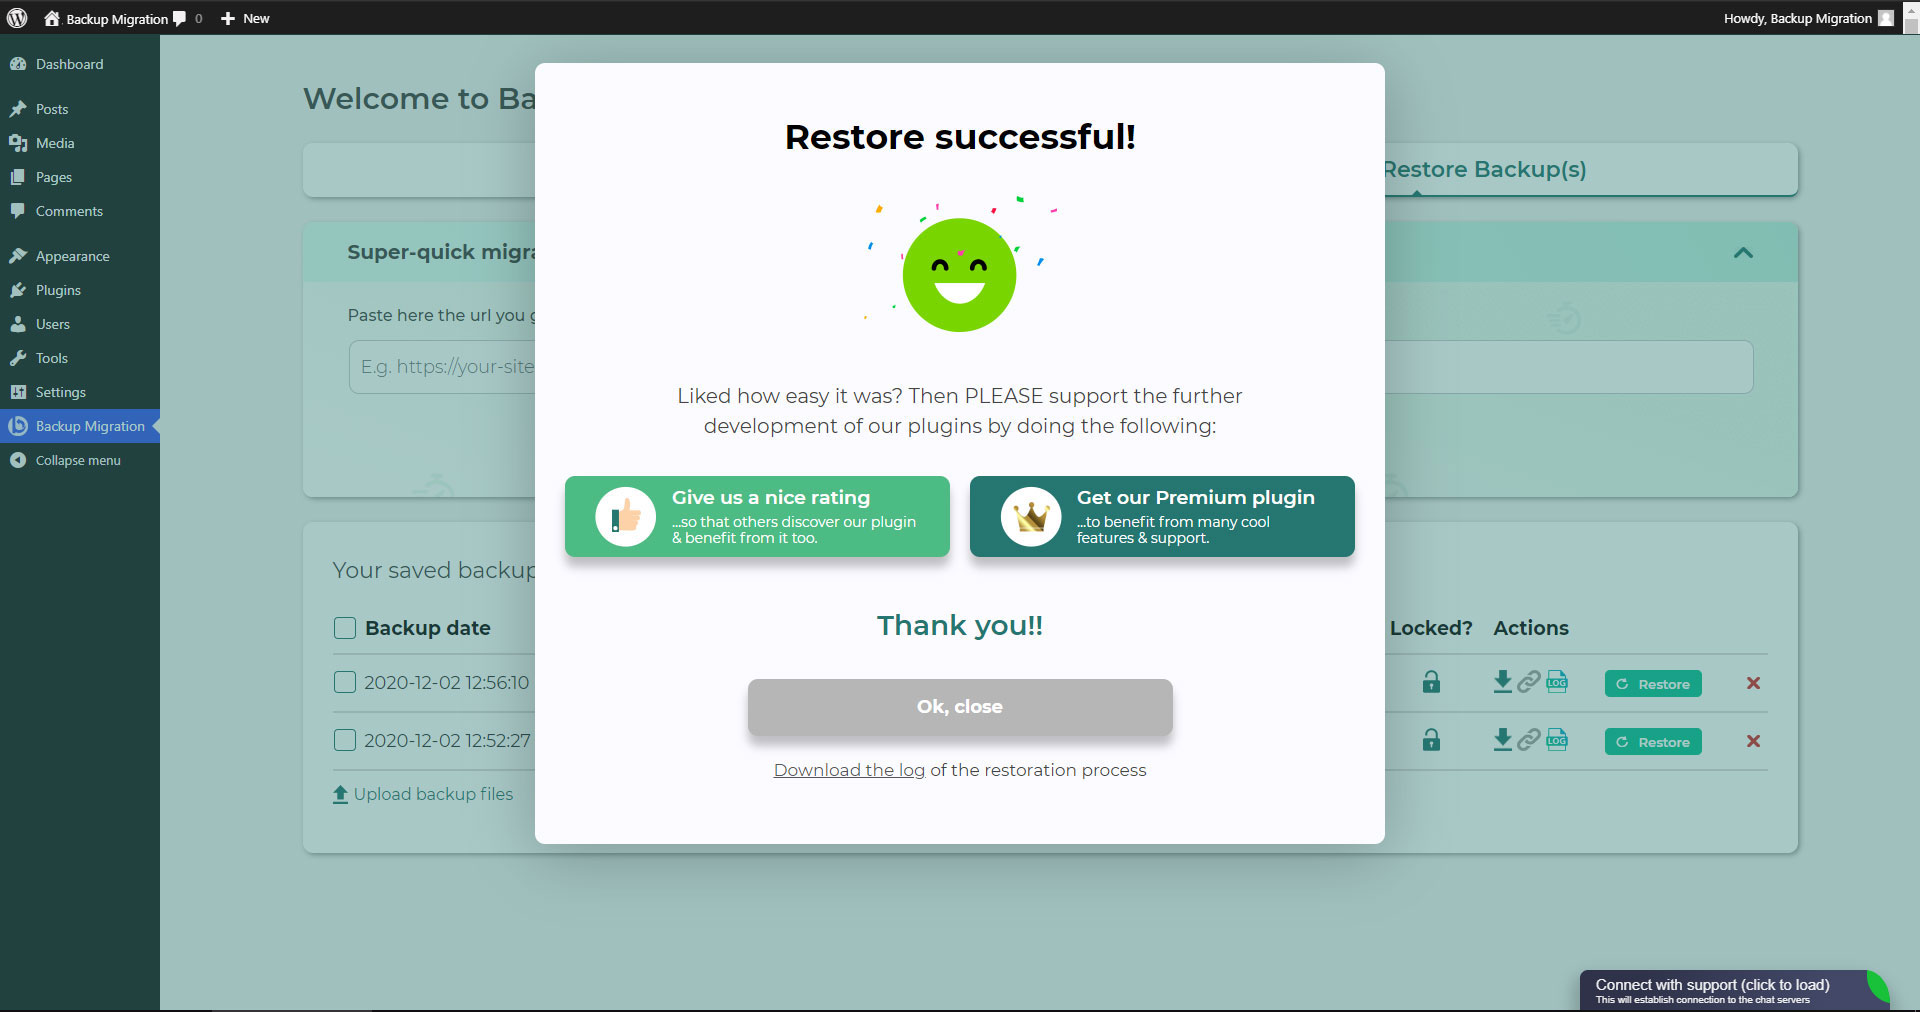
If your backup is located on your site: Go to the BackupBliss Backup Migration Staging plugin screen, then to the Manage & Restore Backup(s) tab where you have your backups list, click on the Restore button next to the backup you would like to restore.
If your backup is located on another site: Go to the BackupBliss – Backup Migration Staging plugin screen on site #1, then to the Manage & Restore Backup(s) tab where you have the backups list, click on the “Copy Link”-button in the “Actions”-column. Go to the BackupBliss – Backup Migration Staging plugin screen on site #2, then to the Manage & Restore Backup(s) tab, click on “Super-quick migration”, paste the copied link, and hit the “Restore now!” button. This process will first import the backup and then restore it, i.e. Backup Migrate also serves as backup importer.
If your backup is located on another device: Go to the BackupBliss – Backup Migration Staging plugin screen, then to the Manage & Restore Backup(s) tab, and click on the “Upload backup files” button. After the upload, click on the Restore button next to the backup you would like to restore.
If your backup is located on Google Drive: Go to the BackupBliss – Backup Migration Staging plugin screen, then to the plugin section “Where shall the backup(s) be stored?”, turn ON the Google Drive option, and connect to your account. After that, the plugin will sync the available backup files in the plugin section “Manage & Restore Backups” from where you will be able to run Restore.
Migrate (or clone) a WordPress site by creating a full backup on the site that you want to migrate (clone) – site #1.
To transfer website directly from site #1 to site #2: Go to the BackupBliss – Backup Migration Staging plugin screen on site #1, then to the Manage & Restore Backup(s) tab where you have the backups list, click on the Copy Link button in the Actions column. Go to the BackupBliss – Backup Migration Staging plugin screen on site #2, then to the Manage & Restore Backup(s) tab, click on “Super-quick migration”, paste the copied link, and hit the “Restore now!” button. Make sure that the backup file on site #1 is accessible by setting “Accessible via direct link?” to “Yes” in the plugin section “Where shall the backup(s) be stored?”
To migrate the website indirectly: Go to the BackupBliss – Backup Migration Staging plugin screen, then to the Manage & Restore Backup(s) tab, and click on the “Upload backup files” button. After the upload, click on the Restore button next to the backup you would like to restore.
To migrate the website with Google Drive: Go to the BackupBliss – Backup Migration Staging plugin screen, then to the plugin section “Where shall the backup(s) be stored?”, turn ON the Google Drive option, and connect to your account. After that, the plugin will sync the available backup files in the plugin section “Manage & Restore Backups” from where you will be able to run Restore.
BackupBliss – Backup Migration Staging allows you to download backups, migrate backups, or delete backups directly from the plugin screen Manage & Restore Backup(s). By default, the migrator plugin will store a backup to /wordpress/wp-content/backup-migration but you can change the backup location to anywhere you please.
Enabling automatic backups is done on the BackupBliss – Backup Migration Staging plugin’s home screen, just next to the “Create backup now!” button. Auto backup can run on a monthly, weekly, or daily basis. You can set the exact time (and day) and how many automatic backups would you like to keep in the same BackupBliss – Backup Migration Staging plugin section. We recommend that you optimize the number of backups that will be kept according to available space.
Backup file size depends on the criteria you select in the “What will be backed up?” section of the BackupBliss – Backup Migration Staging plugin. There you can see file/folder size calculations as you Save your settings. Usually, WordPress’ Uploads folder is the heaviest, while Databases are the lightest. If you are looking to save up space, you might want to deselect Plugins and WordPress installation folders, as you can usually download those anytime from WP sources.
Yes. You can create full site backups, and automatic backups, and migrate your site (duplicate site) free of charge. BackupBliss – Backup Migration Staging Pro provides more sophisticated filters and selections of files that will be included/excluded from backups (affecting backup size), faster backup creation times, number of external backup storage locations, backup encryption, backup file compression methods, advanced backup triggers, additional backup notifications by email, priority support, and more.
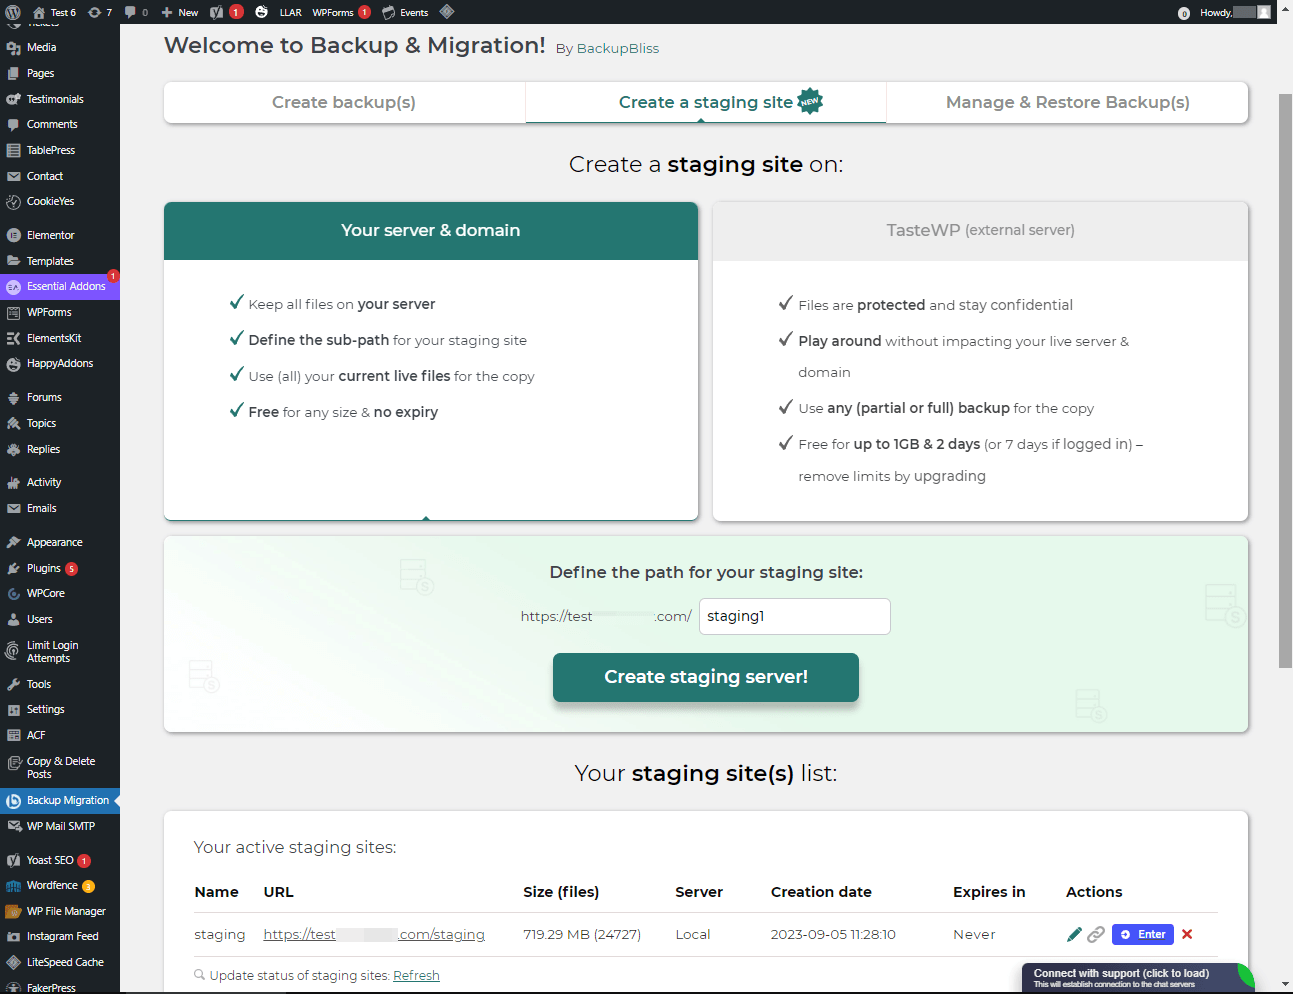
You can easily set up a staging environment for your website with the BackupBliss plugin. You can choose to create a staging site either on your server / machine or on TasteWP. Both options are free!
To create a staging site on your server, navigate to the plugin section “Create a staging site”, select “Your server & domain”, define a custom path if you wish, and click on the button “Create staging site!”.
To create a stage site on a free WordPress sandbox platform – TasteWP, select the option “TasteWP (external server)”, then select a backup file that will be used, and click on the button “Create staging site!”.
Backup to Google Drive is now available in the BackupBliss – Backup Migration Staging Pro
Upcoming storage options will include: FTP, Amazon S3, Rackspace, DreamObjects, OpenStack, Google Cloud, SFTP/SCP, Microsoft Azure, OneDrive, Backblaze, and more.
In order to automatically upload your site backups to Google Drive, you will need a Pro version of the plugin. Once installed and activated, navigate to the plugin section “Where shall the backup(s) be stored?”, and turn ON the Google Drive feature. Click on the button Connect, and select a Google account you want to connect to. Once it is connected, your backup files from the website will start to sync to your Google Drive. You can monitor the process in the plugin section “Manage & Restore Backups”
Besides having the most intuitive interface and smoothest user experience, BackupBliss – Backup Migration Staging plugin will always strive to give you more than any competitor:
– Updraftplus: They charge for migration, with our plugin it’s free;
– All-in-One WP Migration: In the free version, compared to our plugin – they don’t have selective/partial backups; they lack advanced options and each external storage is on a separate extension plugin; they have no automatic backups;
– Duplicator: In the free version, compared to our plugin – they have no selective backups, exclusion rules, no automatic backups and no migration;
– WPvivid: In the free version, compared to our plugin – they don’t have selective/partial backups, exclusion rules, or automatic backups;
– BackWPup: In the free version, compared to our plugin – they lack restore options, backups are slower, automatic backups are dependant on wp cron;
– Backup Guard: In the free version, compared to our plugin – they have no selective backups, exclusion rules; no direct migration;
– XCloner: Automatic backups are dependant on wp cron; full restore not available on a local server;
– Total Upkeep: They lack the advanced selective backups and exclusion rules, lacks a monthly backup schedule
Uploading a backup can be simply done by navigating to the Manage & Restore Backup(s) section of the BM plugin (tab on the right side). There you have the “Upload backup file” button, after clicking on it, you need to select a proper backup that is made by this plugin only. You cannot use backups from other plugins (to restore those, go back to those plugins and restore them this way). If you use “Super-quick migration” (section b), your backup will be automatically uploaded. If you are having trouble uploading the backup file, go bac and ensure that the folder designated for backups is writable. You can find the backup destination in the plugin section “Where shall the backup(s) be stored?
So far we have translated the plugin into these languages:
Arabic: إنشاء نسخة احتياطية واستعادة النسخ الاحتياطية وترحيل المواقع. أفضل مكون إضافي لمواقع الترحيل والاستنساخ!
Chinese (China): 创建备份、还原备份和迁移站点。 迁移和克隆网站的最佳插件!
Croatian: Izradite sigurnosnu kopiju, vratite sigurnosne kopije i migrirajte web-mjesta. Najbolji dodatak za migraciju i kloniranje web stranica!
Dutch: Maak back-ups, herstel back-ups en migreer sites. De beste plug-in voor het migreren en klonen van websites!
English: Create a backup, restore backups and migrate a website. The best plugin for migration and to clone a website
Finnish: Luo varmuuskopio, palauta varmuuskopiot ja siirrä sivustot. Paras laajennus sivustojen siirtoon ja kloonaukseen!
French (France): Créez des sauvegardes, restaurez des sauvegardes et migrez des sites. Le meilleur plugin pour les sites Web de migration et de clonage !
German: Erstellen Sie Backups, stellen Sie Backups wieder her und migrieren Sie Websites. Das beste Plugin für Migrations- und Klon-Websites!
Greek: Δημιουργία αντιγράφων ασφαλείας, επαναφορά αντιγράφων ασφαλείας και μετεγκατάσταση τοποθεσιών. Το καλύτερο πρόσθετο για μετανάστευση και κλωνοποίηση ιστοσελίδων!
Hungarian: Biztonsági másolat készítése, biztonsági másolatok visszaállítása és webhelyek migrálása. A legjobb bővítmény a webhelyek migrációjához és klónozásához!
Indonesian: Buat cadangan, pulihkan cadangan, dan migrasikan situs. Plugin terbaik untuk migrasi dan kloning situs web!
Italian: Crea backup, ripristina backup e migra i siti. Il miglior plugin per la migrazione e la clonazione di siti web!
Persian: ایجاد نسخه پشتیبان، بازیابی نسخه پشتیبان، و مهاجرت سایت ها. بهترین افزونه برای مهاجرت و شبیه سازی وب سایت ها!
Polish: Twórz kopie zapasowe, przywracaj kopie zapasowe i przenoś witryny. Najlepsza wtyczka do migracji i klonowania stron internetowych!
Portuguese (Brazil): Crie backup, restaure backups e migre sites. O melhor plugin para migração e clonagem de sites!
Russian: Создавайте резервные копии, восстанавливайте резервные копии и переносите сайты. Лучший плагин для миграции и клонирования сайтов!
Spanish: Cree copias de seguridad, restaure copias de seguridad y migre sitios. ¡El mejor complemento para sitios web de migración y clonación!
Turkish: Yedekleme oluşturun, yedeklemeleri geri yükleyin ve site taşıyın. Websitesi taşımaya ve klonlamaya yönelik en iyi eklentidir!
Vietnamese: Tạo sao lưu, khôi phục các bản sao lưu và di chuyển các trang web. Plugin tốt nhất để di chuyển và sao chép các trang web!
Changelog
1.4.6
- Tested with WordPress 6.6
- Minor performance improvements
- Improvements for PHP 8 utilization
1.4.5
- [FIX] Resolved issues with cURL backup method and false positive errors
- [FIX] Fixed issues with small size backups (<=~10MB)
- [FIX] Prevented errors during space check
- [FIX] Fixed issues with database backup
1.4.4
- [NEW] Added “error translator” which tells the user what went wrong based on the live log – it will be extended during time
- [NEW] Added size checks, if the batch decreased the ZIP size it will consider it as damaged and return error
- [NEW] Backups list will now load until it can process all backups (for sites with low max execution time)
- [NEW] Added support for flexible ZipArchive which will be prioritized over PCLZip (works out of the box)
- [NEW] Our plugin will now ignore search replace on large tables that are known to be huge log tables
- [NEW] Added VERBOSE messages about previous size of the backup and time taken between batches
- [NEW] Within the error window user can now download uncensored logs (administrator only)
- [NEW] Proper backup cleanup, our plugin will now REMOVE damaged backups to save space
- [NEW] Upgraded error window which allows users to debug the problem or get our help
- [NEW] Added recommendations in terms of server configuration after process failure
- [NEW] Proper backup cleanup, our plugin will now properly regenerate backups cache
- [NEW] Added “force cache disabled” to our plugin requests to bypass cache plugins
- [NEW] ZipArchive will work now for PHP CLI process as well as browser method
- [NEW] Refactored way how we communicate with back-end within our plugin
- [NEW] Added smart issue resolver to error window
- [CHANGE] Alternative disk space checking will now be used more often for smaller backups
- [CHANGE] Improved path cutter to make sure proper slashes are applied for Windows/Linux
- [CHANGE] Added more constant exclusions for third party plugins temporary directories
- [CHANGE] Native backup processes will go through same validation as browser method
- [CHANGE] Backup list refresh will now perform cleanup and list cache regeneration
- [CHANGE] PCLZip will now use larger block sizes to support larger single files
- [FIX] Added additional checks for broken permission files/directoriers to exclude them without error
- [FIX] Fixed our upload area to display current percentage of the progress instead of delayed
- [FIX] Success window will not show up now after aborting the process and starting it again
- [FIX] Improved file scanner to prevent errors during scanning of files out of open_basedir
- [FIX] Resolves issues with plugin tabs while using plugins that could conflict with ours
- [FIX] Addedd ability to self-regenerate config file when it got damaged due to errors
- [FIX] Improved security of public URLs such as URL for migration, censored live logs
- [FIX] Increased possibility to display error window when something unknown happened
- [FIX] Reviewed proper responses from backup-process.php after moving it to WP scope
- [FIX] Fixed doubled responses from backup-process.php during browser backup method
- [FIX] Decreased possibility of false positive success window during PHP CLI
- [FIX] Improved session detection for sites with improper session setup
- [FIX] Fixed JSON parser to not fail on empty responses
1.4.3
- [REMOVED] Backup middleware PHP file has been removed
- [CHANGE] We lowered requirements for our upload area, now it requires max_upload_size minimum at 1 MB.
- [CHANGE] Default configuration for scheduled backups changed to weekly (previously: monthly)
- [CHANGE] Bypass backup methods no longer rely on headers, these are no longer in use
- [CHANGE] Cache directories will be now included in backups again (default behavior)
- [CHANGE] Censor for table prefix simplified to _ (previously: ***prefix)
- [CHANGE] Scheduled backups are now forced to use new CURL backup method
- [CHANGE] Updated plugin welcome title to something more fancy
- [CHANGE] New users will now have PHP CLI disabled by default
- [… and more …]
previous
Old changelog has been removed due to WordPress limitation of 5000 characters.
